Showing posts with label bundle. Show all posts

September SAB Join

Now is a fabulous time to join Stampin’ Up! From now to Sept 30th you'll get a bonus of even MORE FREE products in you customizable Starter Kit. 
 We all love Sale-a-Bration because we can get bonus rewards when we shop! I have to let you in on a secret, the best deal you can get is the Starter Kit. It's a great value and completely customizable. During Sale-a-Bration you also get a bonus bundle from the July-December Mini Catalogue! Check out the options here. But, that's still not what makes the Starter Kit the best deal. The true value comes in the amazing opportunities and community of demonstrators that you become a part of. It's been the most amazing journey that I never expected to take. Most demonstrators join because they love the products and want a discount. Who doesn't love a discount? Most demonstrators I know, say they stay because they love being a part of this great community. There is a place for you whether you like to create, want to gather with a few friends and share what you know, or if you want to create a growing business. I hope you'll consider joining my team and see where it can take you! Contact me with questions or find out more here. 
 

CHOOSE YOUR BUNDLE!

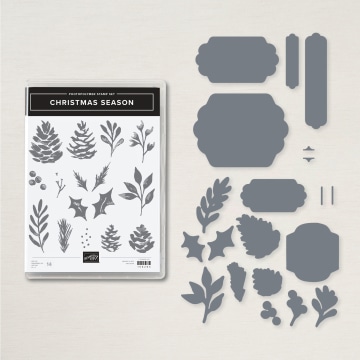
Christmas Season Bundle (english)
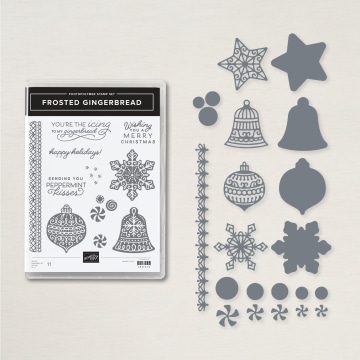
Frosted Gingerbread Bundle (english)
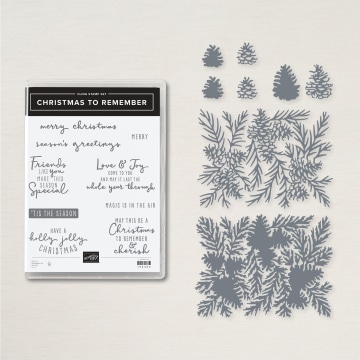
Christmas To Remember Bundle (english)
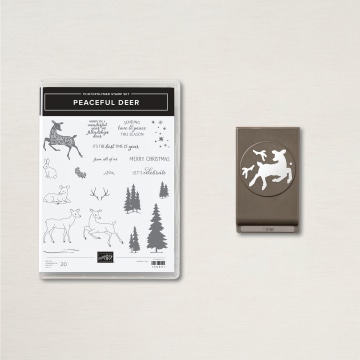
Peaceful Deer Bundle (english)
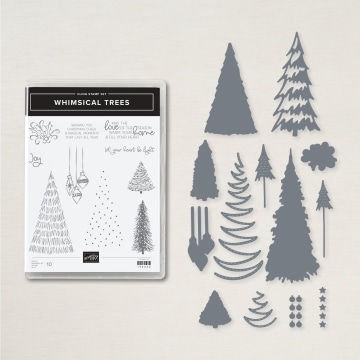
Whimsical Trees Bundle (english)
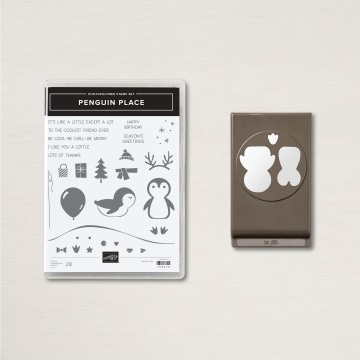
Penguin Place Bundle (english)
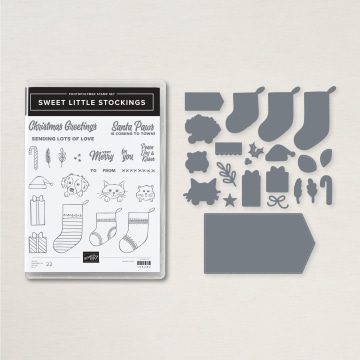
Sweet Little Stockings Bundle (english)
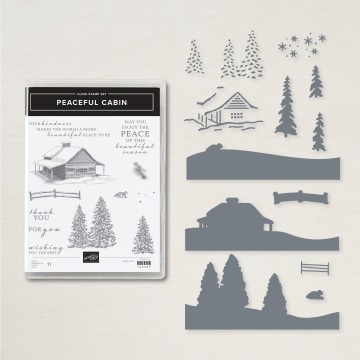
Peaceful Cabin Bundle (english)
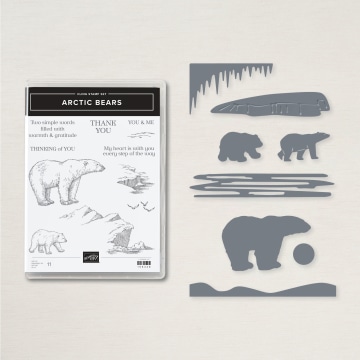
Arctic Bears Bundle (english)
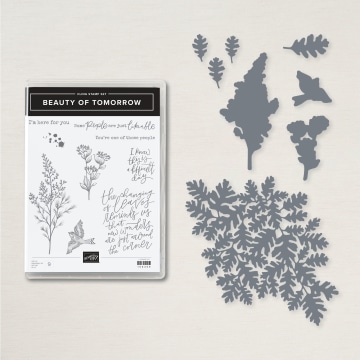
Beauty Of Tomorrow Bundle (english)
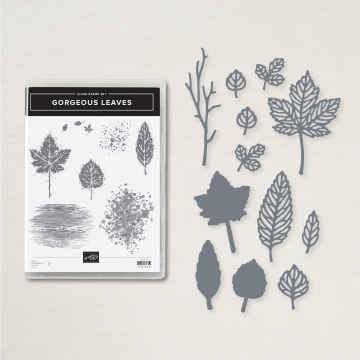
Gorgeous Leaves Bundle
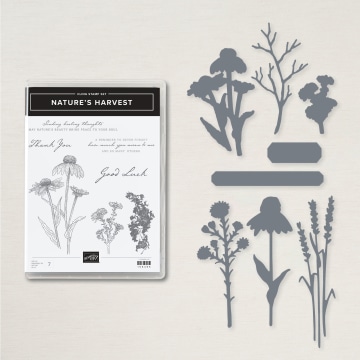
Nature's Harvest Bundle (english)

Choose $165 in Stampin' Up! products for only $135! If you don't think demonstrating is for you, joining to get the discount on your personal purchases is a great benefit, too. You can enjoy a discount of 20% or more on all future orders.
  AMAZING VALUE! So let's recap - For only $135: Choose up to $165 of any Stampin' Up! products of your choice for your kit. Choose from current catalog items, bundles, and Clearance Rack.
  Free Shipping! The starter kit ships FREE for another 10% savings.
  No risk! You'll have through the end of your first full quarter to "test drive" demonstrator discounts and benefits. 
  No penalty! If you reach $400 in sales by the end of your first full quarter, you automatically remain active for another quarter. If you don't reach $400 in sales, you can "drop" with no penalty, and you keep everything from your Starter Kit.
  No catch! There's no obligation to hold workshops or parties, sell products to others or personally purchase anything beyond the kit. Whether you join to share creativity, hold workshops and earn money, or get a great discount on your personal orders, we have options. All while doing what you love to do - stamp and share! 
Call me with any questions you might have about this amazing deal!
Ice Cream Corner Card Tutorial


The Annual Catalogue Inspiration

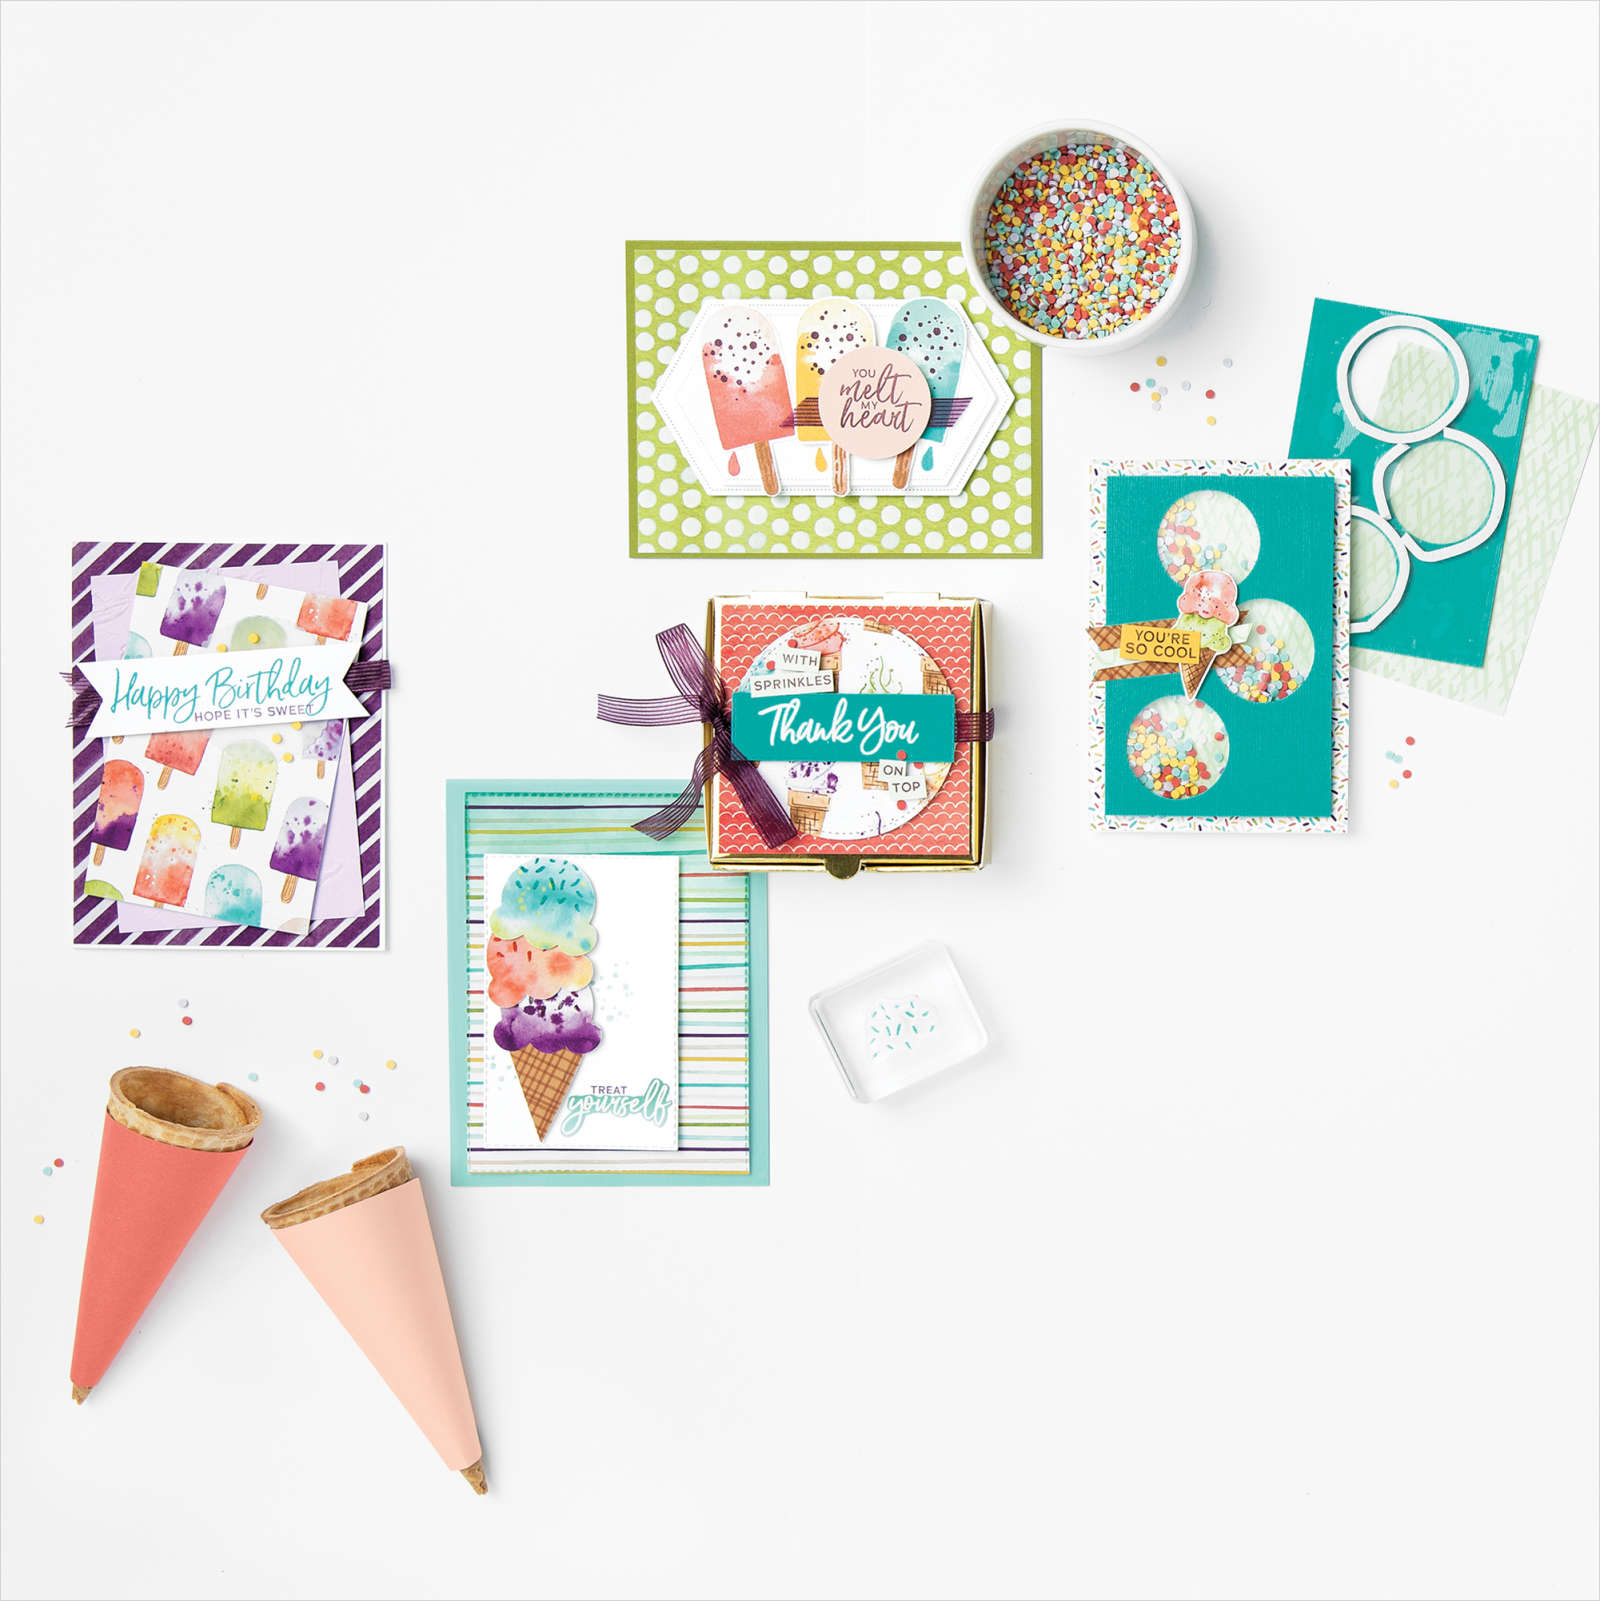
Ice Cream Corner Suite

Sprinkle beautiful colours together with sweet images, add a hint of nostalgia, and you've created the perfect recipe for the Ice Cream Corner Suite!

Whether you are sending sweet thoughts and birthday wishes or creating cool summer memories, this coordinating two-step stamp set and punch bundle are a must-have combo. From kids to the young-at-heart you'll create smiles with every project you make.

The bright, fun Ice Cream Corner Designer Series Paper adds the perfect backdrop for the ice cream cones and popsicle images, but it also coordinates so you can punch swirly ice cream scoops and waffle cones with or without stamping.

Add in the Ice Cream Corner sprinkles as embellishments or for shaker cards, and a pinch of BlackBerry Bliss Striped Ribbon to top off you ice cream creations in style!

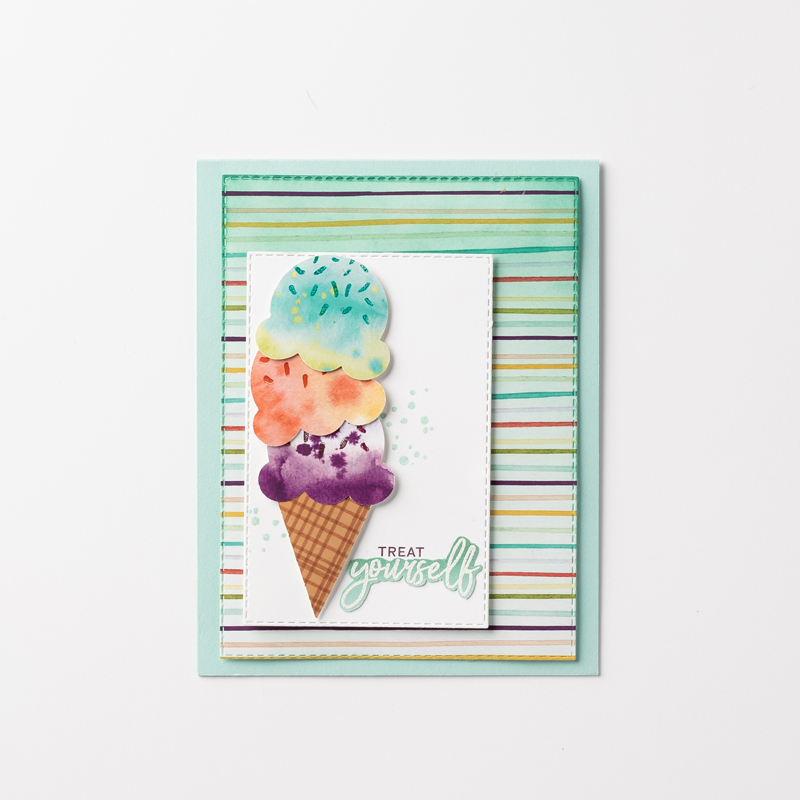
The tutorial below features the Ice Cream Corner Suite combined with an ombre background, sweet details, and scrumptious colours. This cool card will melt hearts, but won't melt in the mail!
--------------------------------------------------

Ice Cream Corner Ombre Card

Ice Cream Corner Ombre Card

Join my Email Newsletter List and receive my tutorials by email. With each mailing you will receive a picture of the finished project, a supply list, card layout, and a step-by-step tutorial.


INSTRUCTIONS:
1) Cut Pool Party cardstock to 8-1/2" x 5-1/2". Score at 4-1/4" along the 8-1/2" side. Fold on scored line and use a Bone Folder to burnish the fold flat.
2) The Ice Cream Corner Designer Series Paper has three patterns that are multi-coloured watercolor splotches. Punch one of each colour using the scoop part of the Ice Cream Cone Builder Punch. Punch the waffle patterned paper once with the cone part of the punch.
3) Stamp the sprinkle image on each ice cream scoop with the coordinating colour ink: Blackberry Bliss, Terracotta Tile, or Bermuda Bay.
4) Using the Stitched Rectangles dies, die cut the striped Ice Cream Corner Designer Series Paper with the die that measures about 3-3/4" x 5-1/8". Cut Basic White cardstock with the die that measures about 2-5/8" x 4".
5) Stamp the circular splatter design on the center left portion of the Basic White die cut rectangle with Pool Party ink. Stamp the "TREAT yourself" image at the bottom right corner with Blackberry Bliss ink. Stamp the whole greeting, you'll be covering up the "yourself" part later.
6) Build a triple scoop ice cream cone on the left side of the rectangle layer using Stampin' Dimensionals to adhere the ice cream cone and scoops.
7) Use the new Blending Brushes to create an ombre background on the striped paper with Pool Party ink. You can pick up ink directly from the ink pad or use ink refill. Place your striped paper on Grid Paper or a protected surface. Ink the Blending Brush by rubbing it across the ink pad (or ink refill), starting off the edge of the striped paper and then working onto the paper swirl the Blending Brush in circles from the top edge down towards the center. Reink the Blending Brush and repeat. Concentrate more ink at the top and fade it towards the center.
8) Repeat the same steps to create an ombre effect with Pool Party ink on a scrap of Basic White cardstock that is at least 4" x 2". Let the ink dry completely.
9) Stamp the "TREAT yourself" image on the Basic White ombre paper with VersaMark ink. Cover generously with White Stampin Emboss Powder. Tap off excess powder and heat emboss with the Heat Tool.
10) Once cool use Paper Snips to cut around "yourself" leaving a border around the word. Adhere the cut out word over the Blackberry Bliss stamped word with Stampin' Seal or Multipurpose Liquid Glue.
11) Adhere the striped ombre paper to the card front with Stampin' SEAL or Stampin' Dimensionals. Layer the Basic White rectangle onto the card front, offset to the left, with Stampin' Dimensionals. 
TIPS: When using Blending Brushes, start blending in swirling circles off your project and work onto the project. This prevents harsh lines and insures a smooth blended look. Rather than going heavy with the ink add it lightly in layers. This gives you more control and the best results.


Product List
DOWNLOAD OUR LATEST CATALOGUE

January - June Mini Catalogue

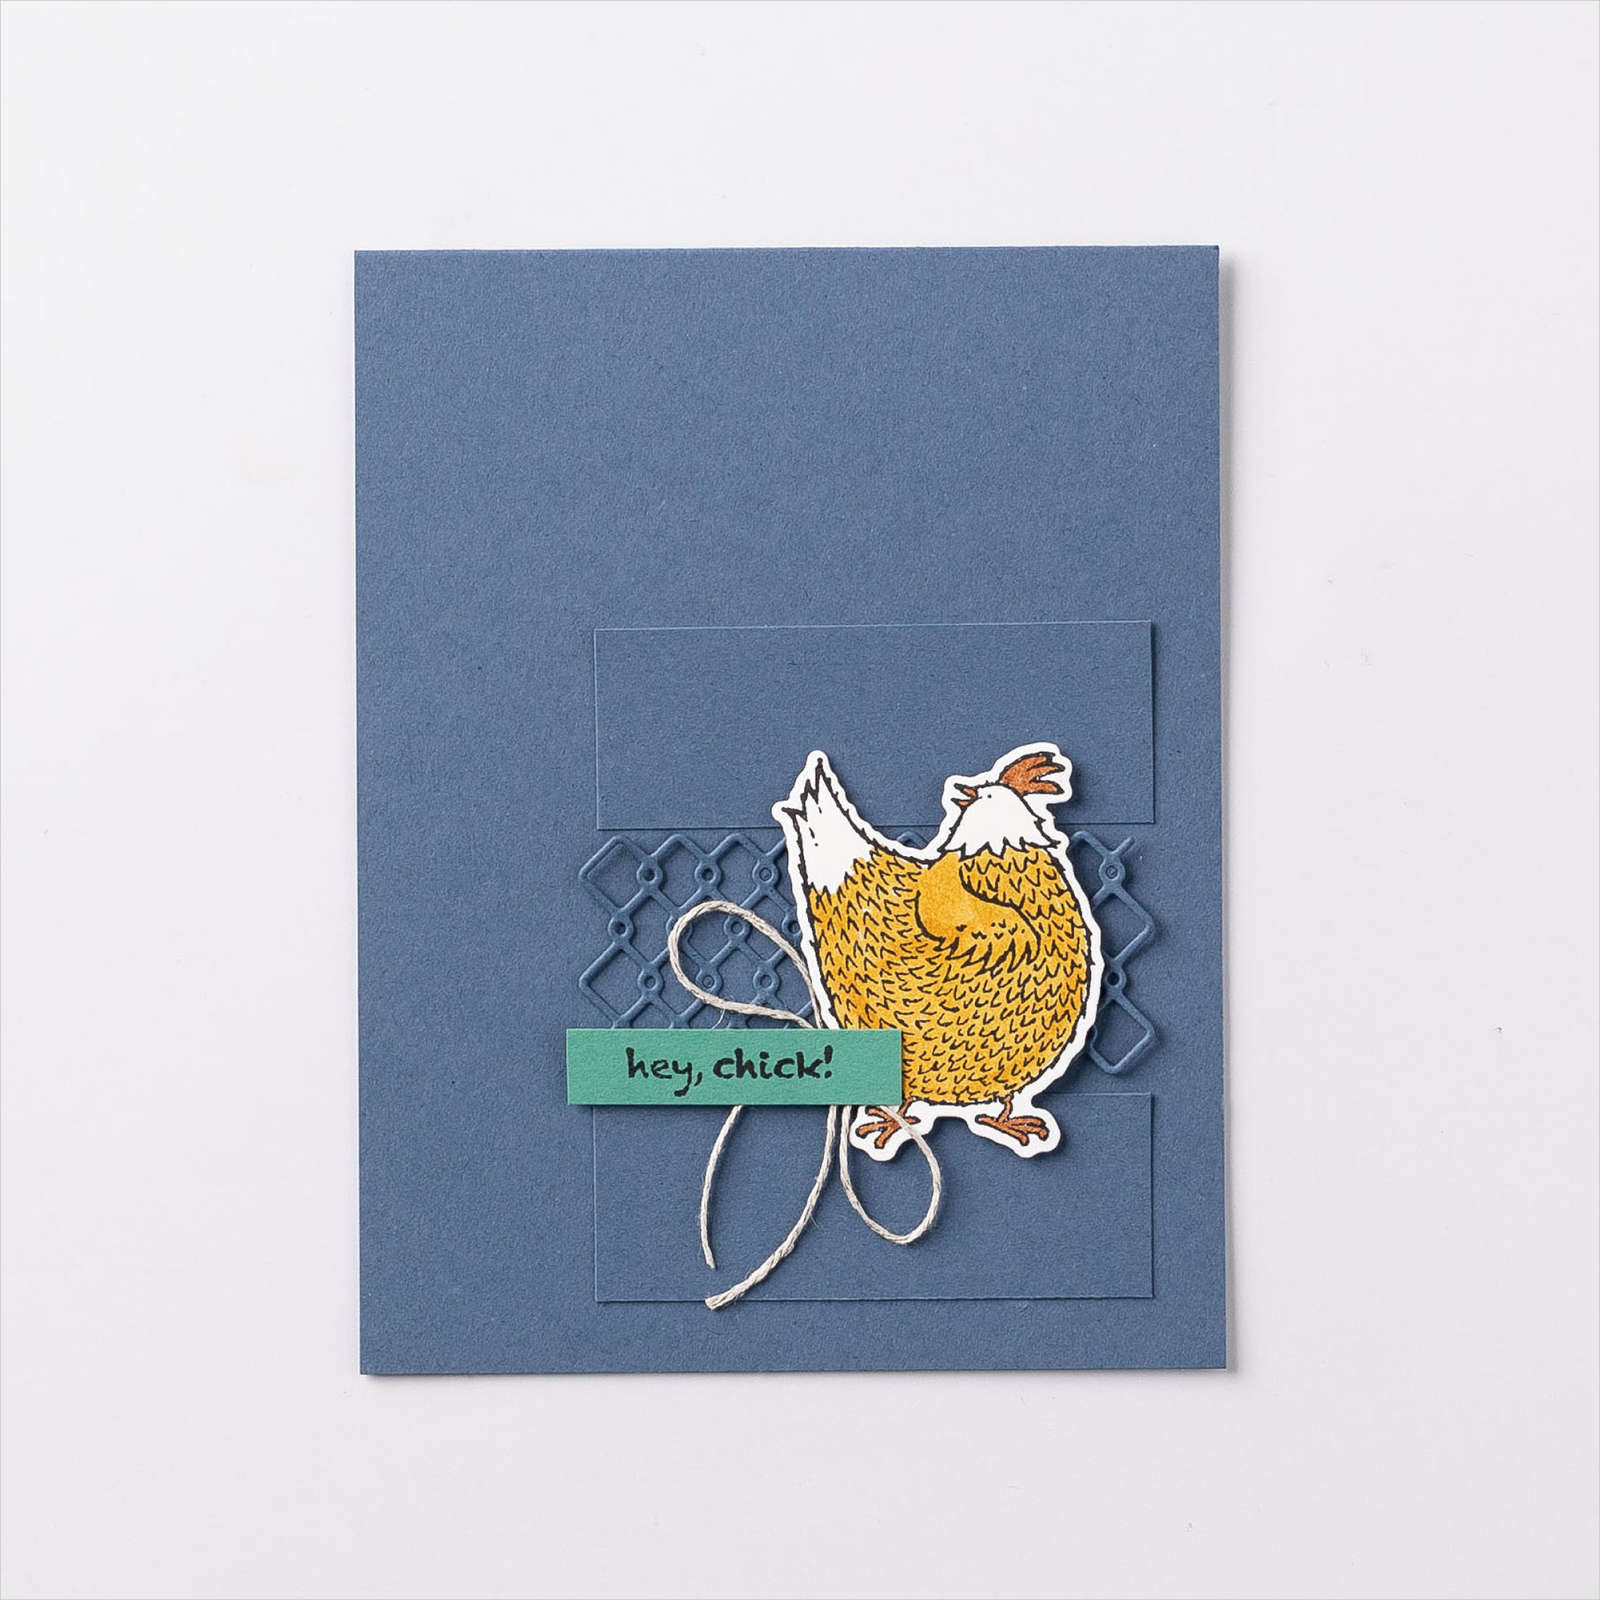
Hey Chick!


Hey Chick Release


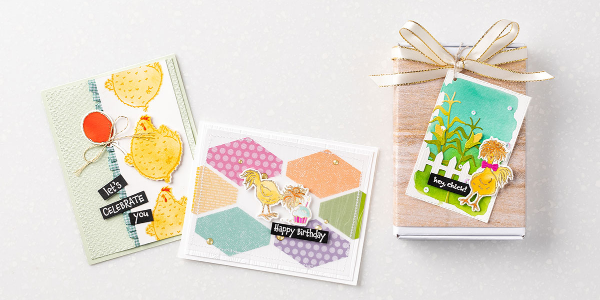
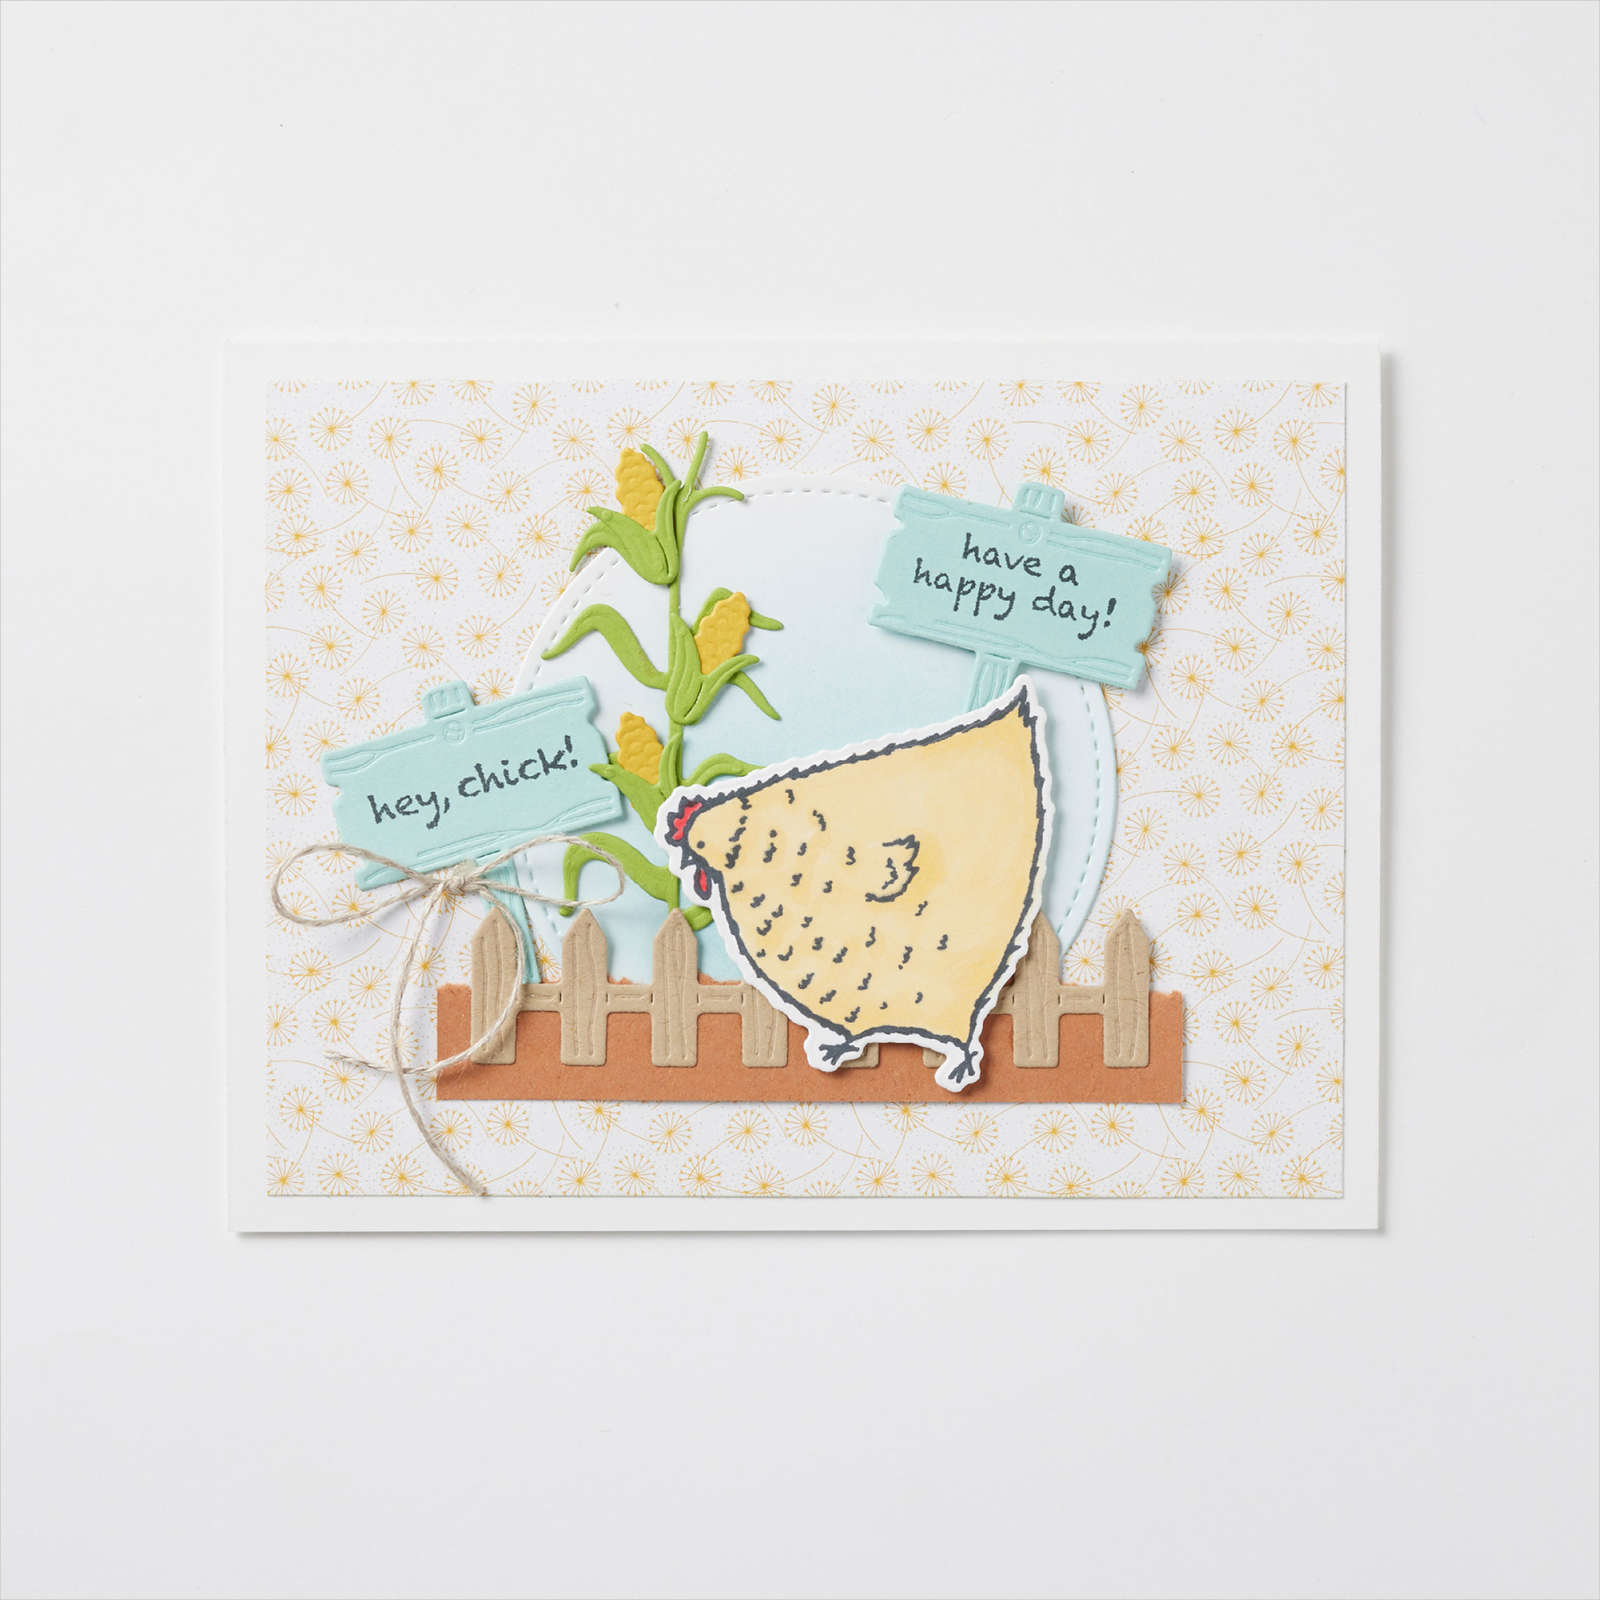
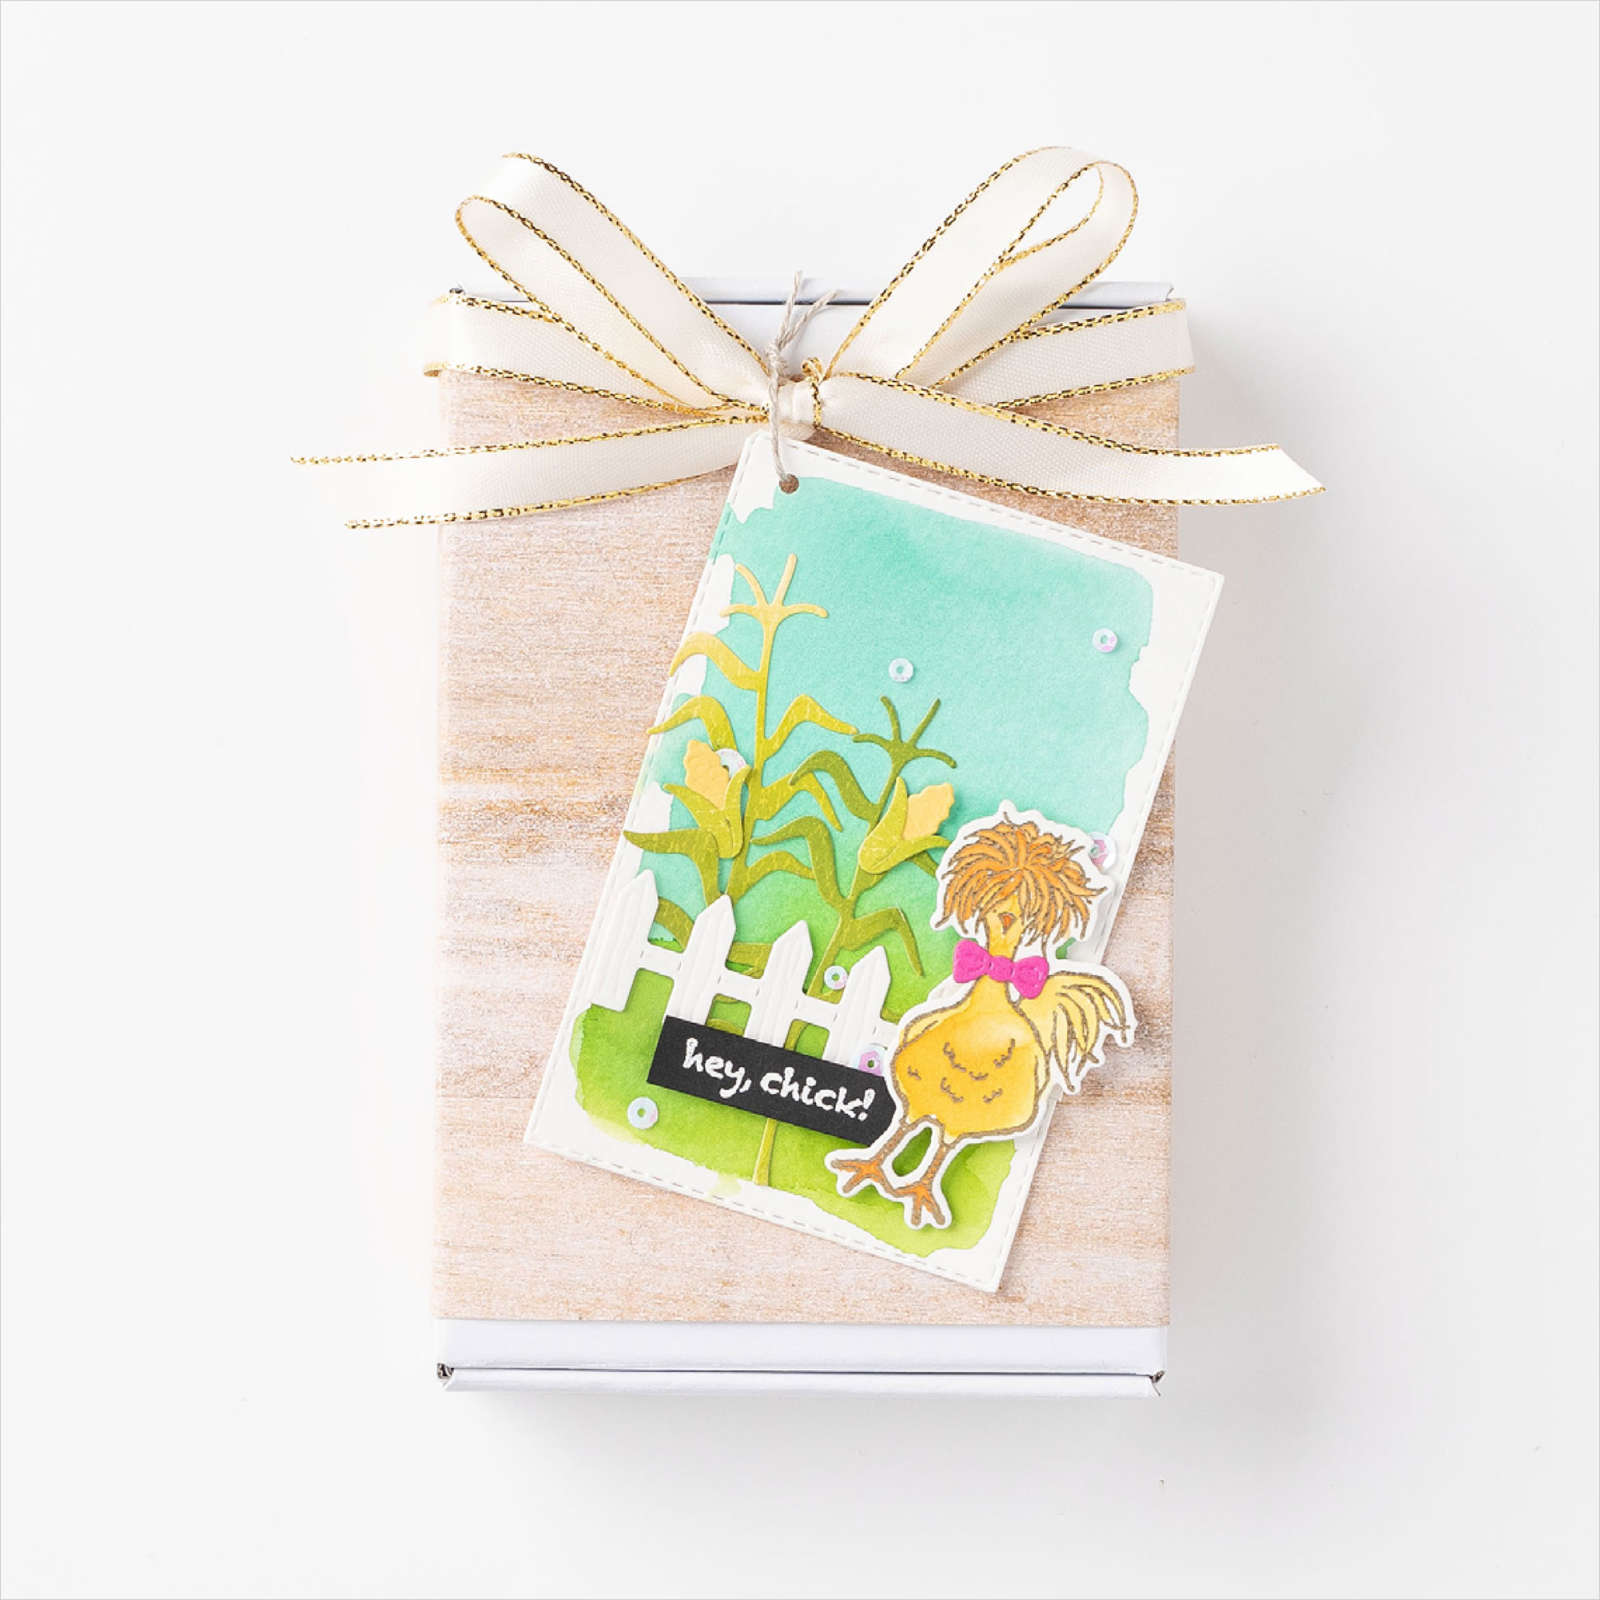
Hey Chick! Let's add a whole lot of fun to our creativity and send a ton of smiles. With the Hey Chick and Hey Birthday Chick bundles it's easy to do - and this fun isn't just for the chicks either, kids and guys will get a laugh out of these funny, feathered friends.

You may remember, way back during Sale-A-Bration in 2017 when the Hey Chick Stamp Set was a Sale-a- Bration reward. We were blown away by how much everyone loved it. So we decided to bring it back—along with coordinating dies that, of course, make it even better.

Plus, we've added a completely new bundle created in the same style. These two bundles are only available for a limited time. The fun, whimsical images in these sets are perfect for colouring, but look great without colouring, too.

So, if you earned the free Hey Chick stamp set, now you can complete it with coordinating dies and a companion bundle to mix n' match with it. If not, you can save 10% on each of the stamp and die bundles now!

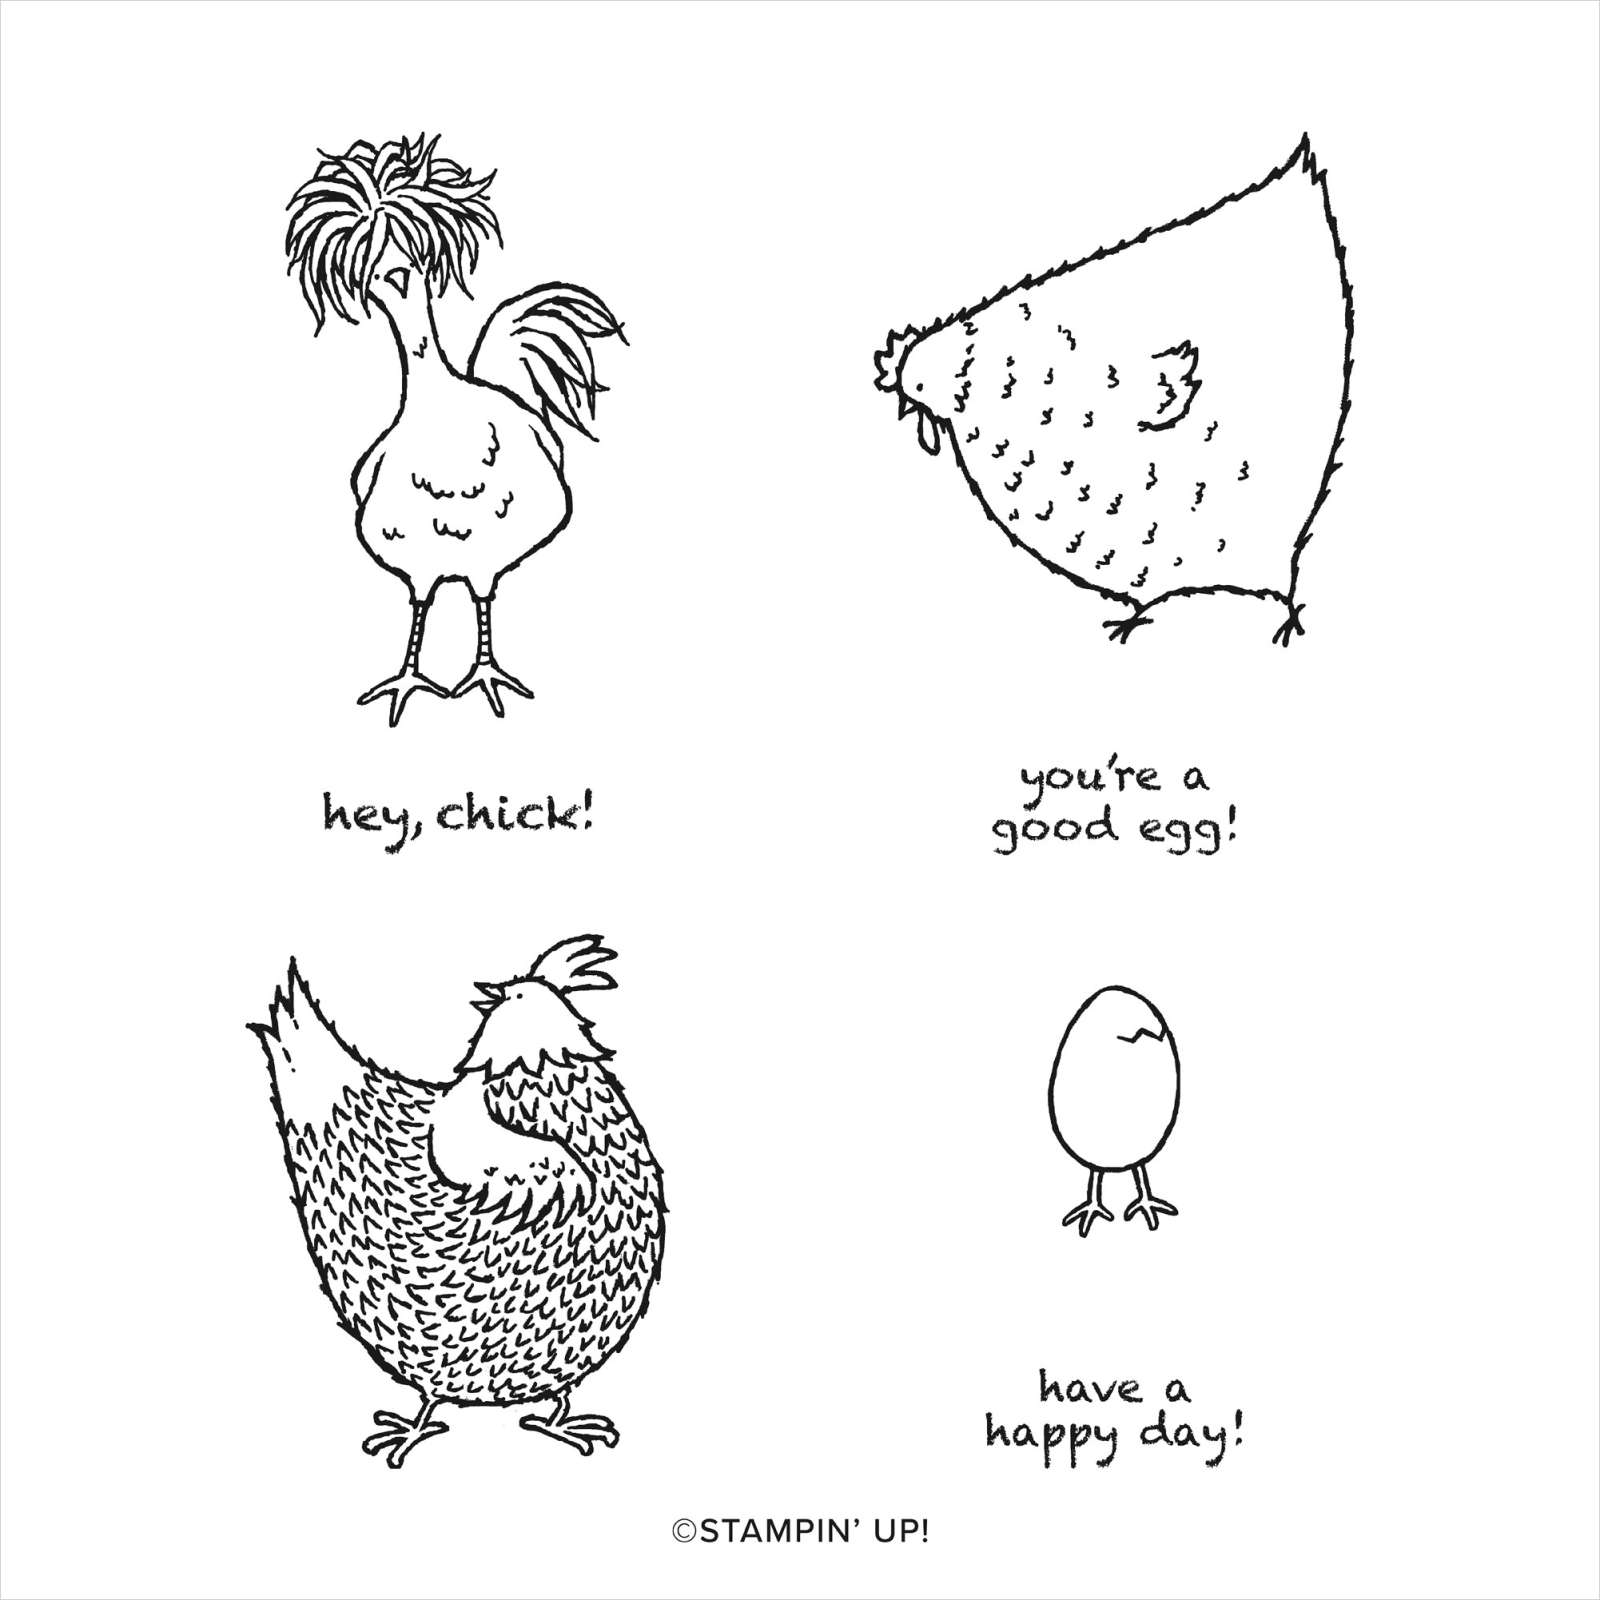
HEY CHICK CLING STAMP SET


HEY CHICK CLING STAMP SET #158190

Create a fun, whimsical chicken family with the variety of images in the Hey Chick Stamp Set. Pair the images with great greetings about friendship and you've got the makings for wonderful projects for family and friends. Add colour to the line-art images using your favorite colouring technique. This stamp set is also available in French

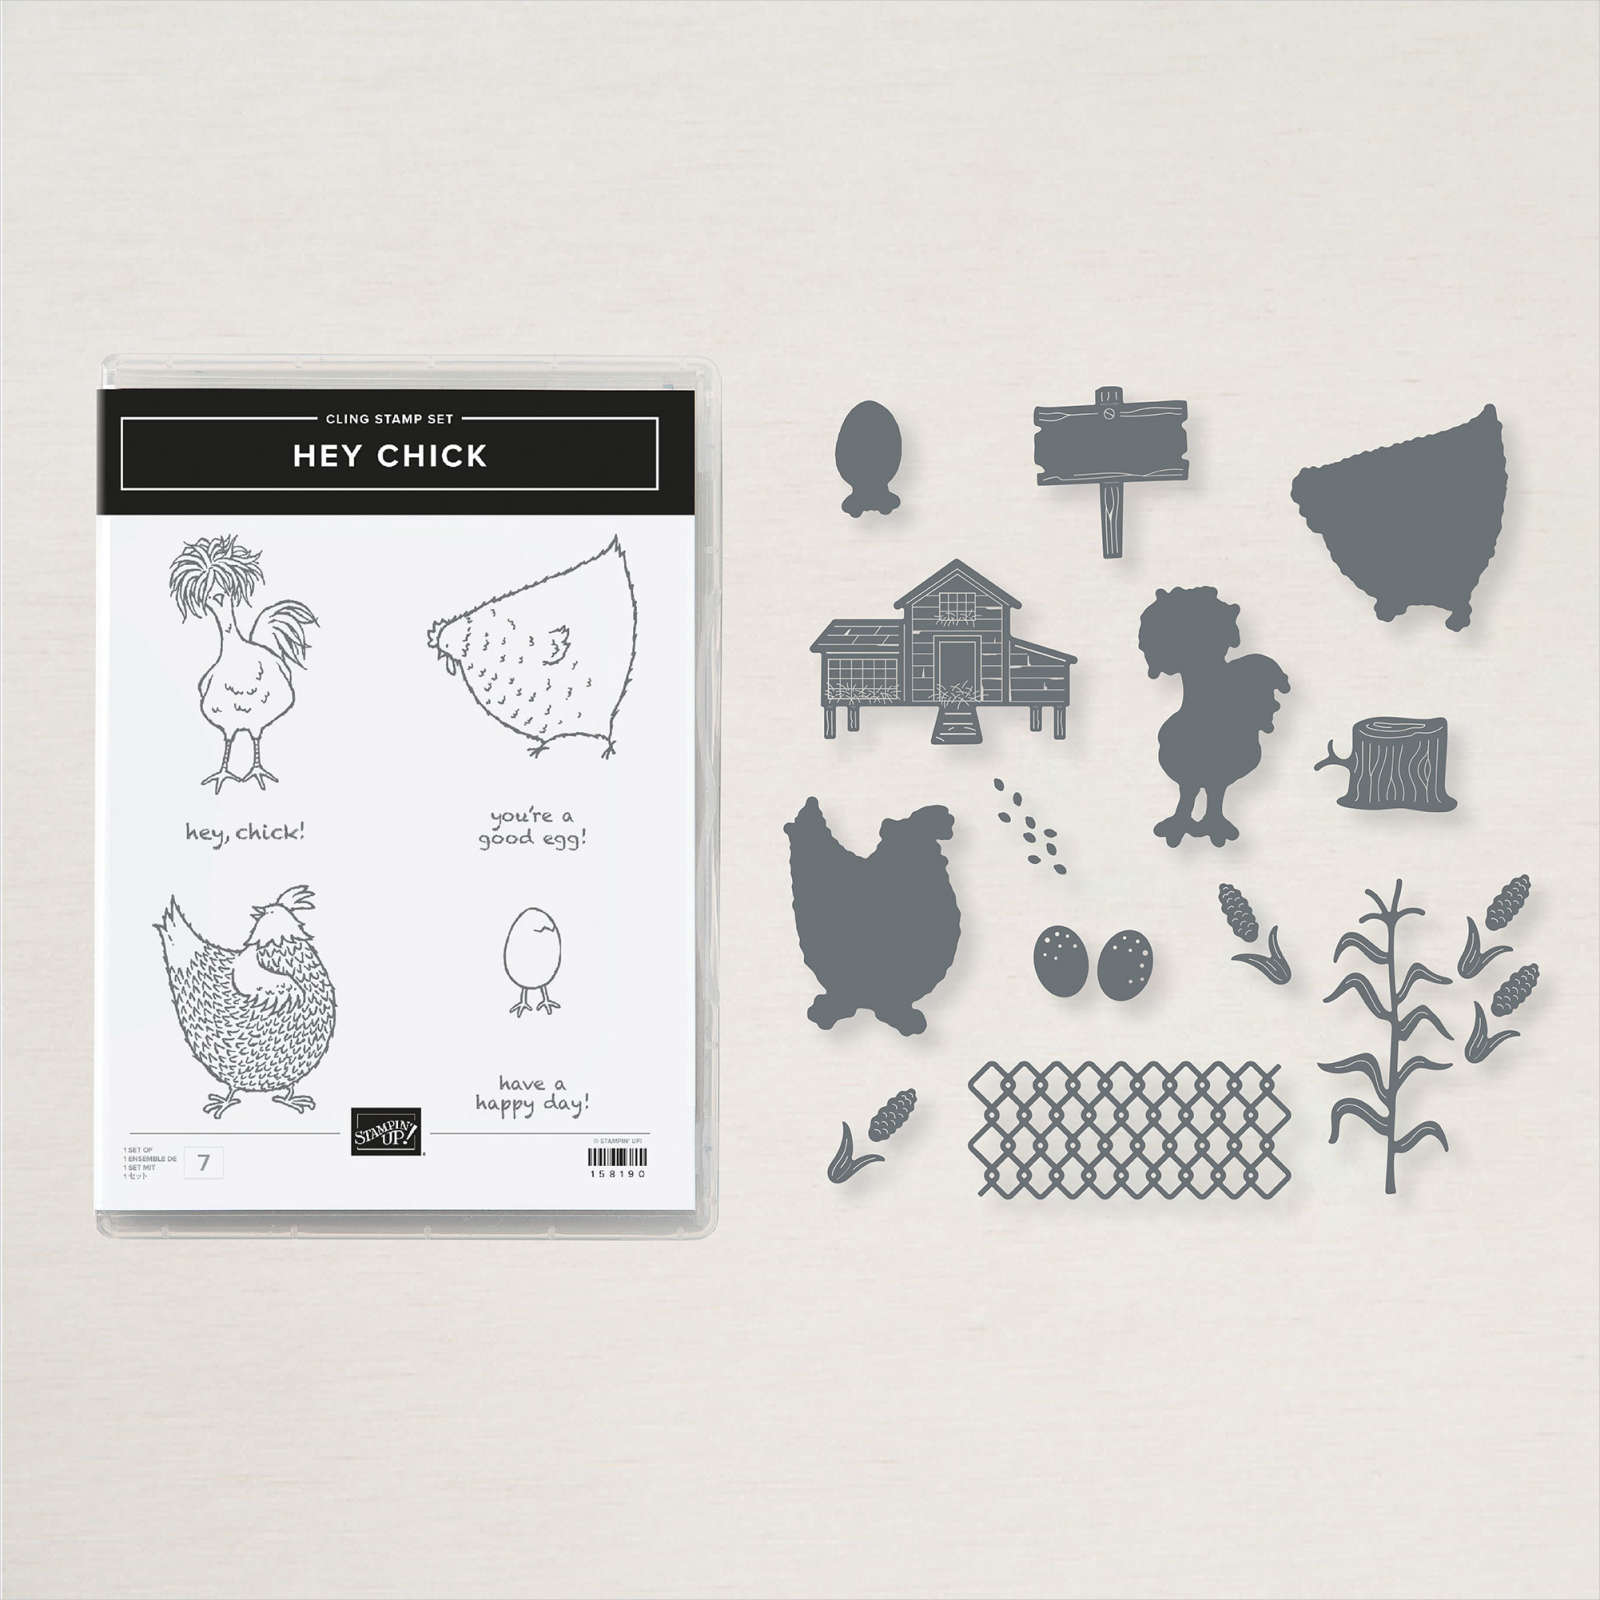
HEY CHICK BUNDLE

HEY CHICK BUNDLE #158627

The Hey Chick Bundle includes the Hey Chick Stamp Set and the Chick Dies. This bundle is also available in French.  BUNDLED SAVINGS!

HEY CHICK BUNDLE


HEY CHICK BUNDLE


HEY CHICK BUNDLE

Treat Box Tutorial

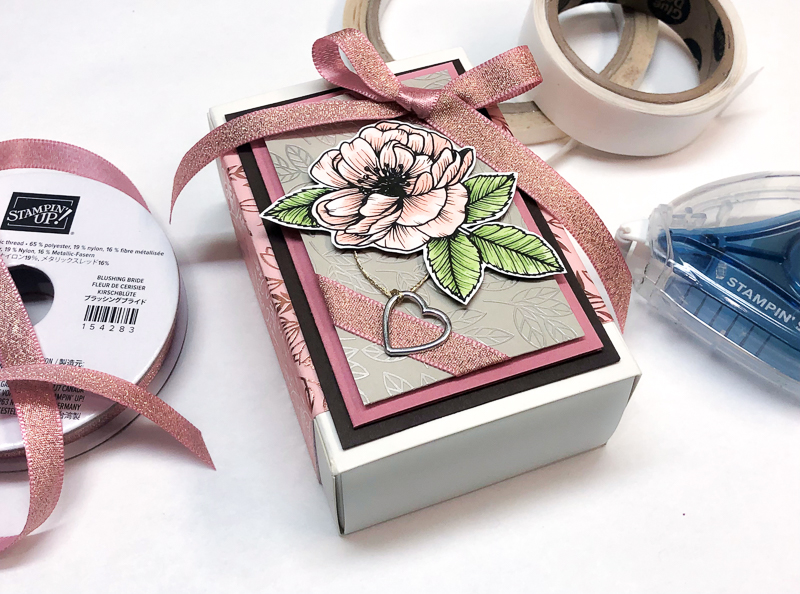
January - Tutorial The matchbox-style box can be assembled without any adhesive. Decorate, add candy, and a sweet note. ‌ ‌ ‌ ‌ ‌ ‌ ‌ ‌ ‌ ‌ ‌ ‌ ‌ ‌ ‌ ‌ ‌ ‌ ‌ ‌ ‌ ‌ ‌ ‌ ‌ ‌ ‌ ‌ ‌ ‌ ‌ ‌ ‌ ‌ ‌ ‌ ‌ ‌ ‌ ‌ ‌ ‌ ‌ ‌ ‌ ‌ ‌ ‌ ‌ ‌ ‌ ‌ ‌ ‌ ‌ ‌ ‌ ‌ ‌ ‌ ‌ ‌ ‌ ‌ ‌ ‌ ‌ ‌ ‌ ‌ ‌ ‌ ‌ ‌ ‌ ‌ ‌ ‌ ‌ ‌ ‌ ‌ ‌ ‌ ‌ ‌ ‌ ‌ ‌ ‌ ‌ ‌ ‌ ‌ ‌ ‌ ‌ ‌ ‌ ‌ ‌ ‌ ‌ ‌ ‌ ‌ ‌ ‌ ‌ ‌ ‌ ‌ ‌ ‌ ‌ ‌ ‌ ‌ ‌ ‌ ‌ ‌ ‌ ‌ ‌ ‌ ‌ ‌ ‌ ‌ ‌ ‌ ‌ ‌ ‌ ‌ ‌ ‌ ‌ ‌ ‌ ‌ ‌ ‌ ‌ ‌ ‌ ‌ ‌ ‌ ‌ ‌ ‌ ‌ ‌ ‌ ‌ ‌ ‌ ‌ ‌ ‌ ‌ ‌ ‌ ‌ ‌
Love You Always Suite Tutorial - Helen Piaskowski


Now that the new January-June Mini Catalogue and Sale-a-Bration have arrived, it really does feel like a joyful New Year! I am so looking forward to more creative time and the chance to connect with my friends, even if life isn't quite normal yet. I truly feel that any way we can share time together is better than missing the opportunity.

Speaking of opportunity, have you had the opportunity to check out the awesomeness that is the new January-June Mini Catalogue? There are so many new things that I'm excited about that I just can't choose where to start.  New products, project inspiration, and ideas I'm looking forward to sharing with you!

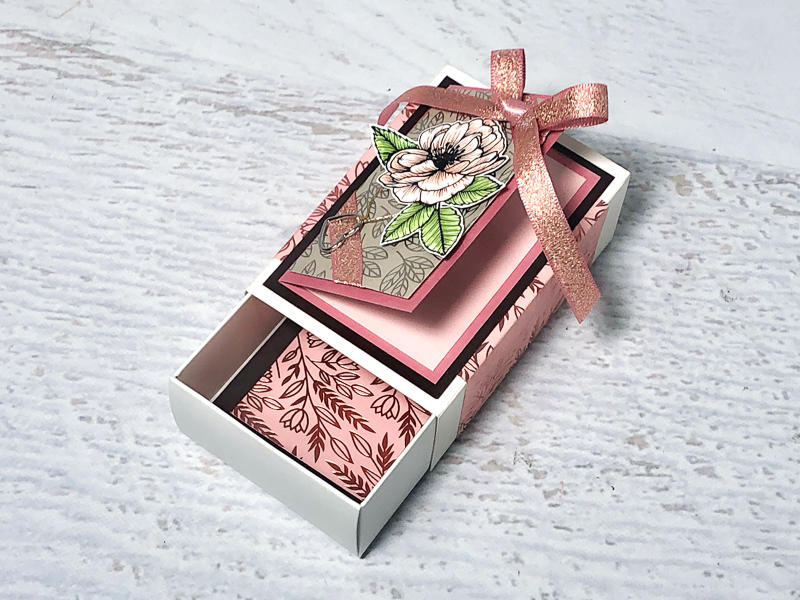
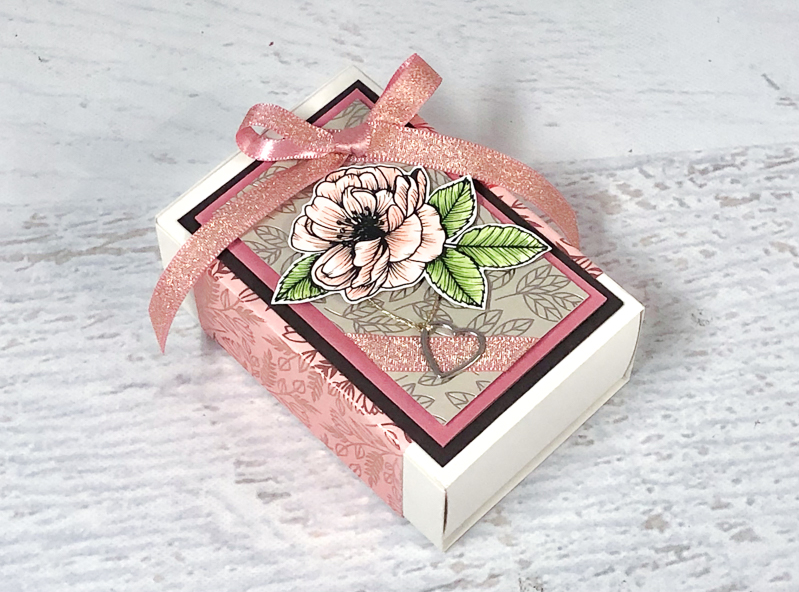
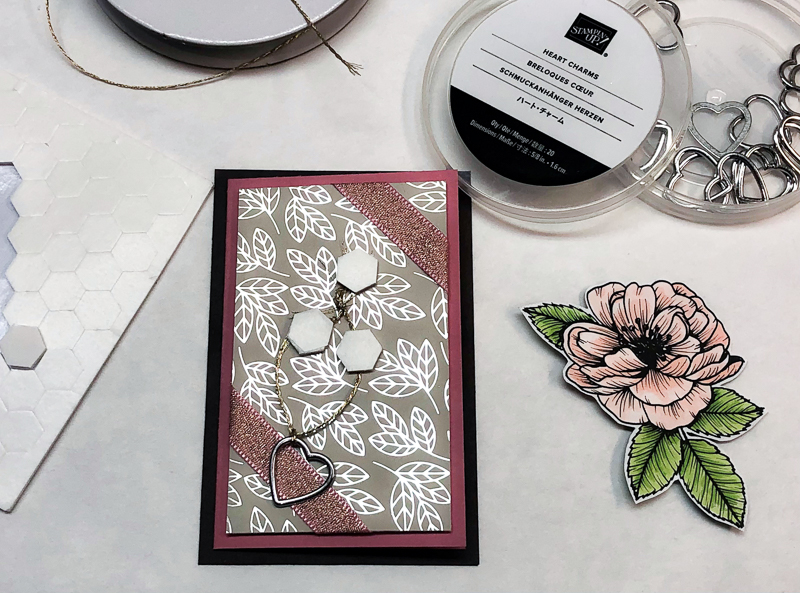
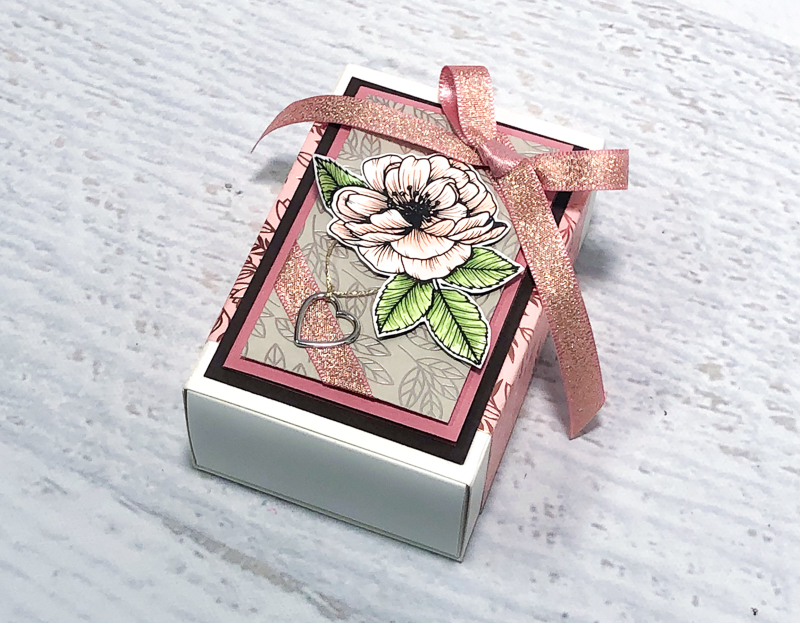
This month's tutorial features the gorgeous Love You Always Suite. I think you'll love this treat box and mini card combo that you can use to give a treat to your sweetheart and other loved ones!


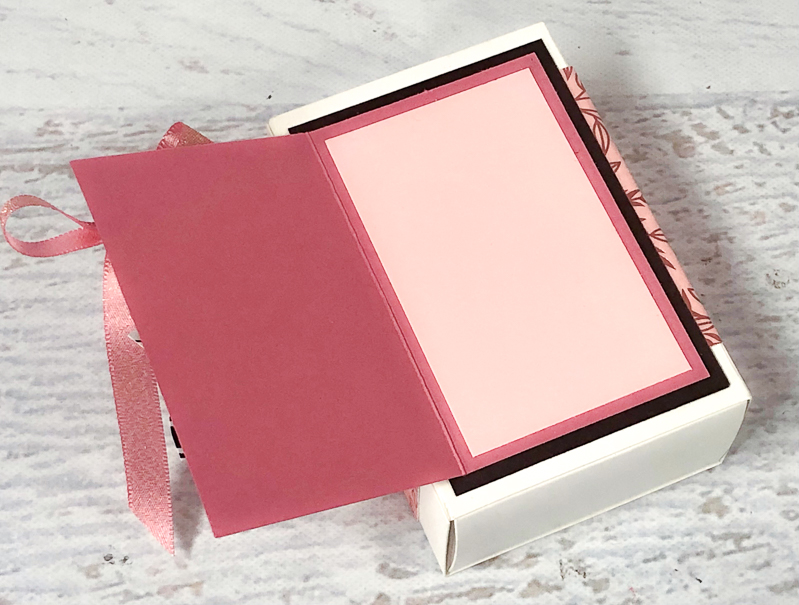
Treat Box with Mini Card Top

Project Inspiration
Project Inspiration
Project Inspiration

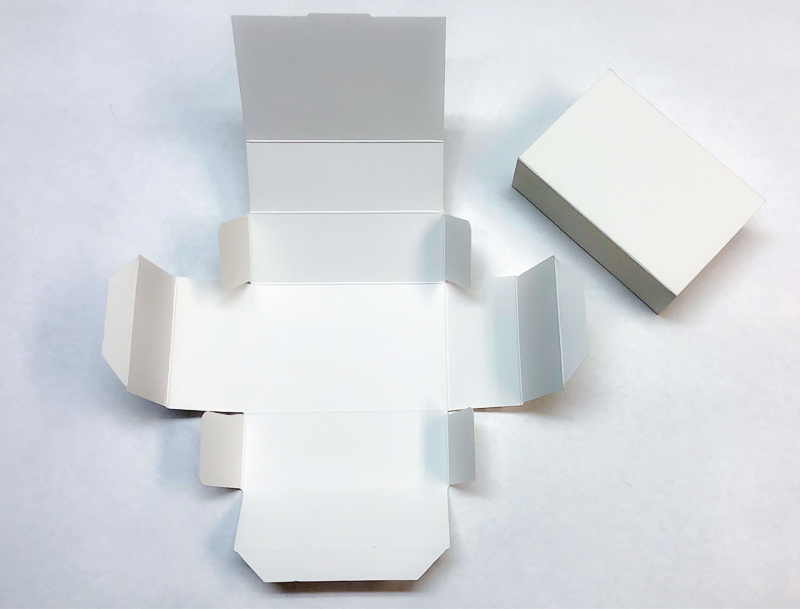
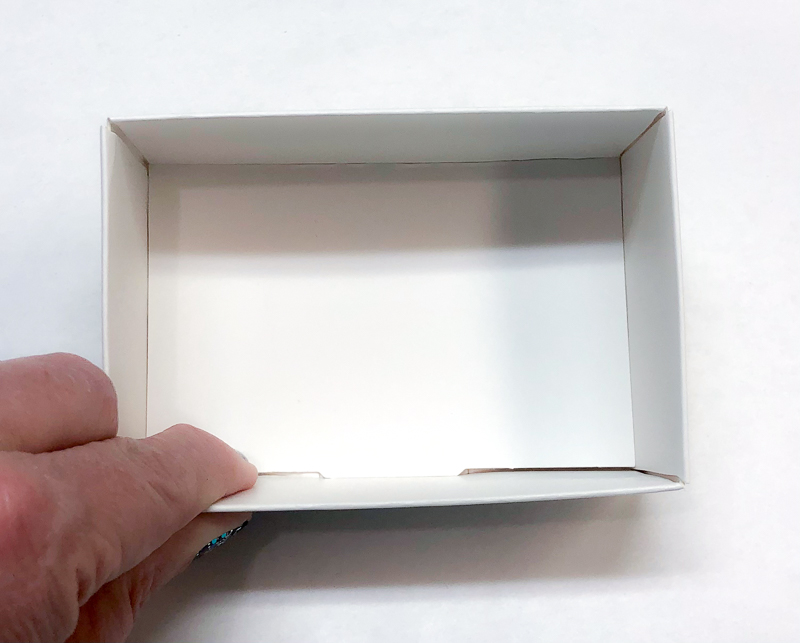
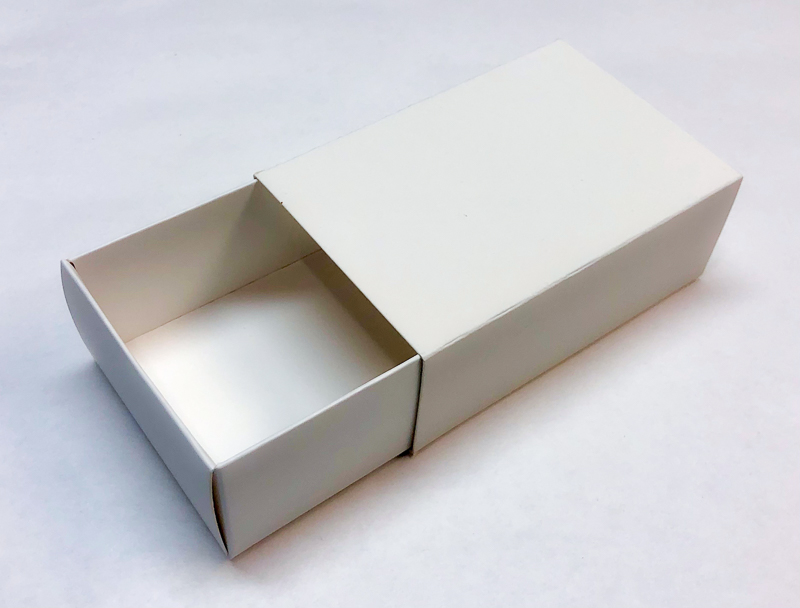
The matchbox-style box can be assembled without any adhesive and comes in two pieces, the box and the sleeve. The sleeve is fully assembled just pop the flat-folded piece open.

  1. Fold the box on all scored lines.
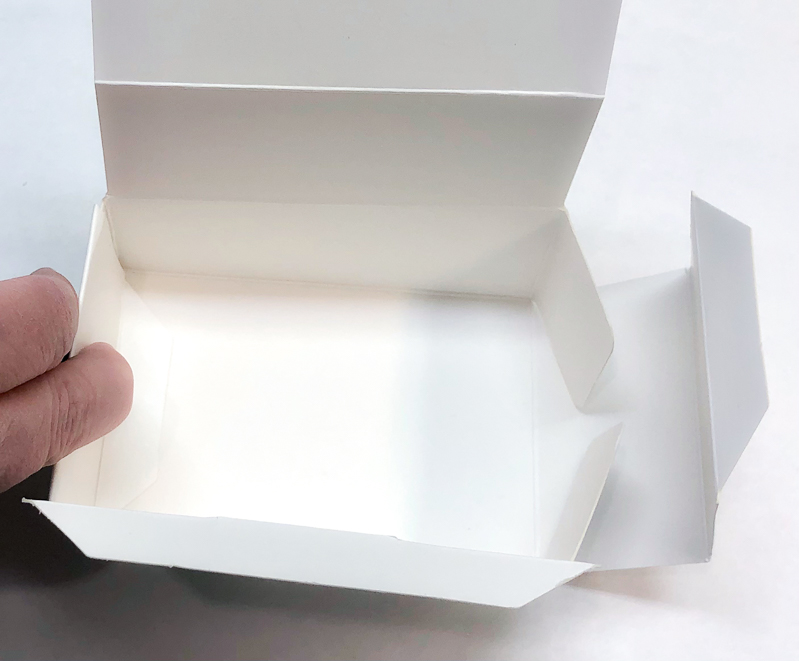
  2. Fold the small tabs in and fold the side flaps over the tabs. The small end section flattens at the bottom of the box.
  3. Fold the shorter front section over and press the small end section flat at the bottom of the box.
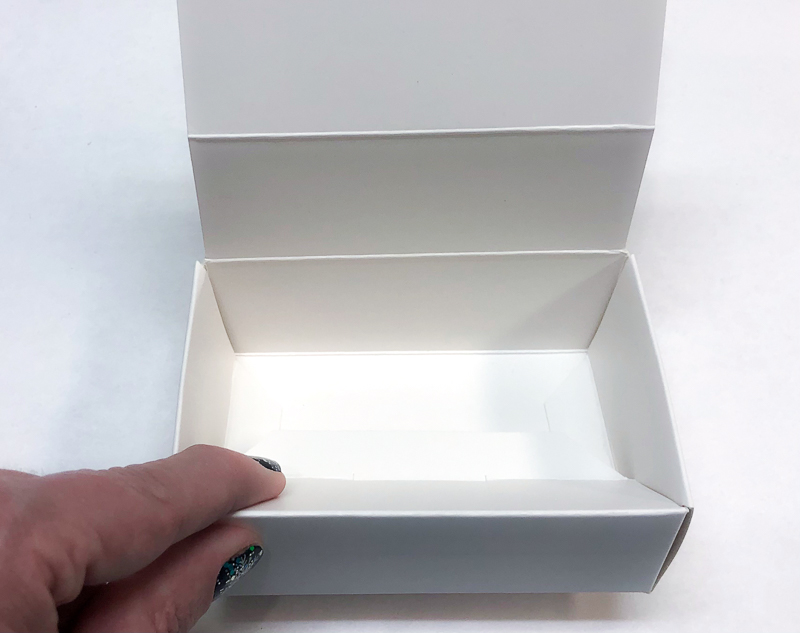
  4. Fold the long back flap over the box opening.
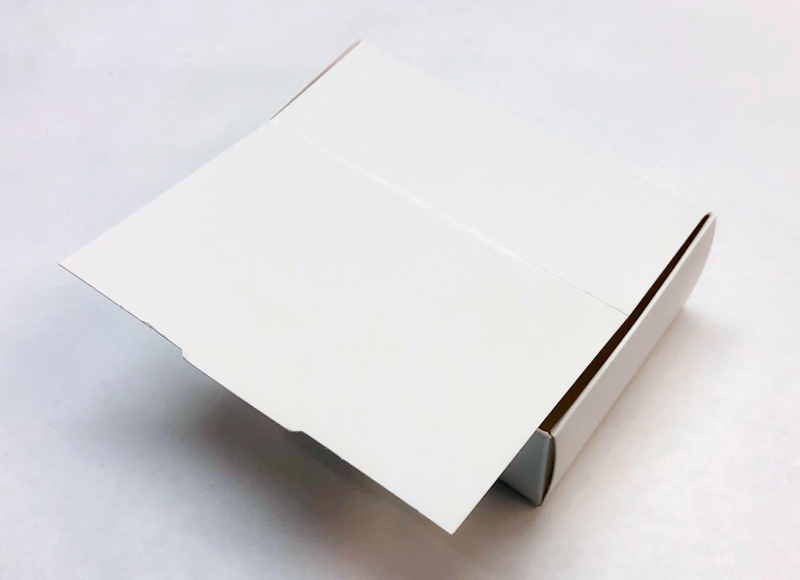
  5. Press down so the short section folds inside the box and the long section flattens onto the bottom of the box. The tab at the end slides into the slot in the bottom corner to hold the box securely.
  6. Slide the box into the sleeve like a drawer.
Project - Box Step 1
Project - Box Step 2
Project - Box Step 3
Project - Box Step 4
Project - Box Step 5
 Project - Box Step 6
Project - Step 1

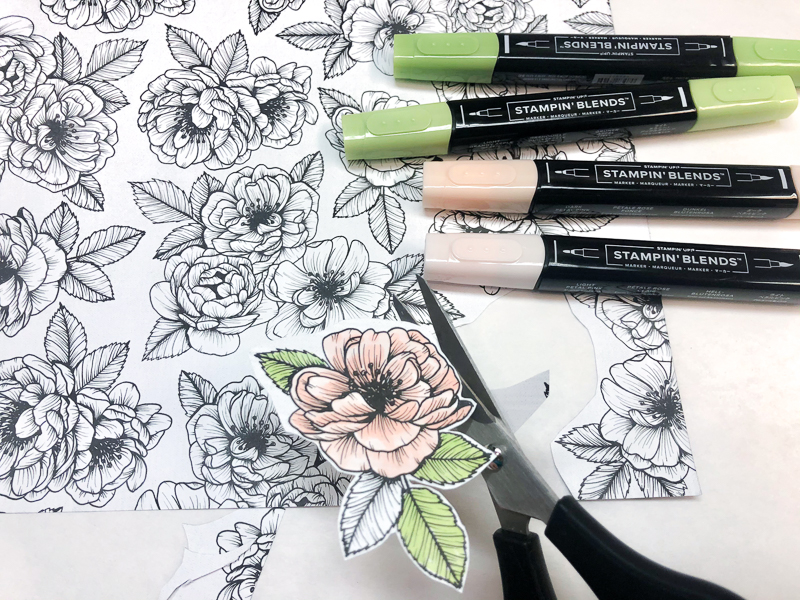
1. Cut & Colour True Love Paper

Colour a flower image from the True Love Designer Series Paper with Petal Pink and Granny Apple Green Stampin' Blends. Cut out with Paper Snips. Alternately stamp, die cut, and colour the flower images from the Forever & Always Bundle (#156200).
Project - Step 2

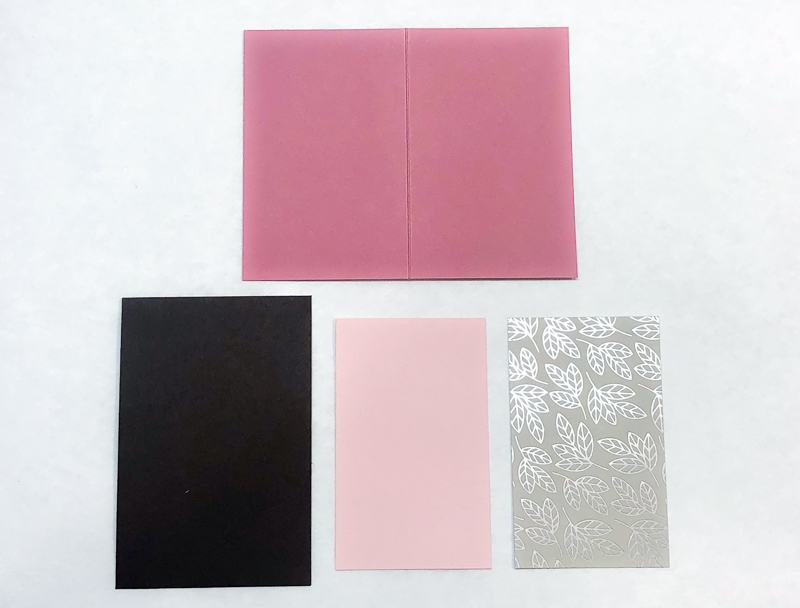
2. Cut & Layer Paper

Score 4-1/2" x 3-1/2" Rococo Rose cardstock at 2-1/4" along the 4-1/2" side. Cut the following: Early Espresso cardstock 2-1/2" x 3-3/4", Petal Pink 2" x 3-1/4", Sahara Sand Love You Always Specialty Designer Series Paper 2" x 3-1/4". Fold the Rococo Rose mini card, adhere to Early Espresso layer. Adhere Petal Pink layer inside mini card.
Project - Step 3

3. Add Ribbon & Heart Charm

Adhere 3" pieces of Blushing Bride 3/8" Metallic Ribbon paper. Adhere ribbon ends behind the paper with Stampin' SEAL. Adhere to card front with Stampin' Dimensionals. Thread charm onto 6" piece of Gold tread from Forever Greenery Trim Combo Pack (#152475). Knot the thread around the heart and create a loop. Adhere loop in place with Stampin' Dimensionals.
Project - Step 4

4. Cut & Fit Belly Band

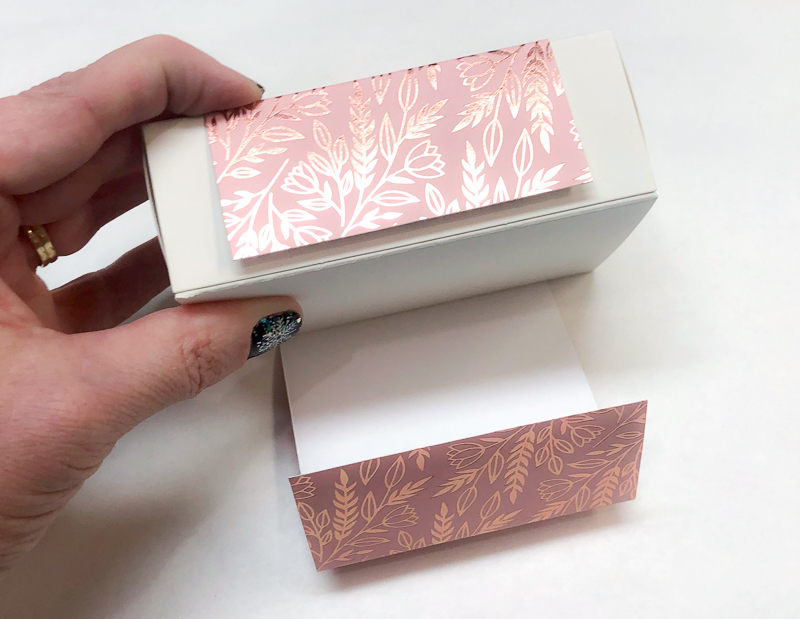
Cut Petal Pink Love You Always Specialty Designer Series Paper to 3" x 10". Save the 3" x 2" cut-off piece for later. Starting about 1/8" from the seem on the box sleeve, wrap the paper around the box. Use your fingers to create a bit of a crease at each corner.
Project - Step 5

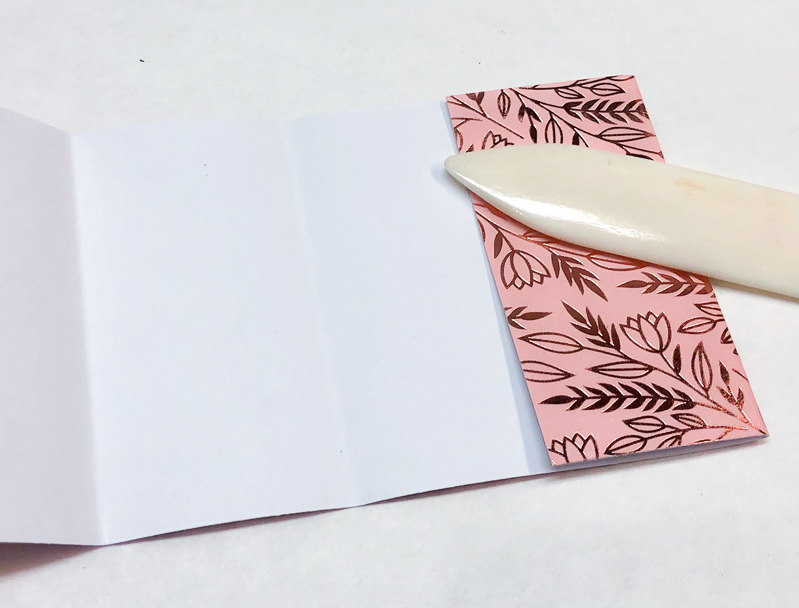
5. Crease Folds

Use a Bone Folder to crease each corner fold. Make sure the edges of the paper stay lined up as you crease the folds.
Project - Step 6

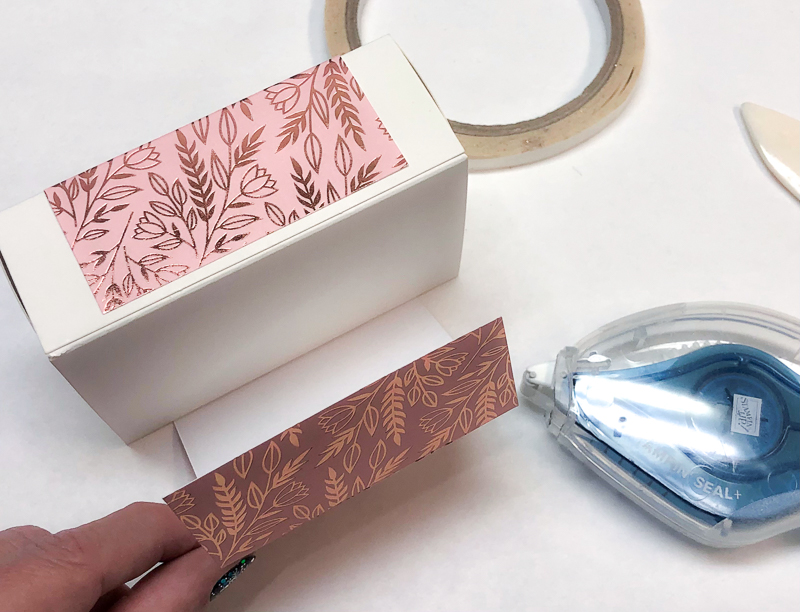
6. Add Belly Band

Use Tear & Tape or Stampin' SEAL+ to adhere Belly Band around the box starting with the shortest section near the seam of the box sleeve.
Project - Step 7

7. Add Card & Bow

Use Stampin' SEAL+ or Tear & Tape to adhere card centered on the top of the box. Add colored flower to the Stampin' Dimensionals on the card. Tie a bow with a 14" piece of ribbon and adhere to box with Glue Dots.
Project - Step 8

8. Finishing Touches

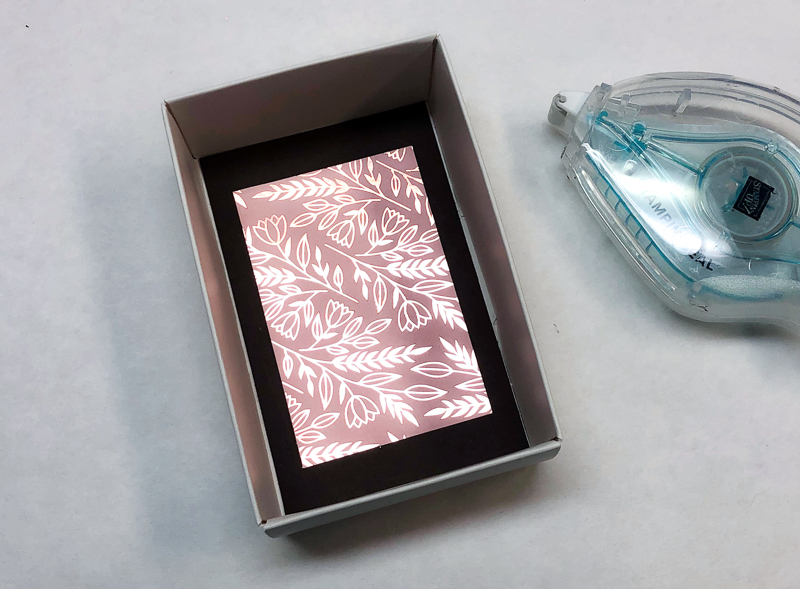
Adhere 3" x 2" Petal Pink Love You Always Specialty Designer Series cut-off piece to 2-1/2" x 3-7/8" Early Espresso cardstock. Adhere layers inside the bottom box for a fun finishing touch.
Project - Step 9

9. Add Sweets

Add candy, a sweet note, or small gift to the box and share the love!


Product List