December Color Inspiration

 I hope you are reaching a point in the holiday dash that you can slow down a bit and enjoy the joy of the season. I always enjoy taking a little quiet time to write in cards or read a book while sitting and enjoying the twinkling lights of the tree. 


Don't forget to check out the Last Chance List and Sale before retiring items from the July-December Mini Catalogue are gone for good.

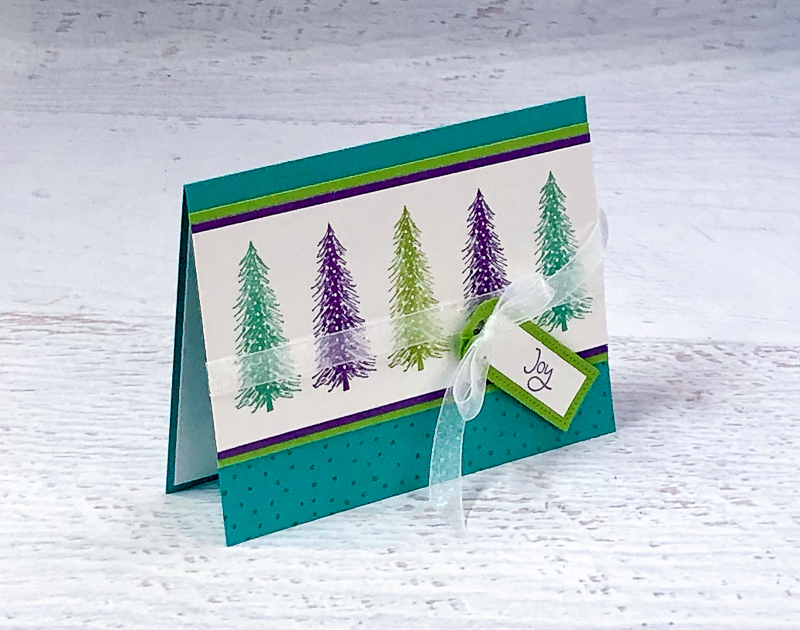
This month's Colour Inspiration is a bit nontraditional and whole lot of fun. I think you'll enjoy this fun combination for the holidays and into the New Year!


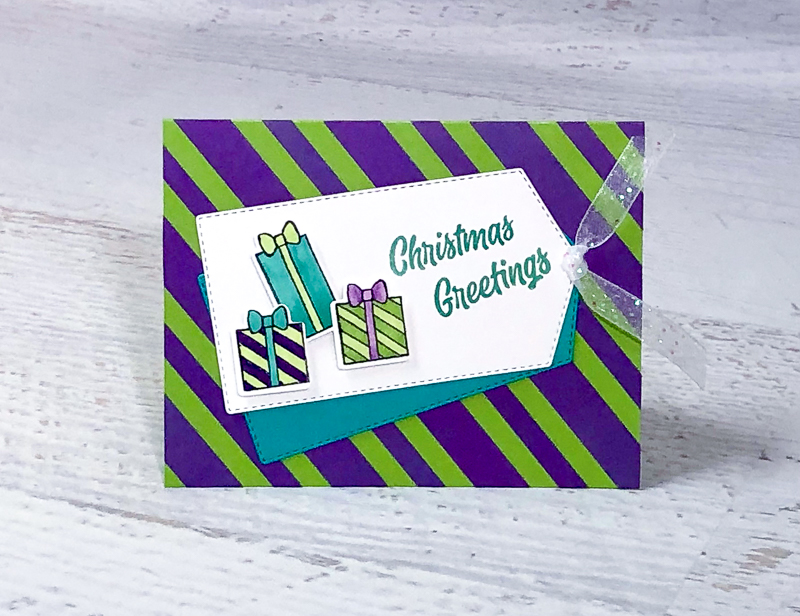
This month's Colour Inspiration trio of Bermuda Bay, Granny Apple Green, and Gorgeous Grape are bold, bright, and beautiful for the holidays, New Year's, and so many more occasions.

All three colours are from the Brights Collection, and add a bright pop to Christmas trees from the Whimsical Trees stamp set and gifts from the Sweet Little Stockings bundle .

The first card features the Whimsical Trees stamp set, a sweet tag using the Tailor Made Tags Dies  and a perfect bit of sparkle from the White 3/8" Glittered Organdy Ribbon.


This month's Colour Inspiration Project

The second card features the Sweet Little Stockings bundle . The tag and presents are die-cut using the coordinating dies. For a fun twist, 1/2" and 1/4" strips of cardstock create a diagonal background pattern. White 3/8" Glittered Organdy Ribbon adds the final touch of sparkle.

This month's Colour Inspiration Project


Product List

Reflected in Nature Card


Winter makes me think of cozy blankets, snowy landscapes, and a peaceful cabin in the woods. Doesn't that sound like an amazing getaway?  Especially after the Christmas frenzy.  Add in some sugar cookies, a good book, and crafting supplies, and it sounds wonderful to me!

This month's tutorial features a winter cabin from the Reflected in Nature stamp set. It's a card that is perfect for winter and New Years. A touch of colouring to accent the details makes this card both simple to make and beautiful!

Subscribe to my email list for detailed instructions on how to recreate this beautiful card!


Product List

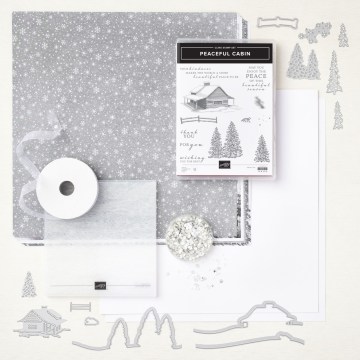
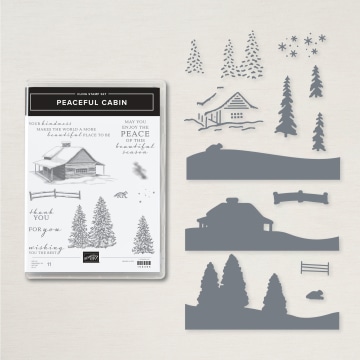
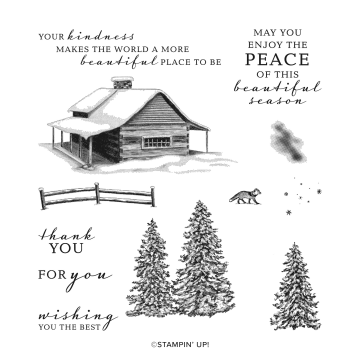
Peaceful Cabin

August-December 2021 Mini Catalogue - PEACEFUL CABIN SUITE

PEACEFUL CABIN SUITE


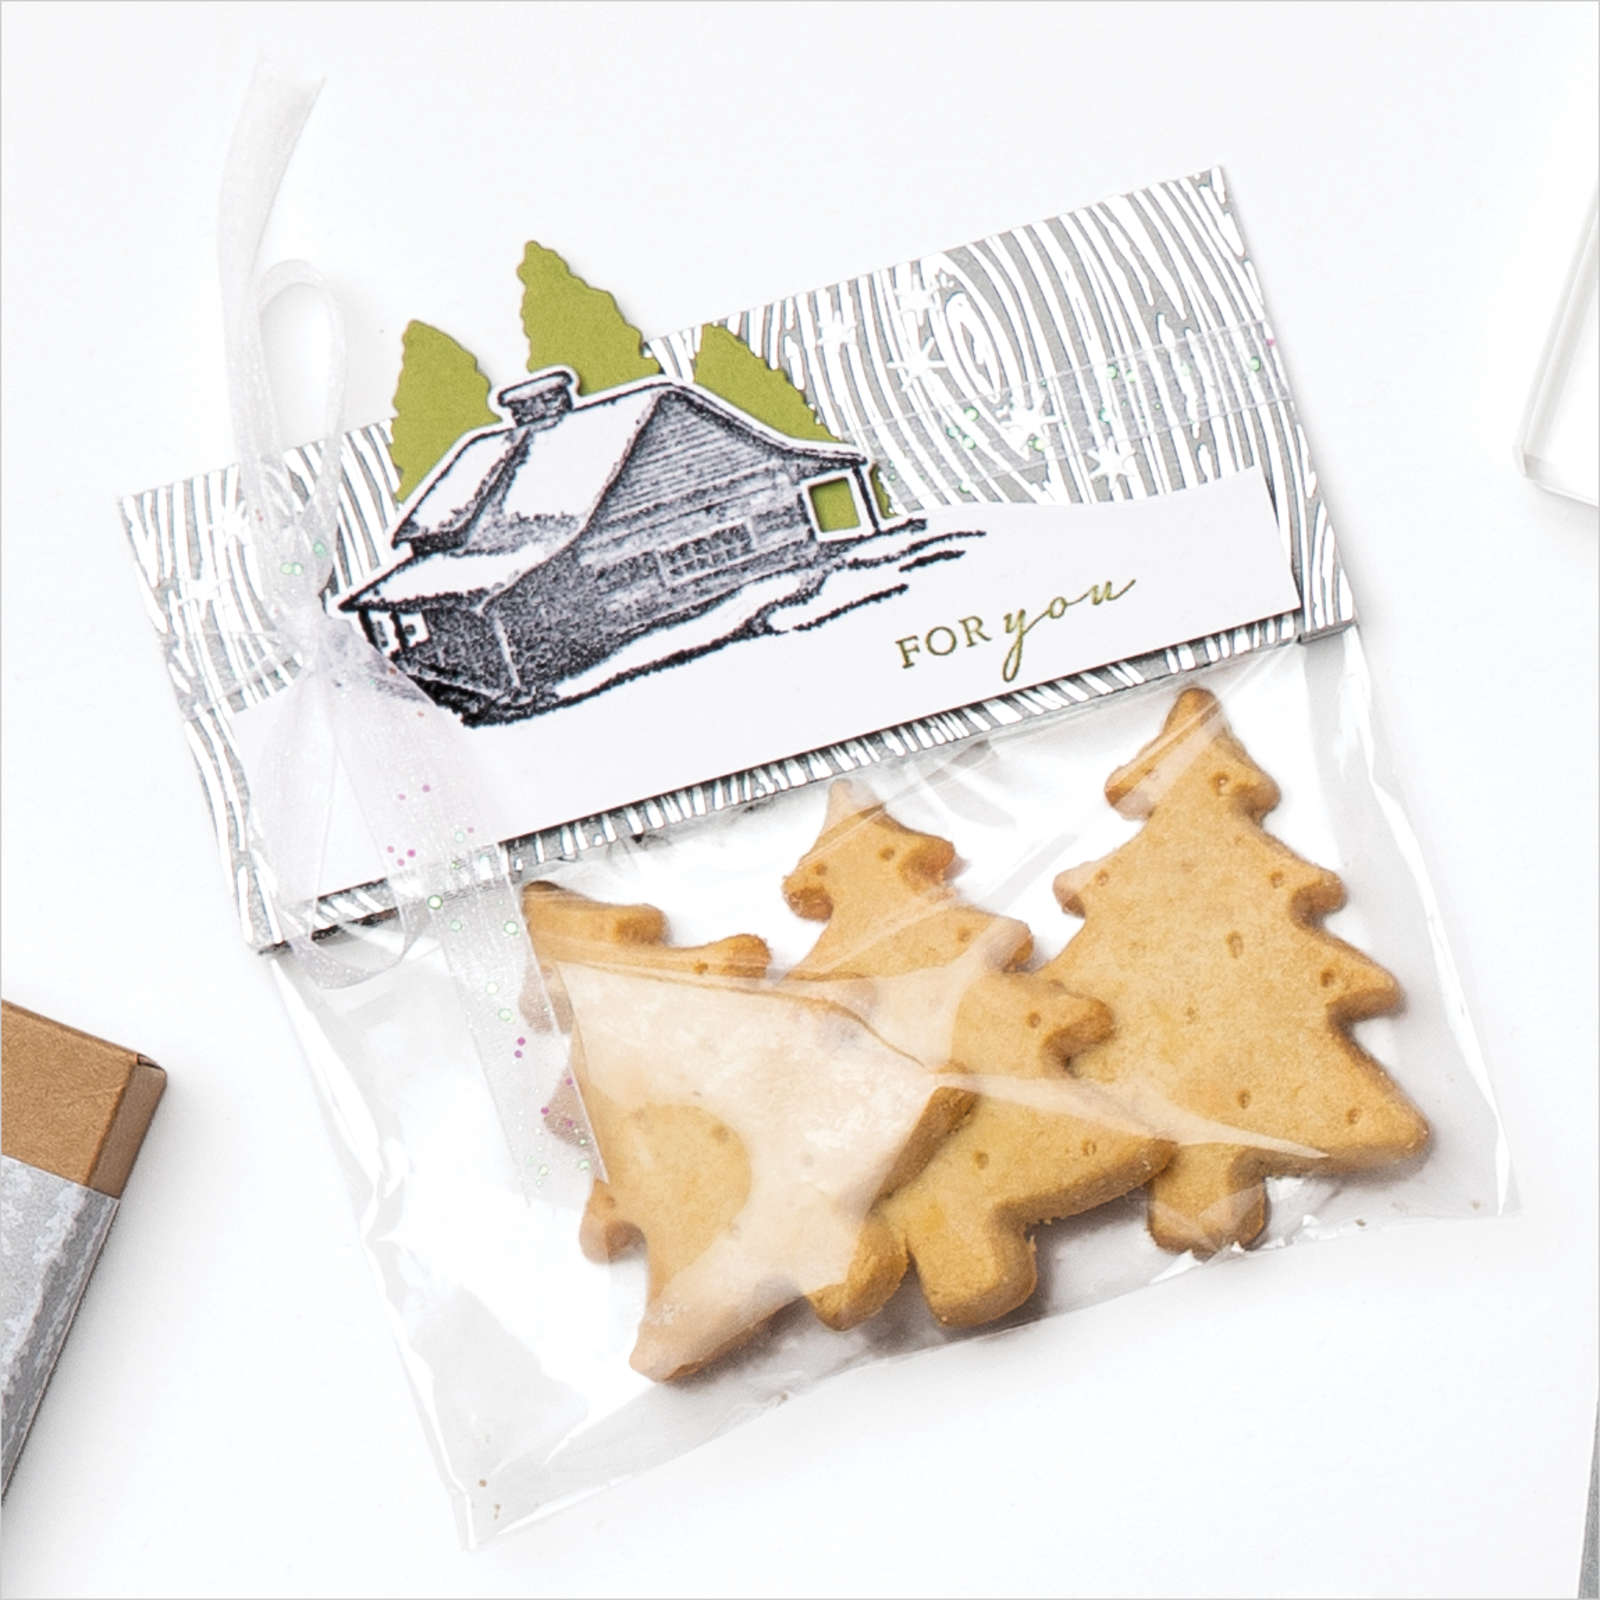
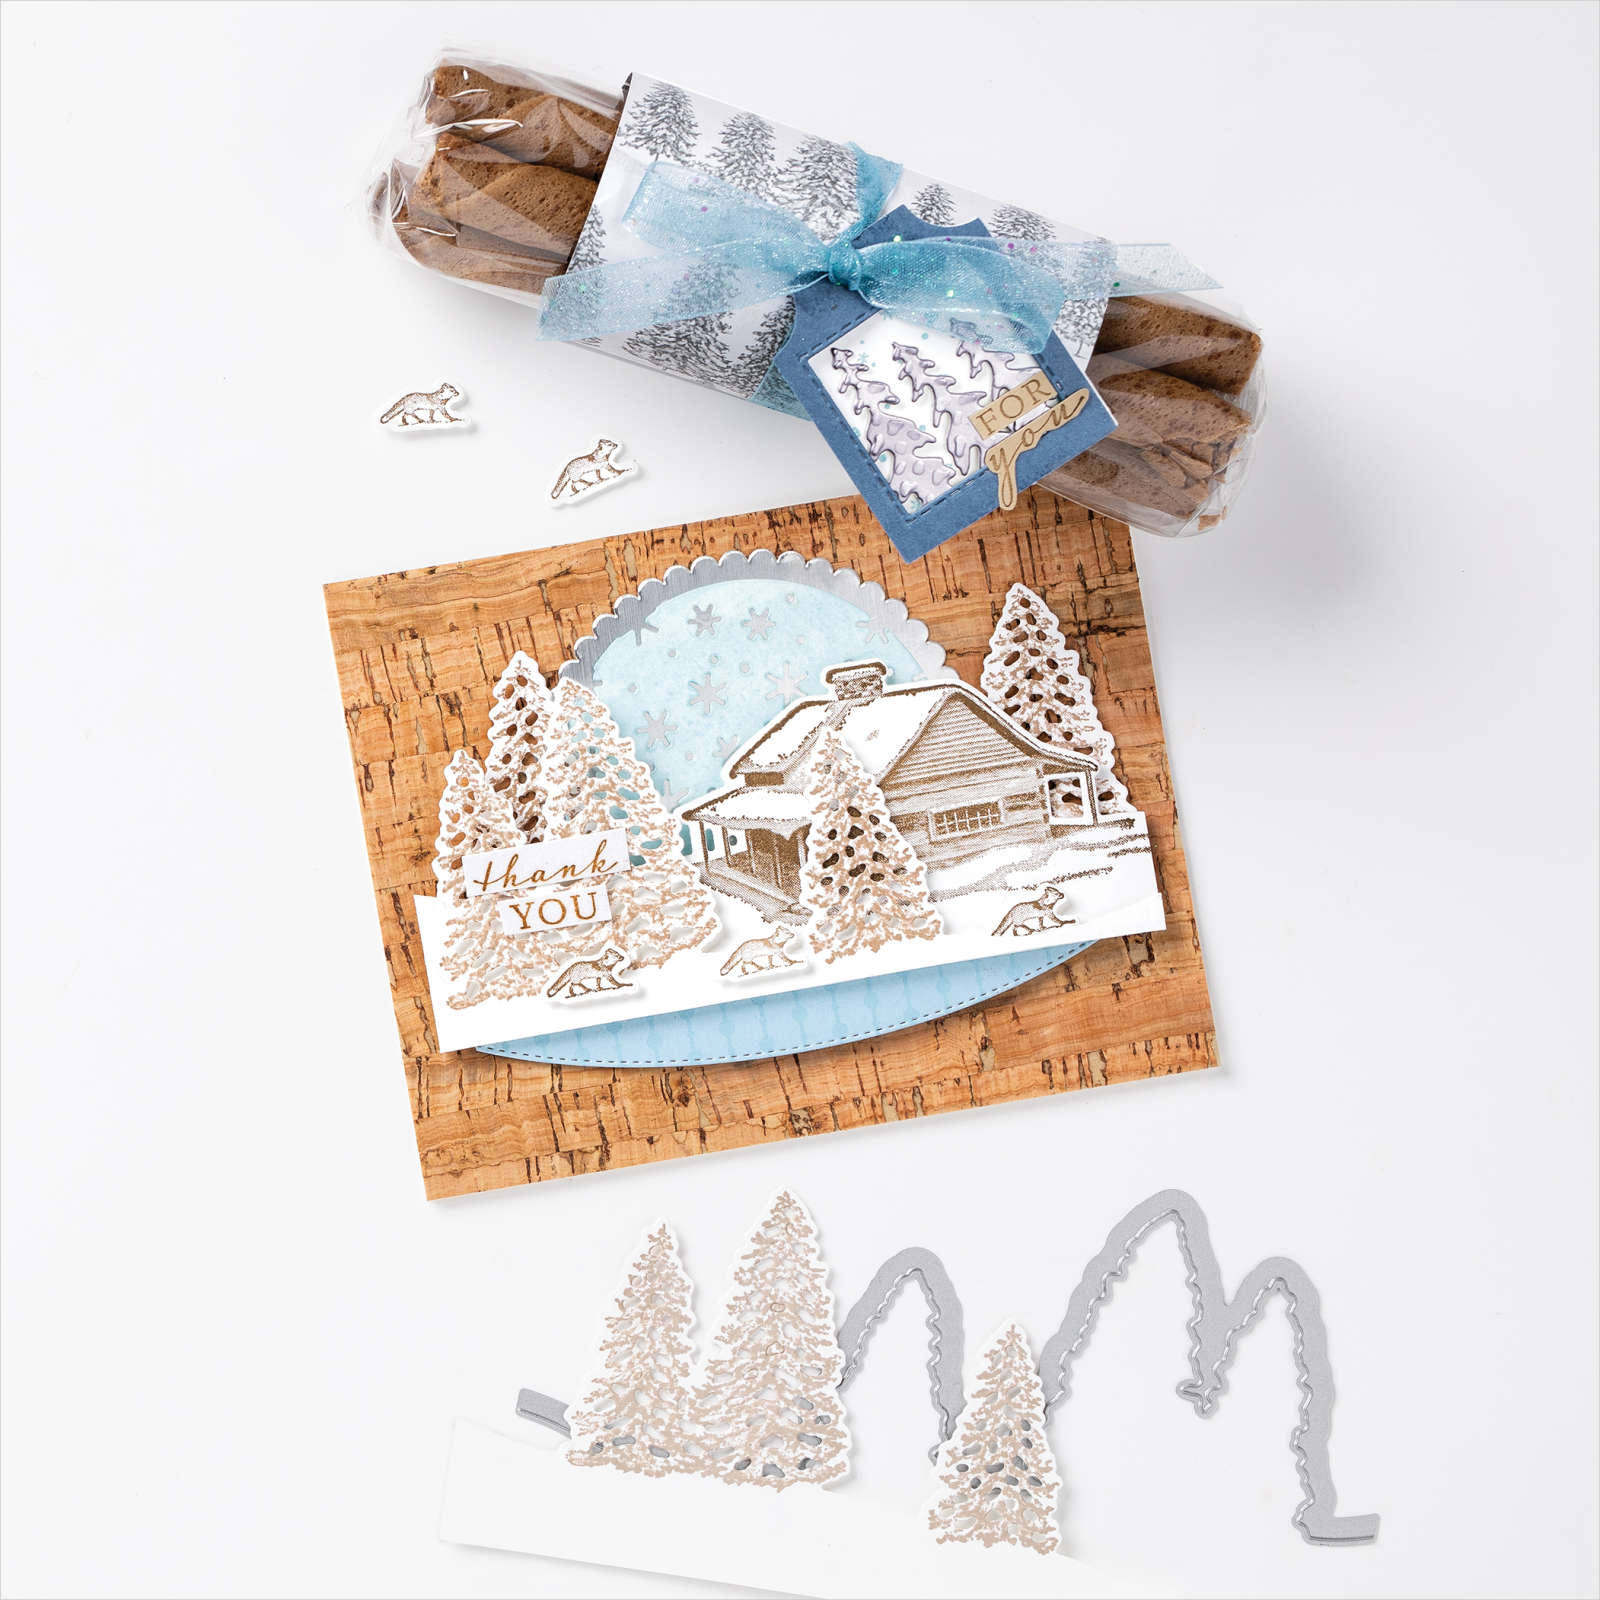
A cabin in a snowy meadow, surrounded by trees, is about as iconic of a peaceful scene as I can imagine. With the Peaceful Place Suite you'll have all the elements for creating cards, scrapbook pages, and more with beautiful, wintery landscapes.

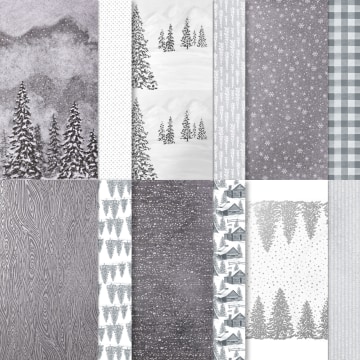
The Peaceful Place Specialty Designer Series Paper features a lovely, soft monochrome style with silver accents that are perfect for elegant and natural looks. The Peaceful Cabin stamp set is a DistINKtive set, which means it creates detailed, shaded images. You'll love creating with this set for the holidays and the winter months that follow.

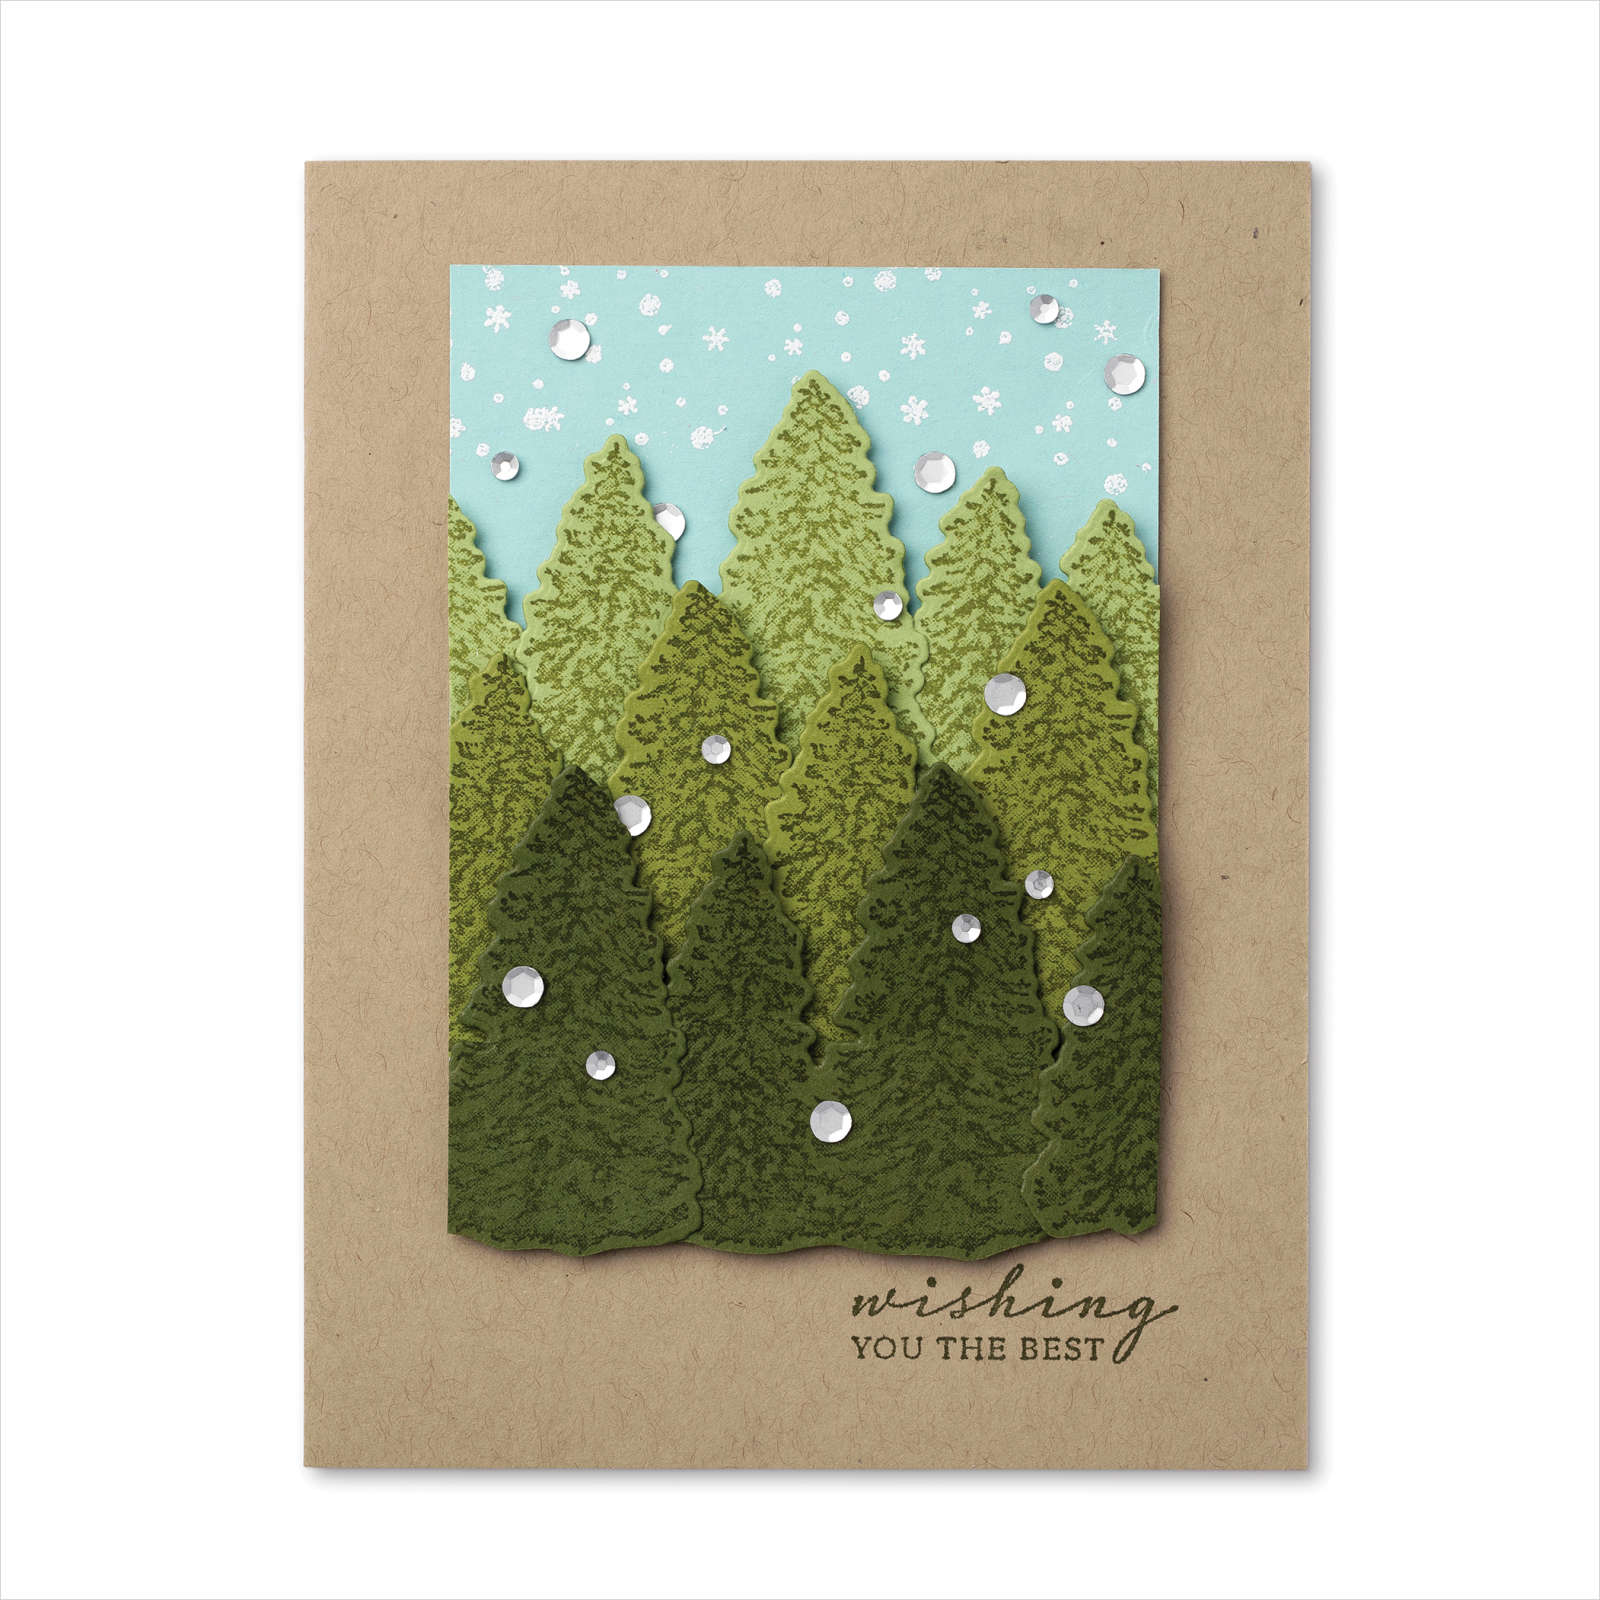
The card below features a diorama-style, that layers down to the focal image, instead of up like most cards we create. I think you'll love creating and sending this beautiful card.

--------------------------------------------------

VIEW ONLINE
August-December 2021 Mini Catalogue - PEACEFUL CABIN SUITE

Coordinating Products


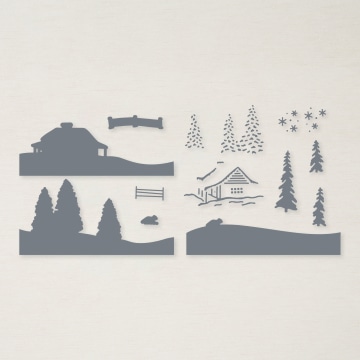
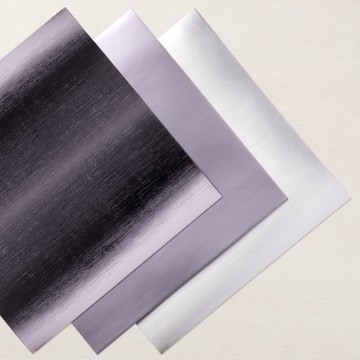
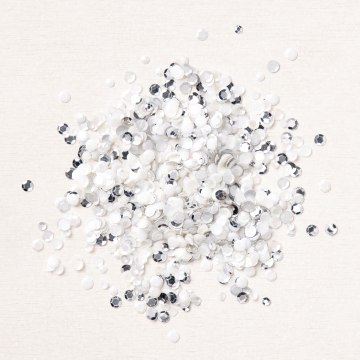
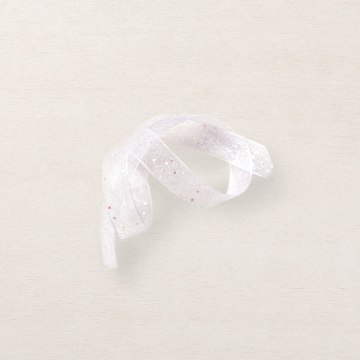
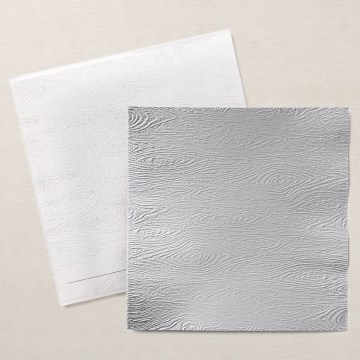
Peaceful Place Suite Collection (english) Peaceful Cabin Bundle (english) Peaceful Cabin Cling Stamp Set (english) Peaceful Place 12 X 12 (30.5 X 30.5 Cm) Specialty Designer Series Paper Cabin Dies Timber 3d Embossing Folder Silver Foil 12 X 12 (30.5 X 30.5 Cm) Specialty Pack Subtle Shimmer Sequins White 3/8 INCH (1 Cm) Glittered Organdy Ribbon Snowy White 12 X 12 (30.5 X 30.5 Cm) Velvet Sheets

August-December 2021 Mini Catalogue - Peaceful Sweet Stockings Card

August-December 2021 Mini Catalogue - Peaceful Sweet Stockings Card
Peaceful Sweet Stockings Card


August-December 2021 Mini Catalogue - Peaceful Sweet Stockings Card


TIPS: The Peaceful Cabin stamp set is a special stamp design called DistINKtive(TM) by Stampin' Up! DistINKtive stamps are designed to give a detailed, shaded, 3D-like effect. An ink pad with too much ink will create a blotchy, blobby image with these stamps. This is a real case of less is more. Use a Bone Folder or the back of a plastic spoon to push the ink away from the center of the ink pad and towards the edges. Then ink and stamp.