
Wednesday, January 29, 2020

The grocery store is packed with Valentine's candy, decor, and treats. Walking through the aisles made me think about the fun of decorating a special box and sharing silly little cards with classmates when I was a kid. I always loved that - maybe that's why I still love making and sending cards!
It makes me happy when I hear about how the card I created and mailed made someone smile and feel special and loved. I'm glad I'm part of keeping the tradition of sending cards going and hope you will be part of filling mailboxes with happy mail this year, too!
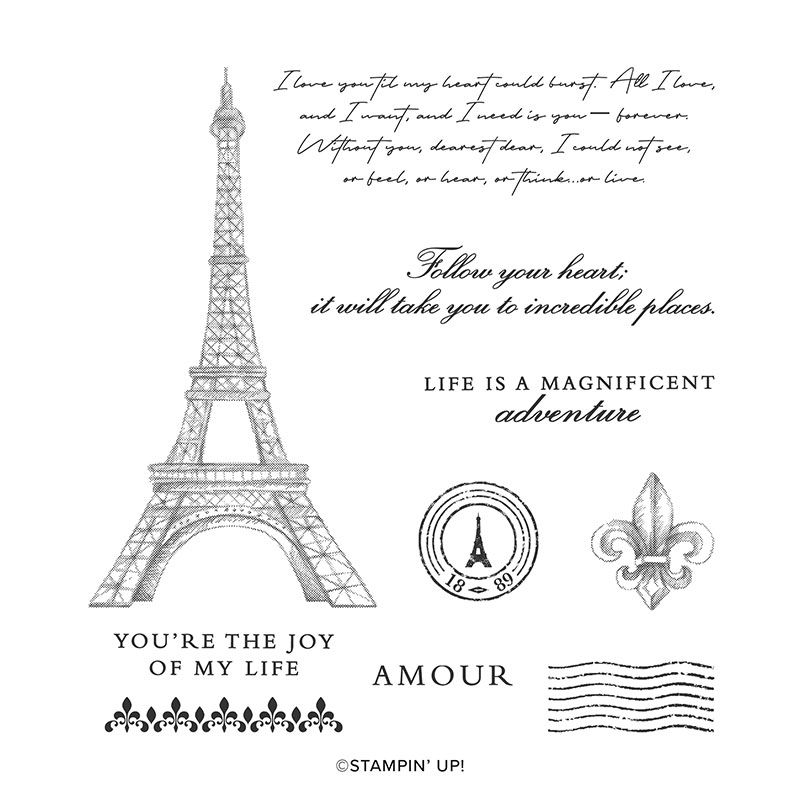
This month's Colour Inspiration is one that is perfect for Valentine's Day and beyond. One of my top picks from the new Mini Catalogue, the Parisian Beauty stamp set, is also perfect for Valentine's Day and many other occasions. The other sample features Sale-A-Bration goodies! I hope you enjoy this bold and elegant colour combination and these inspiration projects!
It makes me happy when I hear about how the card I created and mailed made someone smile and feel special and loved. I'm glad I'm part of keeping the tradition of sending cards going and hope you will be part of filling mailboxes with happy mail this year, too!
This month's Colour Inspiration is one that is perfect for Valentine's Day and beyond. One of my top picks from the new Mini Catalogue, the Parisian Beauty stamp set, is also perfect for Valentine's Day and many other occasions. The other sample features Sale-A-Bration goodies! I hope you enjoy this bold and elegant colour combination and these inspiration projects!
There is still time to register for my Poppy Home Décor Class on February 16th. This class will include over $30.00 of Stampin' Up! products that you get to take home and use on your own creations.
You have till January 31st to save your seat.
Monday, January 27, 2020
|

|

|
Tuesday, January 21, 2020
SPECIAL CLASS
Peaceful Poppies
Come and join me for this
special class and create a
beautiful home décor frame
project and four gorgeous cards

Which option will you choose?
  |
SUNDAY FEBRUARY 16th
1pm – 4pm
The class cost is $45.00 and you will receive over
$30.00 worth of Stampin' Up! goodies including
2 Stampin’
Blends of your choice.
Come and join this friendly local class and make a
gift you will be proud to use or give.
Gorgeous Grape, Mambo Melody
or Poppy Parade?
 |
Get in touch soon to reserve your place at this
special class
Class Date: Sunday February 16th
Closing Date: Friday, January 31st.
*(Frame not included) *
Saturday, January 18, 2020

I hope everyone is safe and warm on this snowy windy weekend. I spent the day today going through my calendar and booking my Card Classes for the whole year! I also have a very special Peaceful Poppies class coming up in February so please check out my Calendar of Events on my Stampin' UP! site if you are interested in any of my classes. You can find them all HERE .
I will be posting more information on my Peaceful Poppies class in the next few days so stay tuned here as well. This will be a product based class and everyone will be going home with Stampin' Up!
products that you can use on other projects at home.
This is perfect weather to snuggle up with the Sale-A-Bration and new Spring Catalogues. If you don't already have a demonstrator you work with and would like a copy of these catalogues just leave a comment below and I will get them to you.
Saturday, January 11, 2020
Hello Stampers;
Happy New Year! I'm excited to make this a great year filled with lots of fun, friends, and creativity. I hope you will be part of this wonderful, creative year with me!
The new Mini Catalogue and Sale-A-Bration are just what we need to get started in style. The Mini is packed with stamps, supplies, and inspiration for all the holidays and events from Valentine's Day through to Father's Day.
I love having a brand new Mini start at the same time as Sale-A-Bration, because it makes it easy to shop for new goodies and earn free Sale-A-Bration rewards at the same time! You are going to love the Sale-A-Bration rewards this year - we have great stamps, paper, embellishments, and more to choose from.
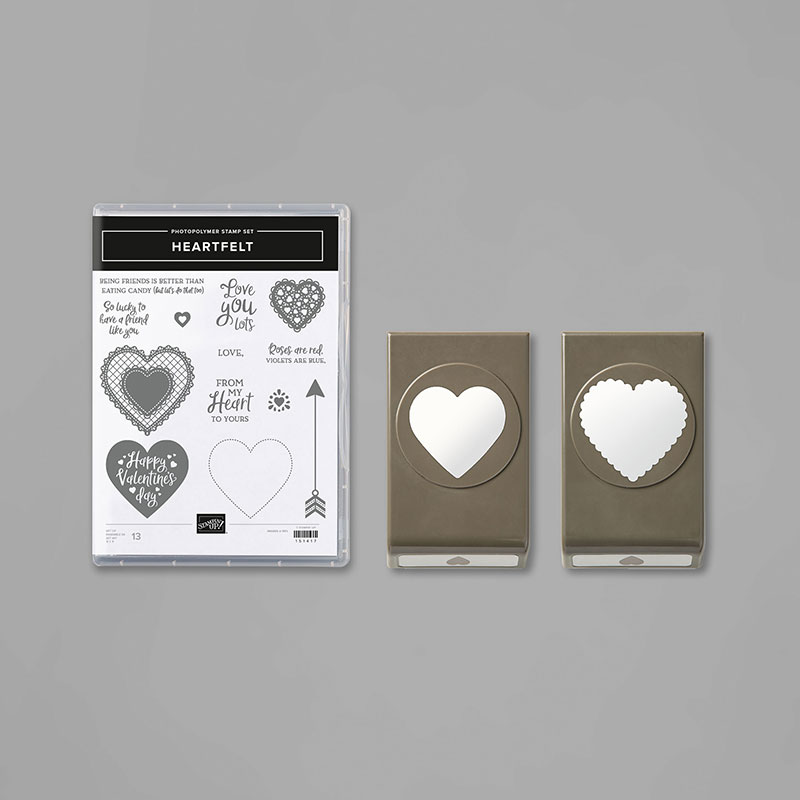
This month's tutorial features the Heartfelt Bundle. The gate-fold card opens to reveal a heart banner inside. I hope you love it!
Sincerely,
Helen
Happy New Year! I'm excited to make this a great year filled with lots of fun, friends, and creativity. I hope you will be part of this wonderful, creative year with me!
The new Mini Catalogue and Sale-A-Bration are just what we need to get started in style. The Mini is packed with stamps, supplies, and inspiration for all the holidays and events from Valentine's Day through to Father's Day.
I love having a brand new Mini start at the same time as Sale-A-Bration, because it makes it easy to shop for new goodies and earn free Sale-A-Bration rewards at the same time! You are going to love the Sale-A-Bration rewards this year - we have great stamps, paper, embellishments, and more to choose from.
This month's tutorial features the Heartfelt Bundle. The gate-fold card opens to reveal a heart banner inside. I hope you love it!
Sincerely,
Helen
|


Thursday, January 9, 2020

I am finally able to sit and work on some new card samples for this months workshops and Card Classes. I will be setting up a schedule for my Studio Classes soon, I just need to get my vision problems to settle down a little. I had surgery the other day and things are resolving quickly, just
not quickly enough for me, haha. In the meantime here is a quick peek at some of the cards I am working on.


Saturday, January 4, 2020
Hip Hip Hooray, it's SAB order day! It's finally here, the Stampin' Up! new Mini Catalog is live!
You can view digital copies of the catalogs thru my website here , text it to me (807) 472-8542 or email me at piaskowd@msn.com .
In the past some of the most popular Saleabration items have sold out quickly, so get yours while you can. Everything is on a while supplies last basis.
Itès easy.....spend $60.00 (before shipping and taxes) and pick a free item from the Saleabration brochure. You get one for EACH $60.00 that you spend from either the Spring mini or Annual catalogs.

Stampin' Up!'s Starter Kit is completely customizable. Build it your way! For just $135 you get:
* Your choice of up to $165 worth of any current Stampin' Up! products
* A business supply pack valued at $70
* A business supply pack valued at $70
That's a total value of $235

Subscribe to:
Posts (Atom)


