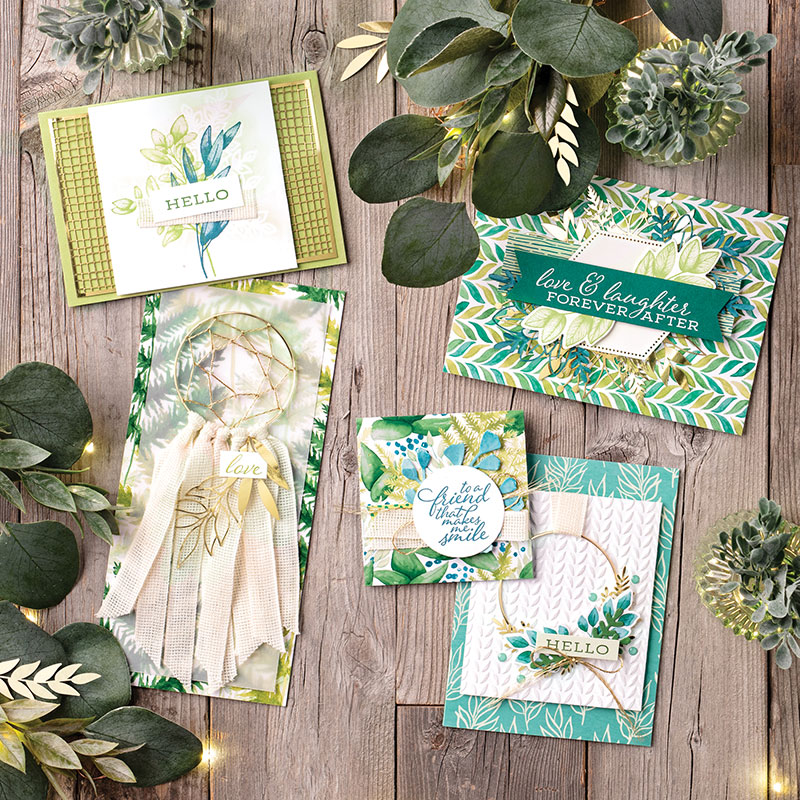
Forever Greenery Suite
When you think of leaves you may think of autumn, but the Forever Greenery Suite is here to change your mind!
This gorgeous collection of leafy images and greetings is one of my top must-have items from the new Annual Catalogue. The detailed images are timeless and work with a variety of styles from rustic to modern. Use them alone for quick and simple cards or add the dies and coordinating embellishments to really create that wow effect.
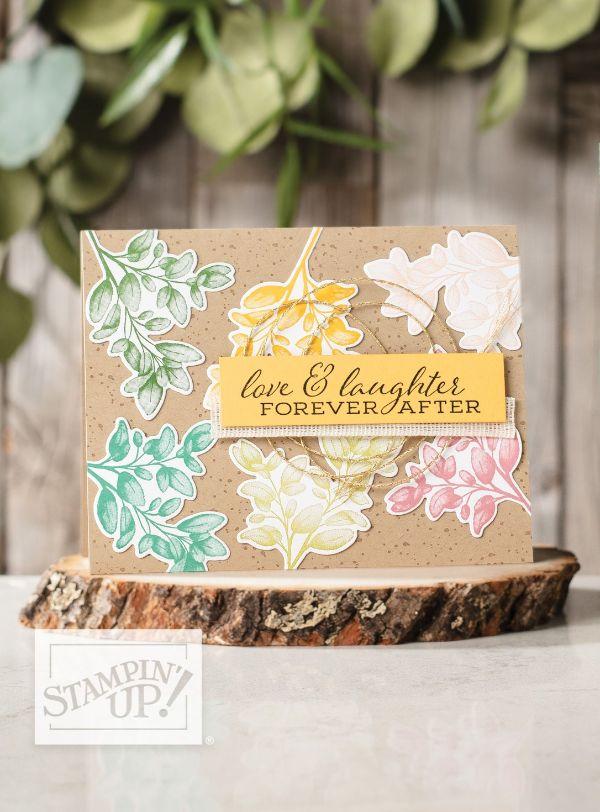
These leaves won't fall behind in autumn, I'll be reaching for them to create all year-round. This shabby chic card tutorial is just one example of the colourful creations you can make with this suite!
-------------------------------------------------
Colourful Forever Fern Card
Join my Email Newsletter List and receive my tutorials by email. With each mailing you will receive a picture of the finished project, a supply list, card layout, and a step-by-step tutorial.
Product List
")


VIEW OUR SUITES ONLINE

")


 Designer Series Paper")