Harvest Meadow Card Tutorial

August-December 2021 Mini Catalogue - Harvest Meadow Suite

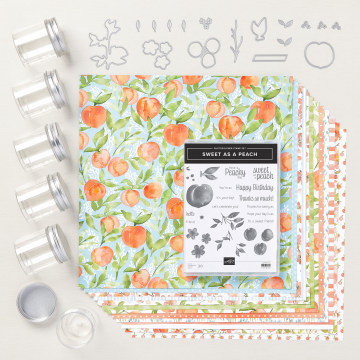
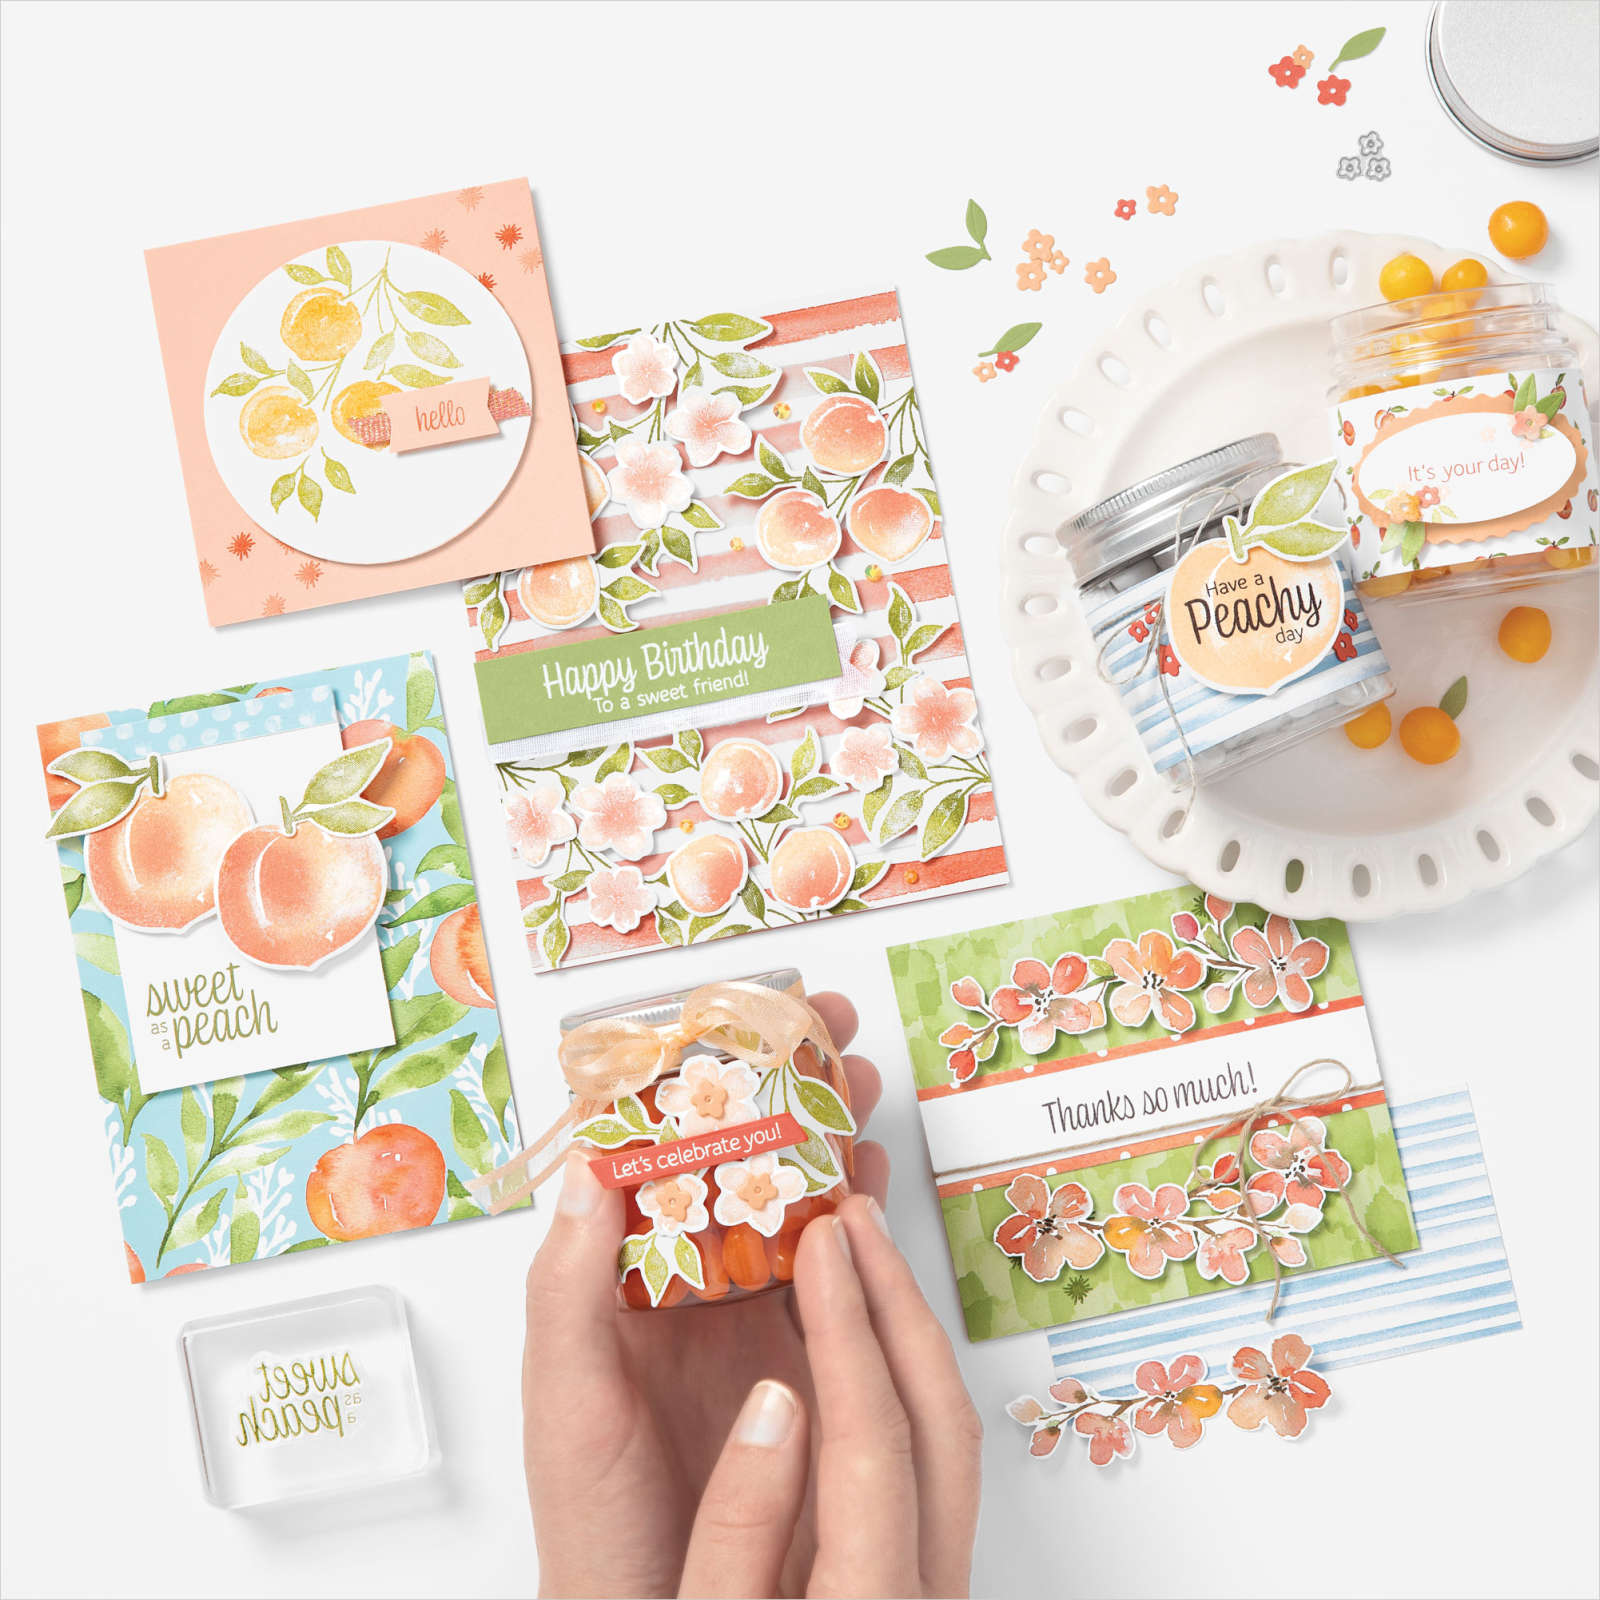
Rich Autumn colours and rustic textures make the Harvest Meadow Suite the perfect accompaniment for your fall cards, decor, and events.

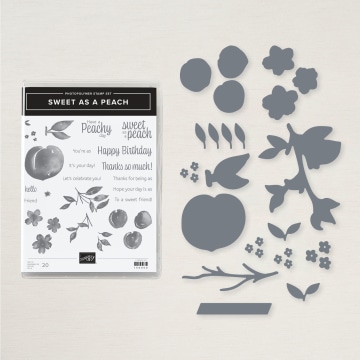
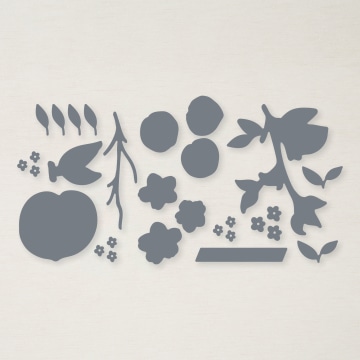
The Nature's Harvest stamp set blooms with both beautiful flowers, and sentiments you'll cherish. The coordinating Harvest Die set includes dies that match the stamped images, plus additional coordinating images and labels. The combination provides detail and variety for both your stamped images and greetings.

The tutorial below takes colouring to a whole new level with Stampin' Blends used for colouring stamped images, die cuts, and ribbon! I think you'll love this combination of techniques that you can use again and again.

August-December 2021 Mini Catalogue - Harvest Meadow Suite


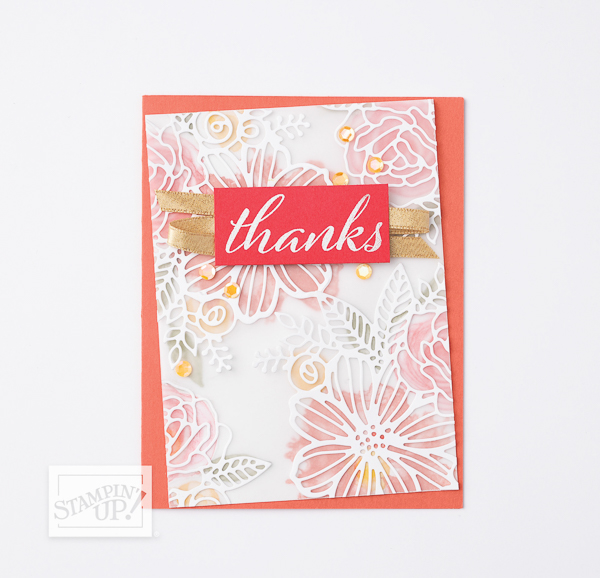
Harvest Meadow Autumn Card


August-December 2021 Mini Catalogue - Harvest Meadow Suite

INSTRUCTIONS:


1) Cut Shaded Spruce cardstock to 5-1/2" x 8-1/2". Score at 4-1/4" along the 8-1/2" side. Cut Basic White cardstock to 3-3/4" x 5" and adhere inside card for a writing space.

2) Cut Shaded Spruce diagonal check patterned paper to 3-3/4" x 5". Wrap Twice with Baker's Twine and tie in a bow near the right edge. Adhere to card front with Stampin' Dimensionals.

3) Stamp greeting and flower image on scrap Basic White cardstock with Soft Suede ink. Die cut with coordinating label and flower dies images from the Harvest dies.

4) Colour the die cut flower with the Mellow Moss, Daffodil Delight, Pumpkin Pie, and Cajun Craze Stampin' Blends.

5) Die cut wheat/flower and branch images from scrap Basic White cardstock.

6) Colour the stem of wheat/flower image with the Mellow Moss Stampin' Blends and the flower part with the Blackberry Bliss Stampin' Blends. Colour the branch die cut with Soft Suede Stampin' Blends.

7) Colour a 4" piece of the Pale Papaya & White ribbon with the brush tip of the Dark Pumpkin Pie Marker. This will cover the Pale Papaya and create a Pumpkin Pie ribbon. Allow to dry just a few moments.


8) Use Multipurpose Liquid Glue or Mini Glue Dots to adhere die cut images to card front. Layer ribbon over the top with Glue Dots.

9) Adhere greeting over ribbon with Mini Glue Dots or Stampin' Dimensionals.


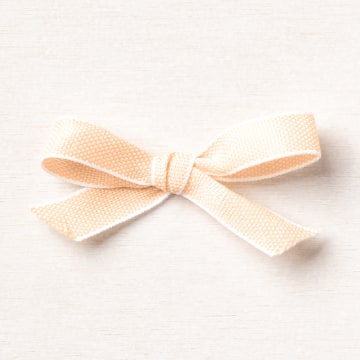
TIPS: Create custom ribbon with Stampin' Blends. Start with a white ribbon or a light colour ribbon similar in tone to your chosen colour. Colour the ribbon using the brush tip of a Stampin' Blends marker. You can create a solid colour, ombre, or rainbow effect. Because Stampin' Blends are alcohol-based the coloured ribbon dries quickly and is ready to use without a long drying time.

Product List


Simply Elegant Anniversary


Annual Catalogue -Simply Elegant Suite

 The Simply Elegant Suite is rich in luxurious details and textures that you just have to see in person to really appreciate. The Simply Elegant Specialty Designer Series Paper combines the elegance of Basic Black, Basic Gray, and Very Vanilla with the shimmery luster of Gold, Copper, and Silver - it's simply gorgeous! Often, stamp and punch combinations are designed to punch out a specific image, but in this case the Elegant Tag Punch works with several images and greetings in the Elegantly Said stamp set. The bonus of this design is that the punch works with lots of other images and greetings from other sets, too! The tutorial below, shows a soft and sweet alternate to the colors highlighted in the Simply Elegant Suite. I think you'll love the versatile style of this bundle and suite!

 
Annual Catalogue -Simply Elegant Suite


Simply Elegant Card

Annual Catalogue - Simply Elegant Card 

INSTRUCTIONS:

1) Cut Petal Pink cardstock to 5-1/2" x 8-1/2". Score at 4-1/4" along the 8-1/2" side.


2) Cut Petal Pink cardstock to 3-1/4" x 5". Create the look of your own Designer Series Paper by stamping the floral image from the Elegantly Said stamp set all over the cardstock. Start by stamping the image twice, near the center, with Flirty Flamingo ink. Clean the stamp and then stamp around the first two images, using Petal Pink ink, until the cardstock is covered. Rotate the stamp a quarter turn each time to create a varied pattern.


3) Adhere near the left edge of the card front with Stampin' SEAL. Add gold leaf and berry stalk die cut pieces from the Expressions In Ink Ephemera Pack near the right edge of the layer with Mini Glue Dots or Multipurpose Liquid Glue.


4) Use the Elegant Tag punch to punch Sweet Symmetry Designer Series Paper. Adhere to card overlapping the gold ephemera with Stampin' Dimensionals.


5) Stamp greeting on 2" x 1/2" Mint Macaron cardstock with Mint Macaron ink. Adhere to tag with Stampin' SEAL or Mini Glue Dots.


6) Use Linen Thread to gently tie a bow around the finial detail on the punch.


Product List

You're A Peach

The Annual Catalogue Inspiration

YOU'RE A PEACH SUITE

Warm sunshine and fresh fruit are sure signs that summer is here. Bring the fresh beauty of summer into your craft room any day with the You're a Peach Suite.

Whether you are creating cards, memory keeping, or adding tags to your fresh-made preserves you'll love the peachy-goodness you can create with the You're A Peach Suite. The colours in the coordinating You're a Peach Designer Series Paper are sweet and fresh. The adorable, food-safe Mini Jam Jars are perfect for filling with jams, candy, craft embellishments, or small gifts.

The tutorial below combines the Sweet As A Peach Bundle with Paper Lattice embellishments and Hand-Penned Designer Series Paper for a sweet and simple card your friends would love to receive.

--------------------------------------------------

YOU'RE A PEACH SUITE - Peachy Day Card

YOU'RE A PEACH SUITE - Peachy Day Card

Join my Email Newsletter List and receive my tutorials by email. With each mailing you will receive a picture of the finished project, a supply list, card layout, and a step-by-step tutorial.


Product List
TIPS: Create a distressed edge on paper using the open edge of your Paper Snips. Hold the paper near the edge and carefully rub the sharp edge of the open Paper Snips perpendicular to the paper edge using short strokes towards you. The Paper Snips create a roughed up edge that adds a nice rustic, vintage touch.

Coordinating Products


2021-2022 Annual Catalogue - YOU'RE A PEACH SUITE


2021-2022 Annual Catalogue - YOU'RE A PEACH SUITE


2021-2022 Annual Catalogue - YOU'RE A PEACH SUITE


2021-2022 Annual Catalogue - YOU'RE A PEACH SUITE


2021-2022 Annual Catalogue - YOU'RE A PEACH SUITE


2021-2022 Annual Catalogue - YOU'RE A PEACH SUITE


2021-2022 Annual Catalogue - YOU'RE A PEACH SUITE


2021-2022 Annual Catalogue - YOU'RE A PEACH SUITE


YOU'RE A PEACH SUITE

2021–2022 Designer Series Paper

DOWNLOAD OUR LATEST CATALOGUE

2021-2022 Annual Catalogue