Crafty Challenge Blog Hop


This month's color challenge was difficult. Some sketch challenges are also difficult for me unless I already have a specific set in mind. In this challenge I had to use 3 colors:


I started by inking up some flower stamps from the Artistically Inked stamp set using Flirty Flamingo and Highland Heather.  I then added a few leaves in Coastal Cabana.  With such light subtle colors I knew I needed to add some darker shades, so I opted for a black card base. I mounted a piece of white cardstock, embossed with the Old World 3D embossing folder, onto the cardbase.  I chose the Thank You sentiment from the stamp set. I fussy cut it and added it to the front of the card with dimensionals.

I added some Highland Heather ribbon for more dimension and some gem embellishments to finish it off! Next, I stamped a few flowers in Flirty Flamingo to the envelope and the inside of the card.


Product List

January Tutorial


I'm ready to shake off the old and kick off this new year with positivity and creativity! I hope you'll join me in the challenge of sharing more joy this year.

The new January-June Mini Catalogue is packed with just what you need to kick start your creative projects. If you haven't had a chance to check it out yet, you'll want to make a point to see some of the exciting new goodies.

I'm so giddy about the new Slim Sayings Bundle, that I just had to use it for this month's tutorial. I think you'll love this fresh card style, too!

Sale-a-Bration is happening now through the end of February, so don't miss your chance to get new goodies and earn fun bonus stamps or paper from the Sale-a-Bration brochure with your qualifying purchases or parties!

Detailed instructions for this card are included in my newsletter.  Subscribe today!


Product List

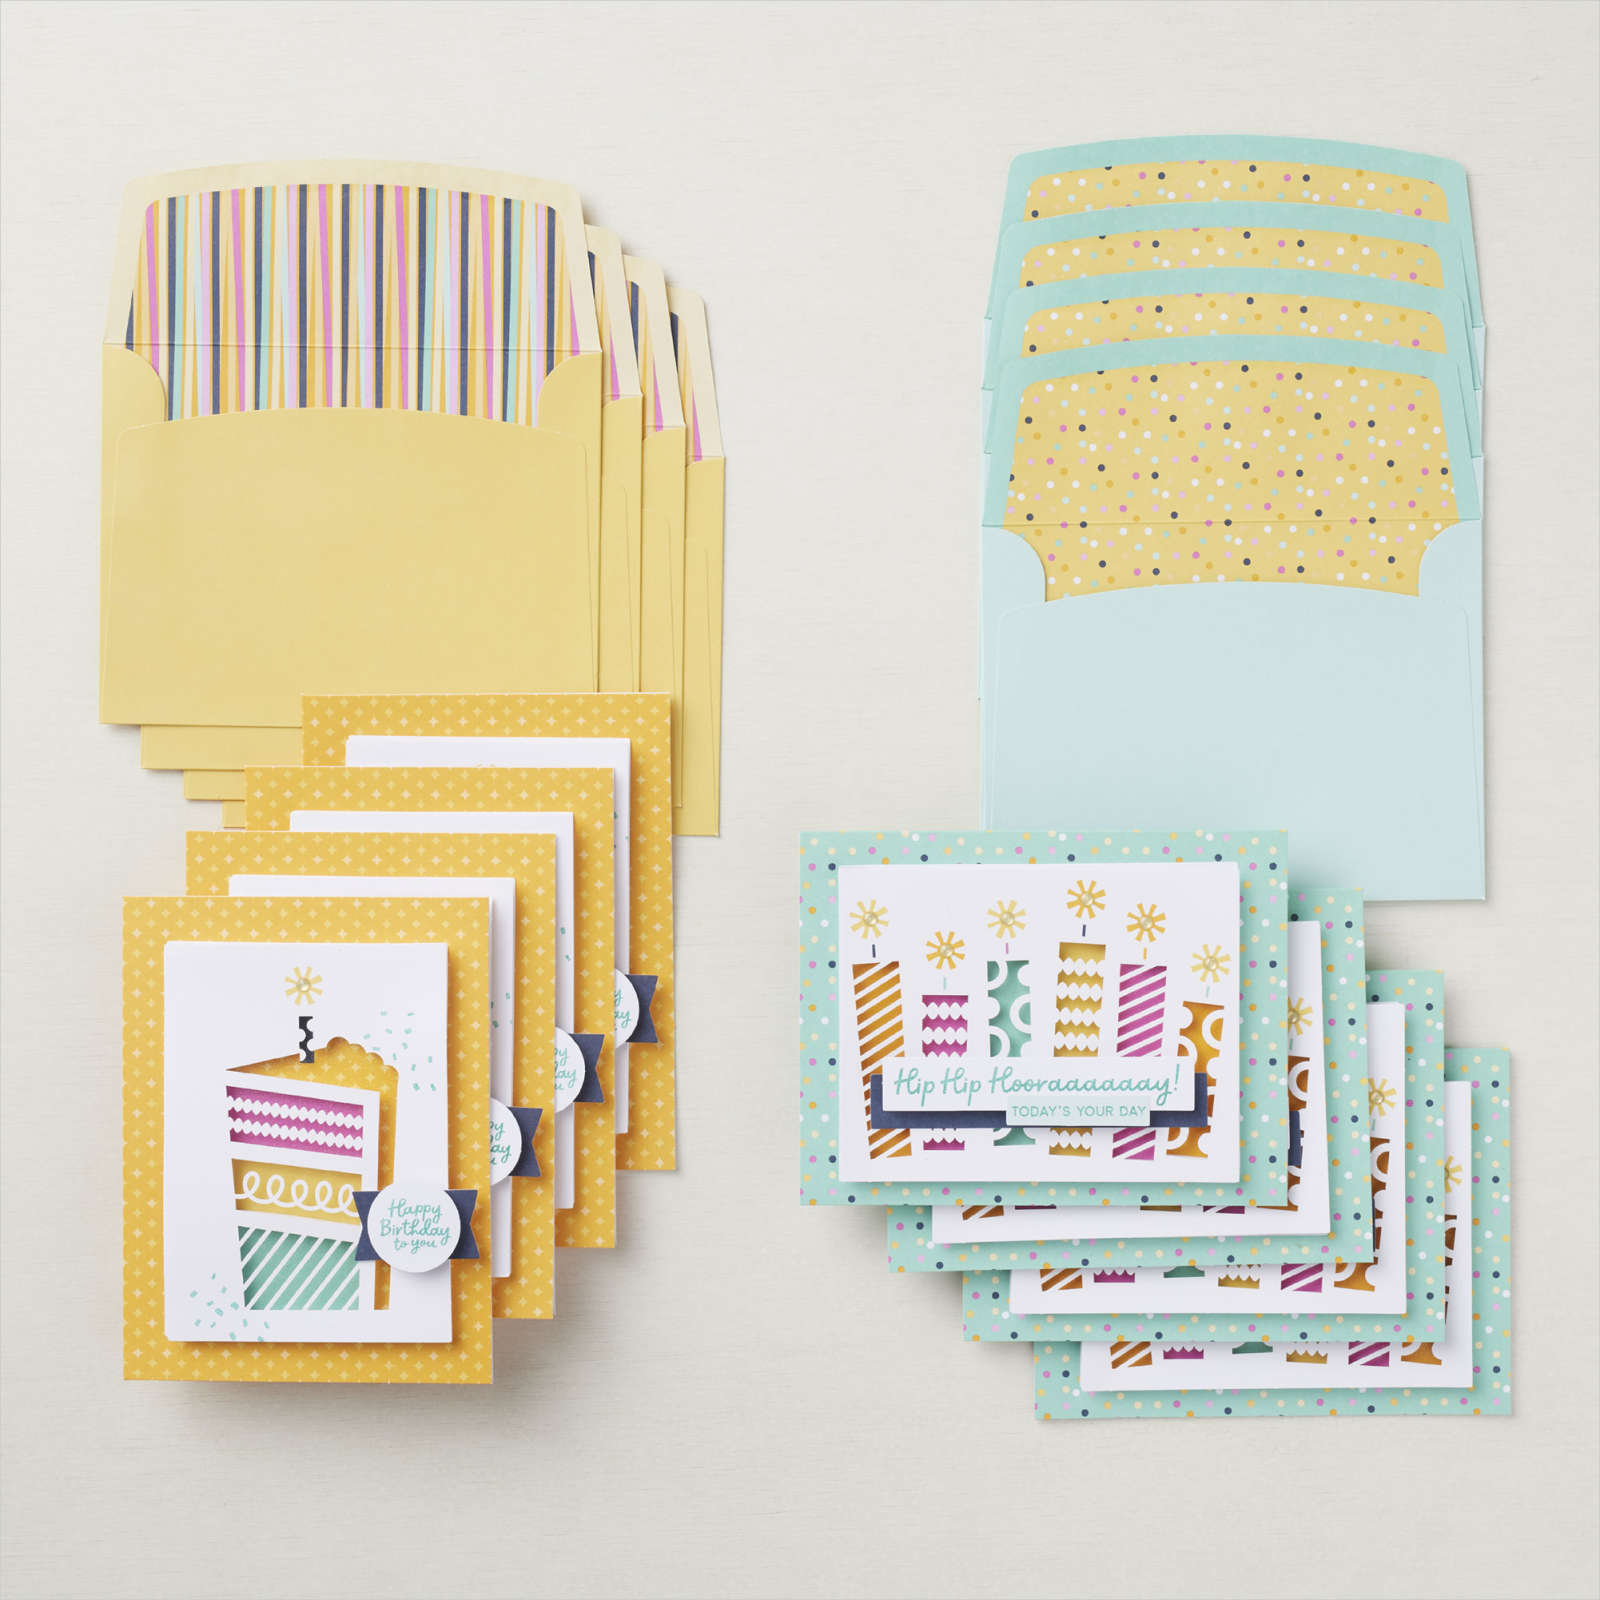
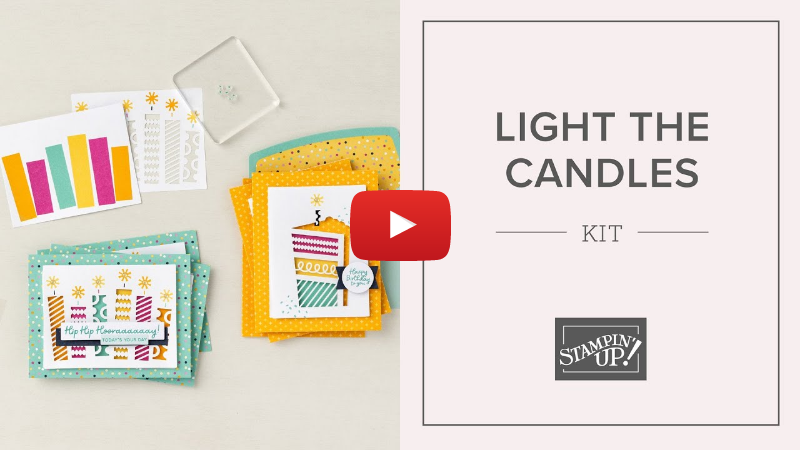
Light The Candles Kit


LIGHT THE CANDLES CARD KIT from JANUARY -JUNE 2022 Mini Catalogue

Give a big “Hip Hip Hooray!” for the Light the Candles Kit! This is a beginner-friendly DIY birthday card kit that’ll make you want to party and eat cake at the same time!

You’ll get enough supplies to create 8 cards—4 each of 2 designs—and 8 coordinating envelopes with party-ready designs of birthday cake, candles, and all the wishes. The cards in this kit also make great invitations for a fun birthday bash!

If you order today you'll be able to choose FREE exclusive reward stamp sets or other items with each $60 purchase as part of our Sale-a-Bration promotion.

VIEW OUR KITS ONLINE

 LIGHT THE CANDLES CARD KIT from JANUARY -JUNE 2022 Mini Catalogue

Kit includes:

* Light the Candles Photopolymer Stamp Set

* Acrylic Stamp Block

* Coastal Cabana Classic Stampin’ Spot

* Predesigned projects* Step-by-step instructions

* Precut pieces (No prep work! Get right to crafting)

* Makes 8 cards: 4 each of 2 designs

* Folded card size: 5-1/2" x 4-1/4" (14 x 10.8 cm)

* 8 preprinted envelopes* Enough adhesive to complete projects

*A 9-7/8" x 6-1/2" x 2-3/4" (25.1 x 16.5 x 7 cm) printed designer box for storage or crafting on the go


Product colours: Coastal Cabana, Daffodil Delight, Magenta Madness, Mango Melody, Night of Navy

 LIGHT THE CANDLES CARD KIT from JANUARY -JUNE 2022 Mini Catalogue  LIGHT THE CANDLES CARD KIT from JANUARY -JUNE 2022 Mini Catalogue

Light The Candles Card Kit

January Paper Pumpkin

Stampin' Up! Paper Pumpkin - Kits in the Mail

Paper Pumpkin - Paper Crafting Kits in the Mail

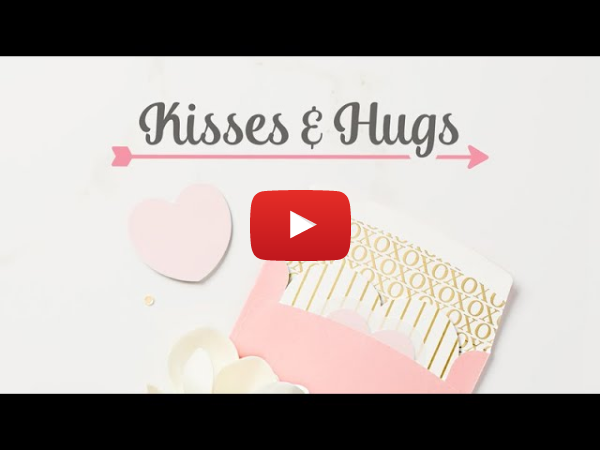
The Kisses & Hugs Paper Pumpkin kit will help you express your love and caring in style this Valentine's Day and all year long! Gold accents, heart-shaped cards, and stylish details will delight Cupid and your loved ones.

Plus, as a Paper Pumpkin subscriber you have access to exclusive access to add on the Kisses & Hugs Mini Treat Boxes (#160147). With 20 sweet boxes you'll have enough to share the love!

NEW! Party while you craft with
VIEW SUBSCRIPTION OPTIONS
----------------------------------------------------------------------------------

What's Inside?
With a monthly Paper Pumpkin craft subscription box, you'll save time and money . . . and eventually build a collection of versatile Stampin’ Up! crafting supplies.

Design
The Kisses & Hugs Mini Treat Boxes (item 160147) are an exciting add-on to this month’s kit! This is a chance to create stylish treat boxes to match the heart-shaped cards in the kit. While these boxes are small, they make a big impact that shines with gold foil printing. The Kisses & Hugs Mini Treat Boxes are sold separately starting 25 January and only available while supplies last, so don’t wait too long to snag them!

Project Type
Kit contains enough supplies to create 10 cards—5 each of 2 designs—and 10 coordinating envelopes

Coordinating Colours
Blushing Bride, Flirty Flamingo, Gray Granite, Very Vanilla

DOWNLOAD FLYER


Stampin' Up! Paper Pumpkin - Kits in the Mail


Sneak a Peek at this Paper Pumpkin Kit

Paper Pumpkin

WATCH VIDEO


VIEW SUBSCRIPTION OPTIONS

Subscribe to Paper Pumpkin before February 10th.

My First Blog Hop


I am trying something new his year and have joined my very first Blog Hop.  I hope to enter several more in the coming year so keep an eye out!  Please leave a comment below if you like my card!  All entries from this hop are from the new Mini Catalog which will run from Jan 4th to June 30th.  I fell in love with the Grassy Grove Bundle the minute I saw it and it's the first set I opened and inked up when I got my hands on it.  I am fortunate enough to be able to watch deer eat and play all year long from my back patio and this set just called out to me.


You will notice in my product list the there was no ink used on this card. It was all designed with only the diecuts.

I started by folding a piece of Early Espresso cardstock (81/2 x 11) in half  to create the card base.  I used a bone folder to sharpen the crease which helps the card lay flat.

I cut a piece of  blue DSP from the Beauty of the Earth collection to 4  x 51/4 and adhered it to the cardfront.

I cut the overlay die onto a  3 1/2  x 5 piece of Mossy Meadow cardstock, then measured some Early Espresso cardstock to approx and eighth of an inch around the cut overlay.  I used a die from the Rectangle Stitched Framelits to cut out the center, but you can do this by hand quite easily.  I only used the "frame" for this card.  I also diecut the deer in Early Espresso and Crumb Cake cardstock.


Using dimensionals I attached the Mossy Meadow overlay onto the Early Espresso "frame", being careful not have any of the dimensionals showing through from the front. Then adhered it to the cardfront with Stampin' Seal.


I positioned the deer inside the scene and glued them down with liquid glue.  I also glued a deer to the inside of the card. I often leave the inside of my cards blank so as not to limit it's use.


Lastly I glued some rhinestone jewels to the front of the overlay to give the illusion of sunlight sparkling through the trees.

I hope you enjoyed reading about this card as much as I did creating it!  Now onto the next Blog.....

Product List