April Colour Inspiration


This month the Retirement List was announced and demonstrators got to preview the upcoming 2021-2022 Annual Catalogue. It's a month of change, a time of old and new.

The Retirement list isn't really old, but it's full of last chance products and sale item's you'll want to add to your stash before they are gone. Plus, the Clearance Rack was recently refreshed with new goodies, so you'll want to check them both out online!

For the new, I have a sneak-peek of the new 2021-2023 In Colors to share with you! I've created two samples with three of the new In Colors, one with a retiring stamp set and one with a brand new stamp set. I hope you are inspired by the old and the new!

New colours are the perfect springboard for fresh creativity and that's exactly the idea around the In Colors. 5 new on-trend colours are released each year. They remain available for two years and then rotate out.


I'm excited to inspire you with three of the new 2021-2023 In Colors colours:  Evening Evergreen, Pale Papaya, and Soft Succulent.  These three are a great modern take on the colours of nature and I think they are going to be super popular!  What do you think?

COLOUR INSPIRATION

PALE PAPAYA
EVENING EVERGREEN
SOFT SUCCULENT


This card features the retiring Beautiful World stamp set . The Beautiful World Bundle with stamps and dies is available at a 10% savings only until May 3rd or while supplies last. The 2" Circle Punch is another retiring product. These retiring goodies are combined with the new In Colors, In Color Jewels  and Pale Papaya Ribbon  for a fresh, yet timeless, look.


Retiring Reminder


Retired Kits Lists - Helen Piaskowski
Last Chance Products

Only a Few More Days!


Don't let time slip away! The new Annual Catalogue goes live on May 4th and that means retiring stamps and accessories are only available for a few more days - maybe less!

Stamps will be available through April 23rd, but all other items, including bundles, dies, punches, and embellishments are only available while supplies last. Many have already sold out, so get your top picks before the are gone!

Shop now to get your bundles with their 10% savings, retiring In Colors, and a whole selection of goodies at up to 75% off!

TIMELESS TULIPS BUNDLE #153793
GAME ON CLING STAMP SET
TASTEFUL TOUCHES BUNDLE
Classic Stampin' Pad Assortment In Color 2018-2020 #147153

Sneak Peek - Classic Stampin' Pad Assortment In Color 2021-2023
Polished Pink, Pale Papaya, Soft Succulent, Evening Evergreen, and Fresh Freesia. Available May 4th with coordinating cardstock, markers, and embellishments

SHOP ONLINE

April Ombre Card Tutorial

It's almost time to kick off a new Stampin' Up! year of creativity and fun!  The new 2021-2022 Annual Catalogue is launching May 4th. 

While I love shopping and getting project ideas online, there's nothing quite like having a real catalogue in your hands. It's my ideal way to see all the new stamps and products alongside the gorgeous project ideas that inspire me. Don't you agree?  If so, contact me so I can make sure you get your very own copy to explore.

Don't miss the Last Chance retiring products and sale with savings up to 75% off! Retiring items are only available while supplies last or until May 3rd. 

For this month's tutorial I'm taking one last chance to bid a fond farewell to the Ridiculously Awesome stamp set and showing a dramatic masked ombre technique. 


Enjoy this awesome stamp set and be sure to add it to your stash if you haven't already!  

There are always a few things that I'm sad to see retire. The Ridiculously Awesome stamp set and Stitched Nested Label Dies are going to be missed, so I just had to share them one more way.

Our new Blending Brushes make such beautiful, blended ombre backgrounds that I thought would be perfect with the bold fonts of the Ridiculously Awesome stamp set. The Stitched Nested Labels Dies are ideal for creating a layered masked effect. Combined I think this whole card is ridiculously awesome!

The card uses several retired items, including some that are on sale. Don't miss adding these to your collection so you can create this card in a whole rainbow of colour combinations!


1. Die Cut Labels

Die cut scrap cardstock (any color) with the 2nd largest Stitched Nested Labels die to create a mask. Die cut Basic White cardstock with the 4th largest die. Cut Thick Basic White Cardstock to 4-1/4" x 11" and score at 5-1/2" along the 11" side.

2. Masking

Fold the card in half. Use just a bit of adhesive at the center of the mask label to hold it in place temporarily while blending. Place on the center of the card front. Using a Blending Brush and Mango Melody ink start adding ink to the top of the card. Use a circular motion and start off the edge of the card.
 

3. Blending

Continue adding Mango Melody ink until the top third of the card is covered. The sample is slightly lighter at the top and darkens a bit as it goes down then fades a bit a the bottom edge for blending the next colour. To keep your fingers from getting inky or creating fingerprints, hold the card at the center of the masked label.


4. Blending 2nd Colour

Either clean your Blending Brush or use a clean Blending Brush and ink it with Calypso Coral ink. Add colour to the center third of the card working in from each edge. Blend up into the Mango Melody ink a bit to get the smoothest transition.


5. Blending 3rd Colour

Repeat the steps to add Blackberry Bliss ink to the bottom third of the card front. Blend the ink up into the Calypso Coral ink. The Blackberry Bliss ink is darkest at the bottom of the sample. Set the card aside to dry completely to avoid smudging ink or making fingerprints where you don't want them.


6. Stamp Greeting and Blend

Blend Mango Melody ink onto the smaller label starting darker at the bottom and leaving it white or very light at the top. Stamp the "You Got This" greeting from the Ridiculously Awesome stamp set on the label with Tuxedo Black Memento ink.


7. Unmask and Stamp

Gently remove the mask from the card. You'll be covering most of the center with the small label so don't worry about any minor tears or adhesive left in the center. Stamp several stars on the card front with Tuxedo Black Memento ink.


8. Ribbon Zigzag

Add a 2" line of adhesive down the center of the card. Starting at the upper right, zigzag the Terracotta Tile ribbon from the Ornate Garden Ribbon Combo Pack using the adhesive to hold it in place.


9. Greeting and Rhinestones

Add the greeting label centered in the masked area using Stampin' Dimensionals. Add Basic Rhinestone Jewels to the center of the stamped stars.


Product List

Hey Chick Promo!


Hey Chick Release


Hey Chick!

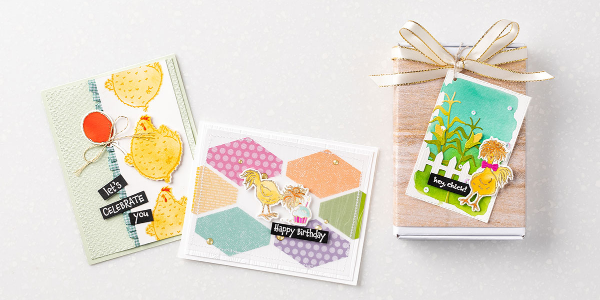
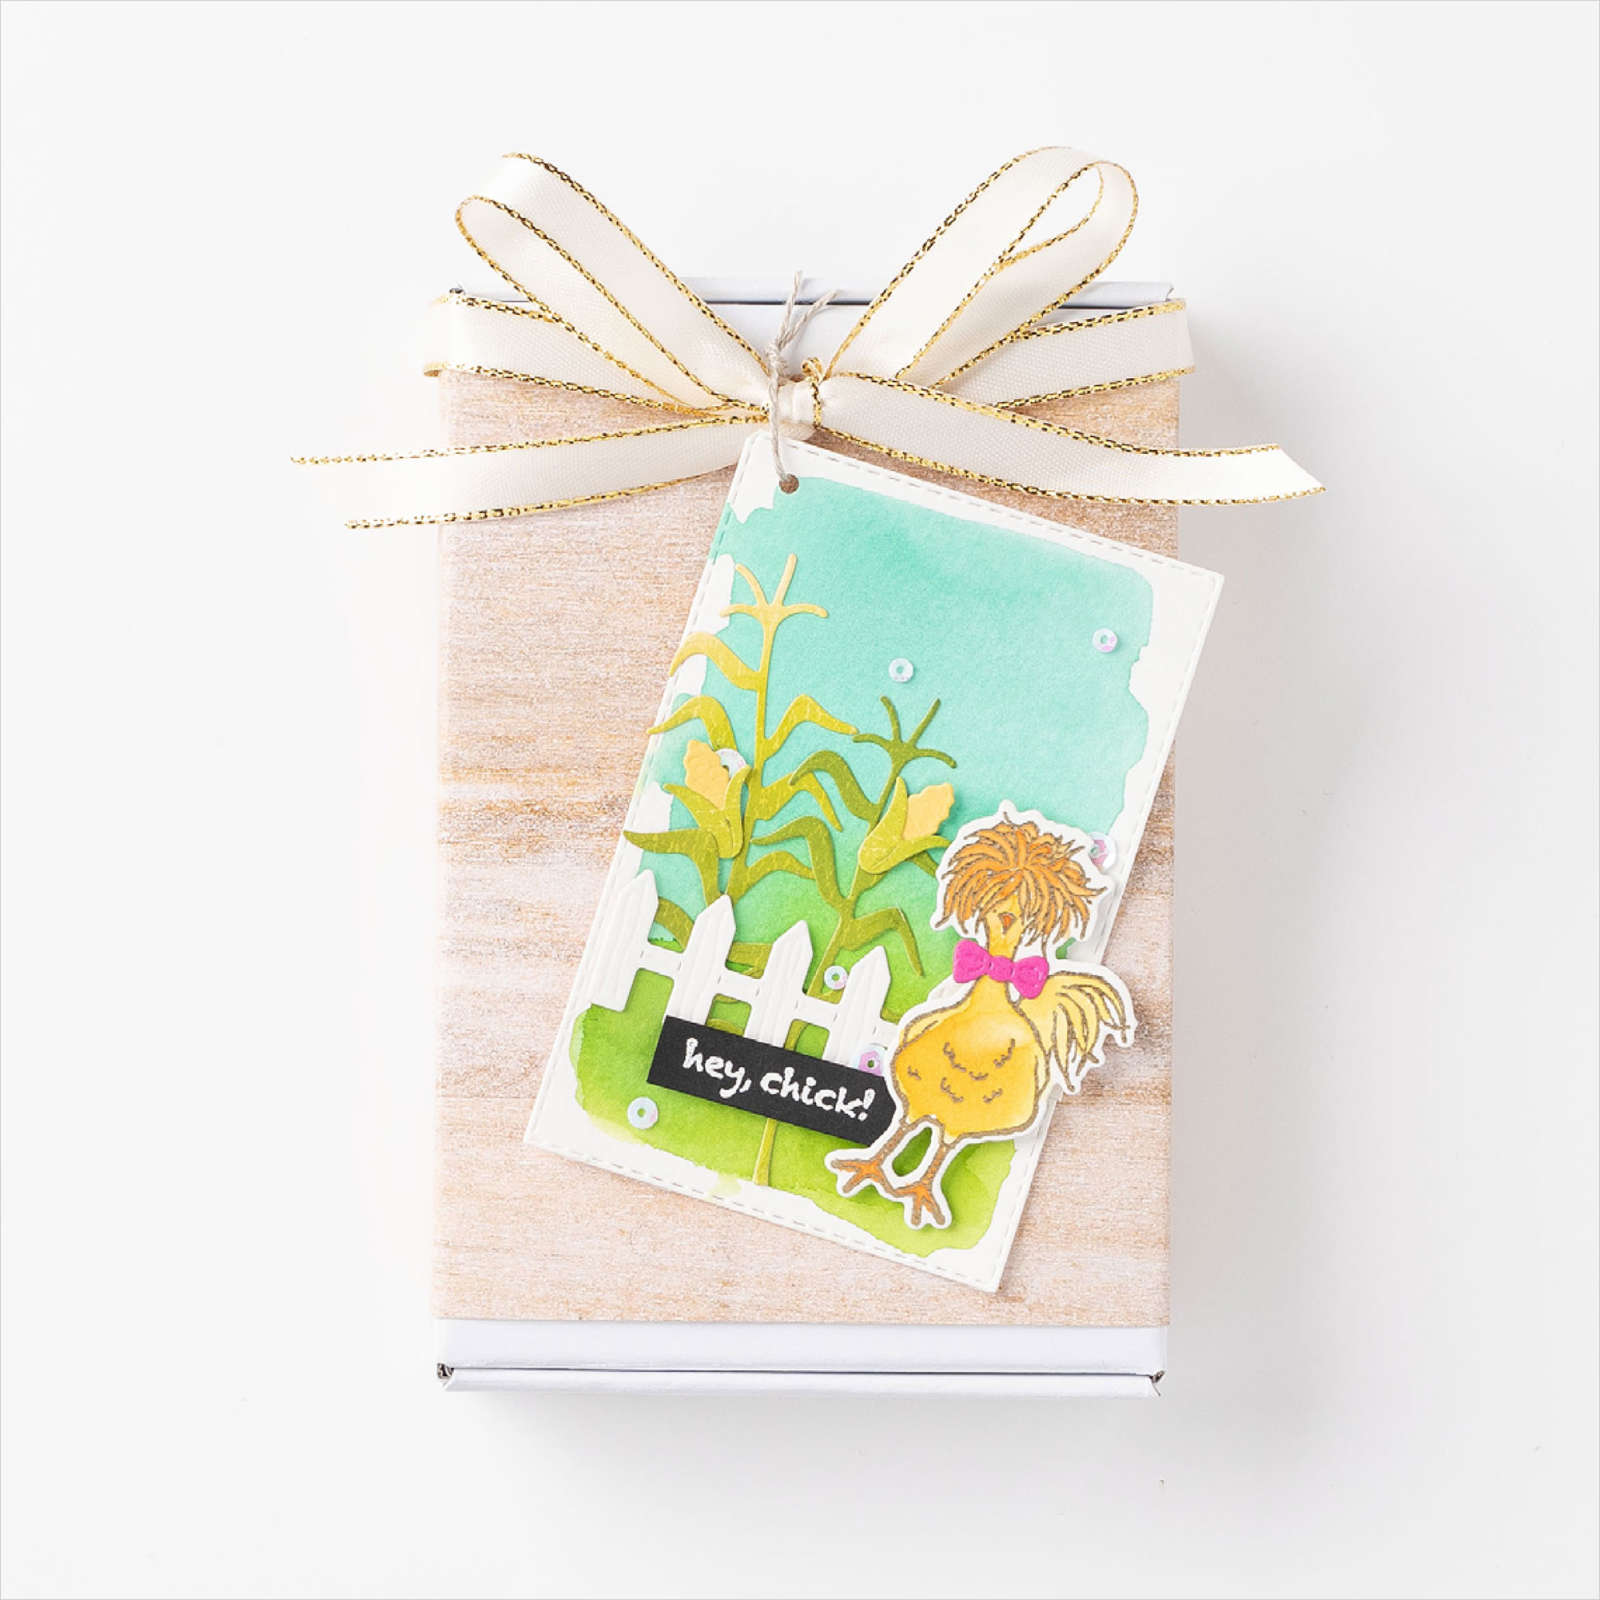
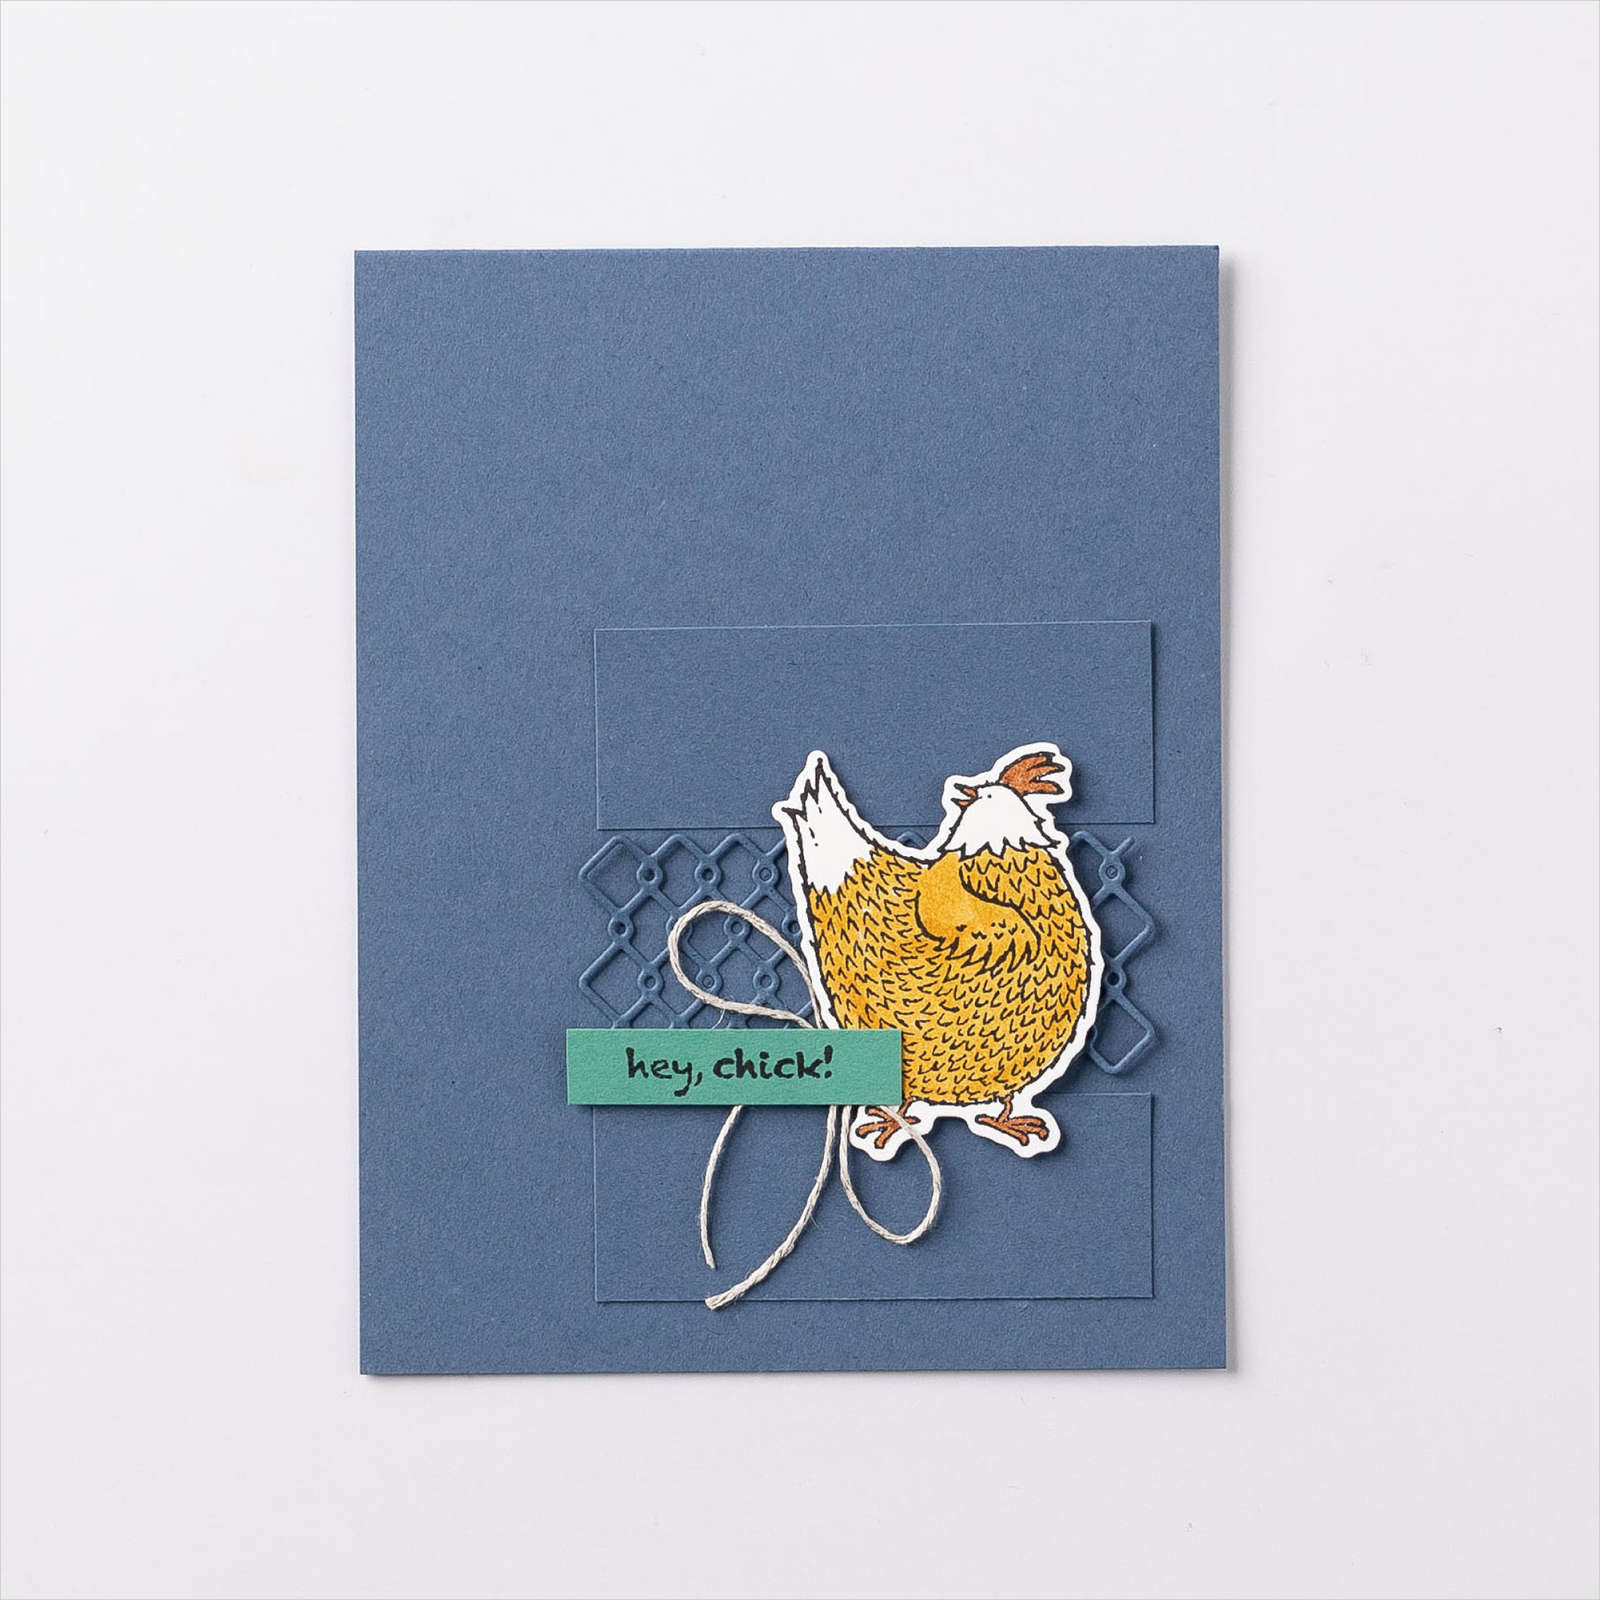
Have you been stamping until the chickens come home to roost? If not, it's time to get your hands on the Hey Chick and Hey Birthday Chick bundles before the rooster crows and ends our fun!

The feathered friends in the Hey Chick and Hey Birthday Chick bundles are fun and sassy and are sure to hatch at least a baker's dozen of laughs and smiles.

You may remember, way back during Sale-A-Bration in 2017 when the Hey Chick Stamp Set was a Sale-a-Bration reward. We were amazed by how much everyone loved them. So we decided to bring them back—along with coordinating dies that, of course, make it even better!

Plus, we've added a completely new bundle created in the same style. These two bundles are only available for a limited time. The fun, whimsical images in these sets are perfect for coloring, but look great without coloring, too.

Save 10% on each of the stamp and die bundles, only through June 30th, or while supplies last!

Sincerely,
Helen
 

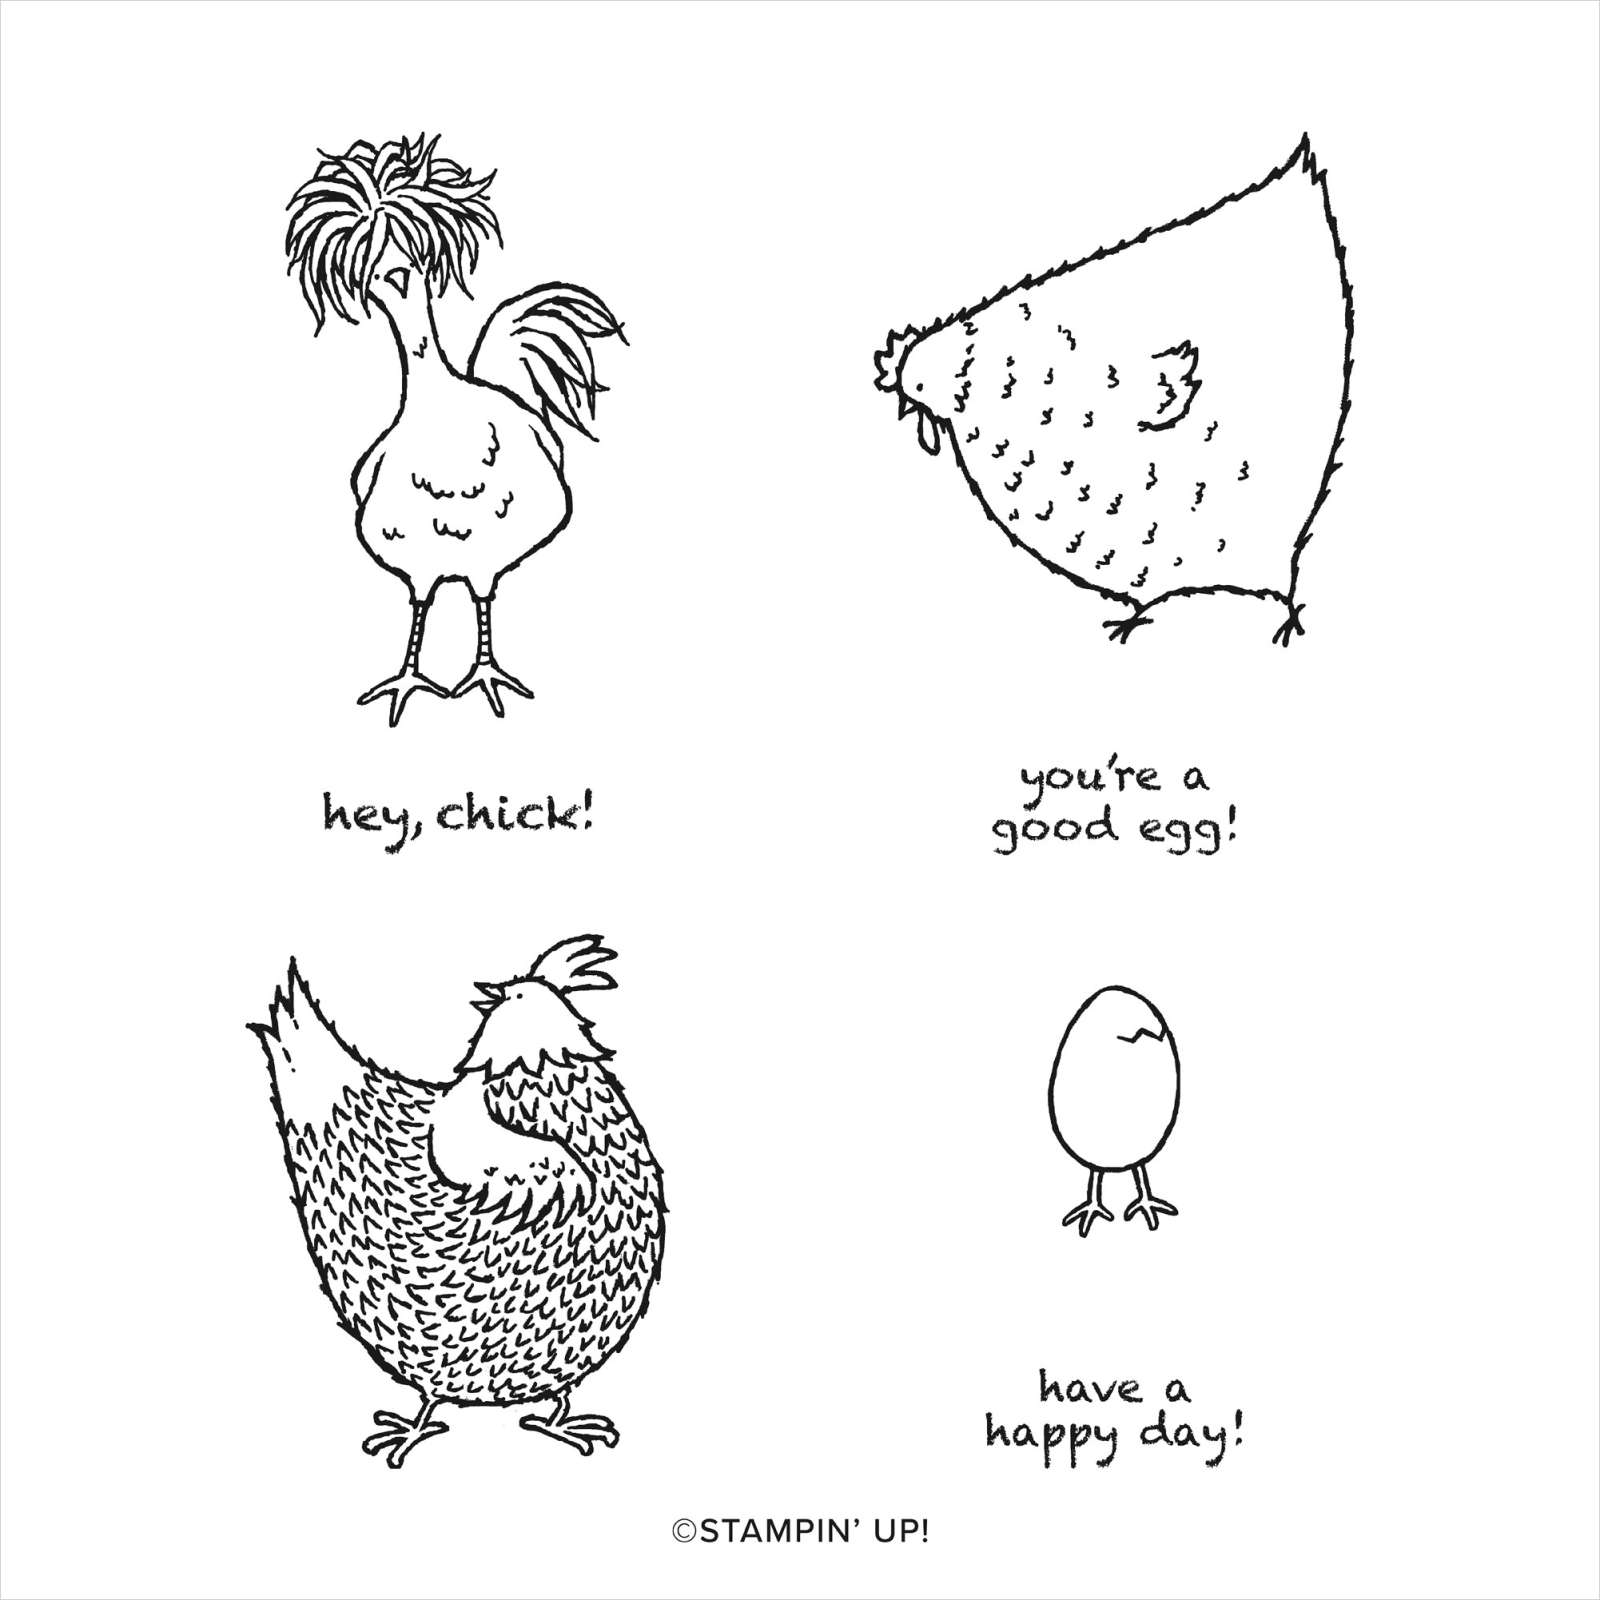
HEY CHICK CLING STAMP SET


HEY CHICK CLING STAMP SET #158190

Create a fun, whimsical chicken family with the variety of images in the Hey Chick Stamp Set. Pair the images with great greetings about friendship and you've got the makings for wonderful projects for family and friends. Add colour to the line-art images using your favourite colouring technique. This stamp set is also available in French

Shop now

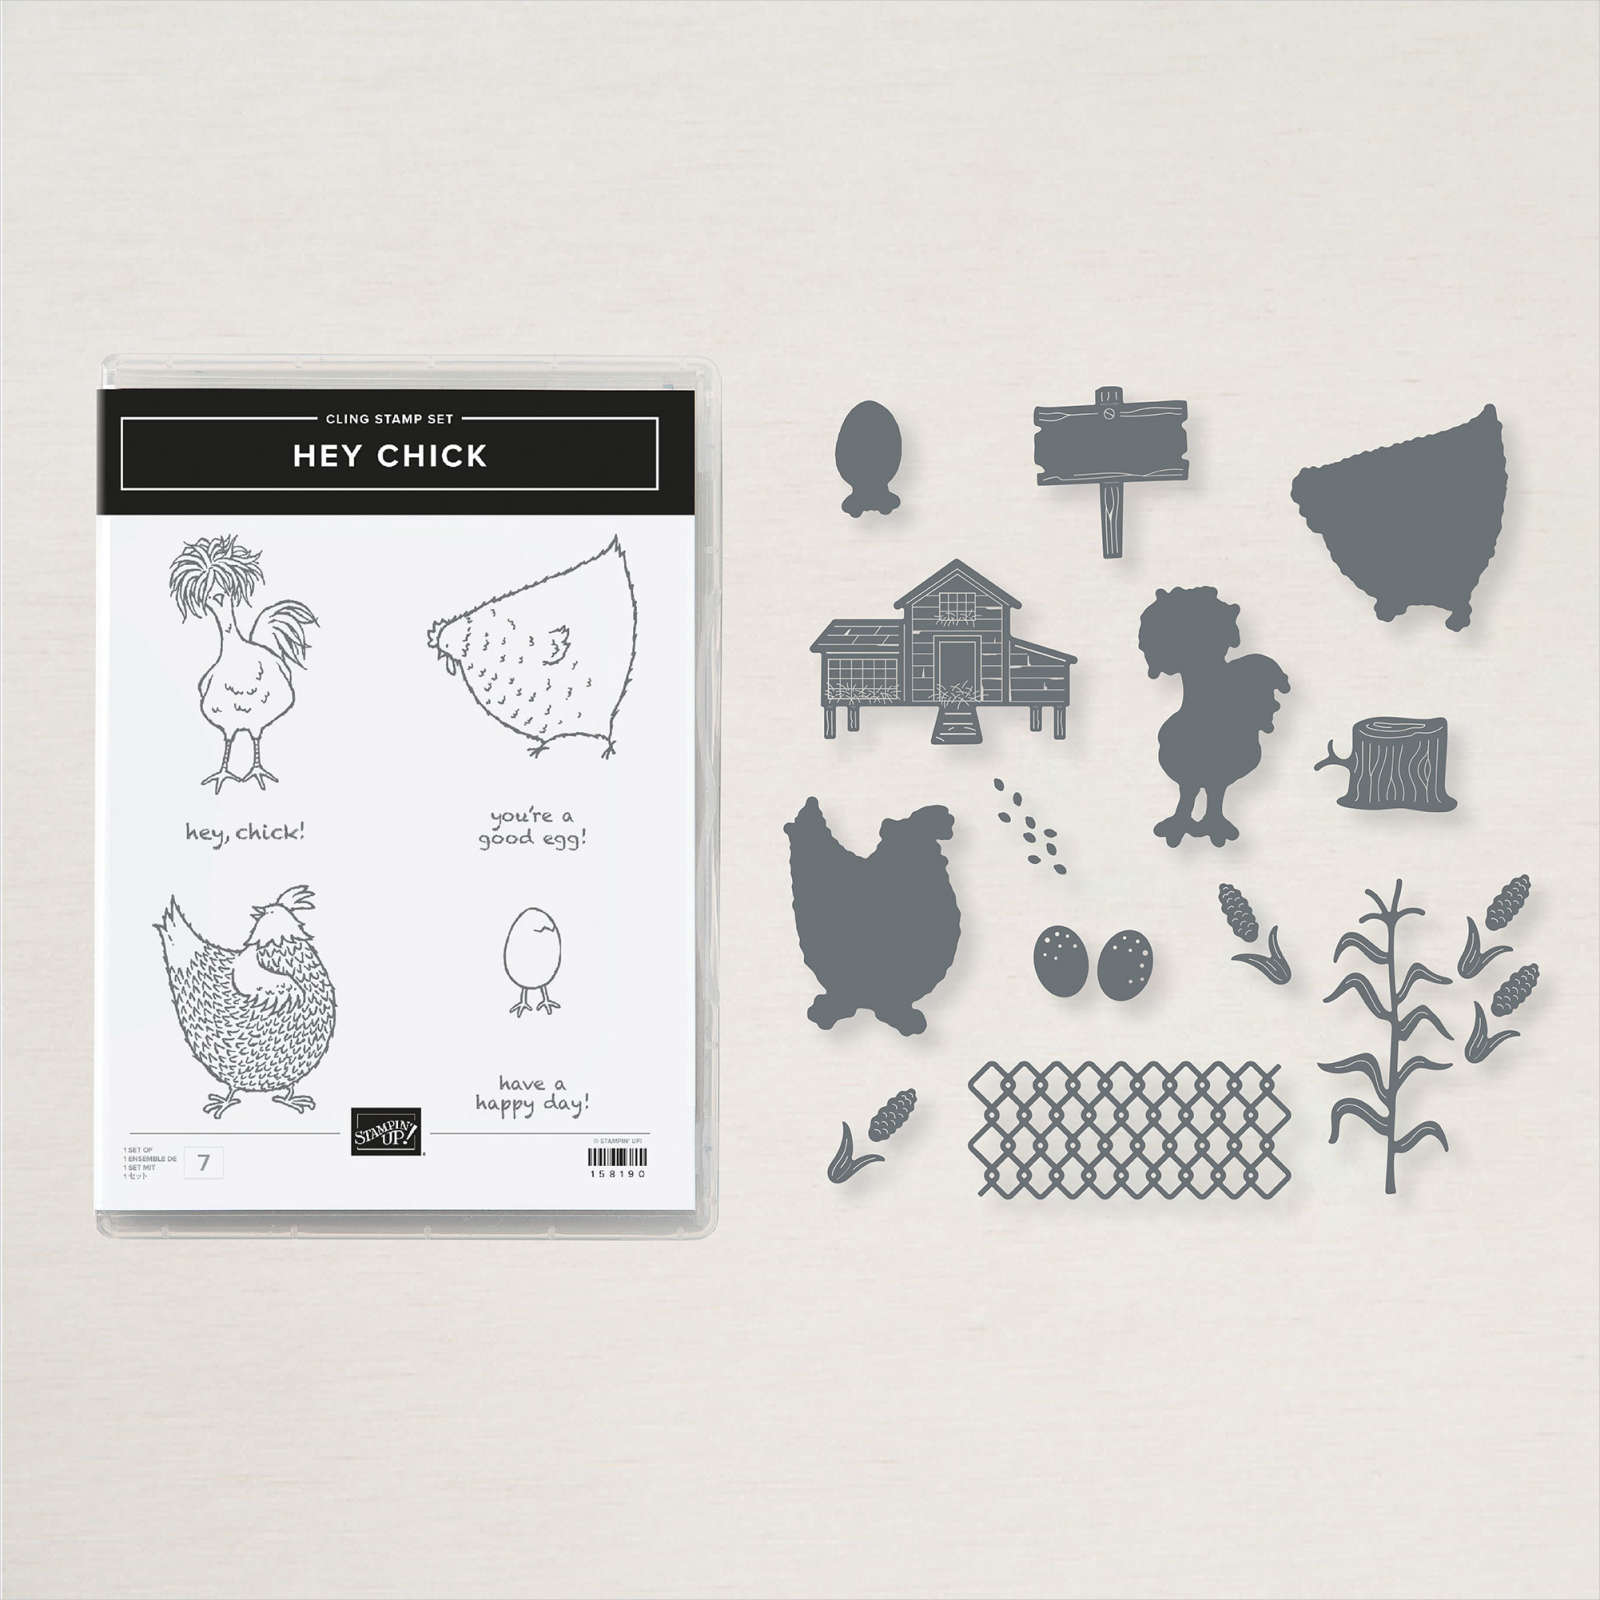
HEY CHICK BUNDLE


HEY CHICK BUNDLE #158627


The Hey Chick Bundle includes the Hey Chick Stamp Set and the Chick Dies. This bundle is also available in French.  BUNDLED SAVINGS

Shop now


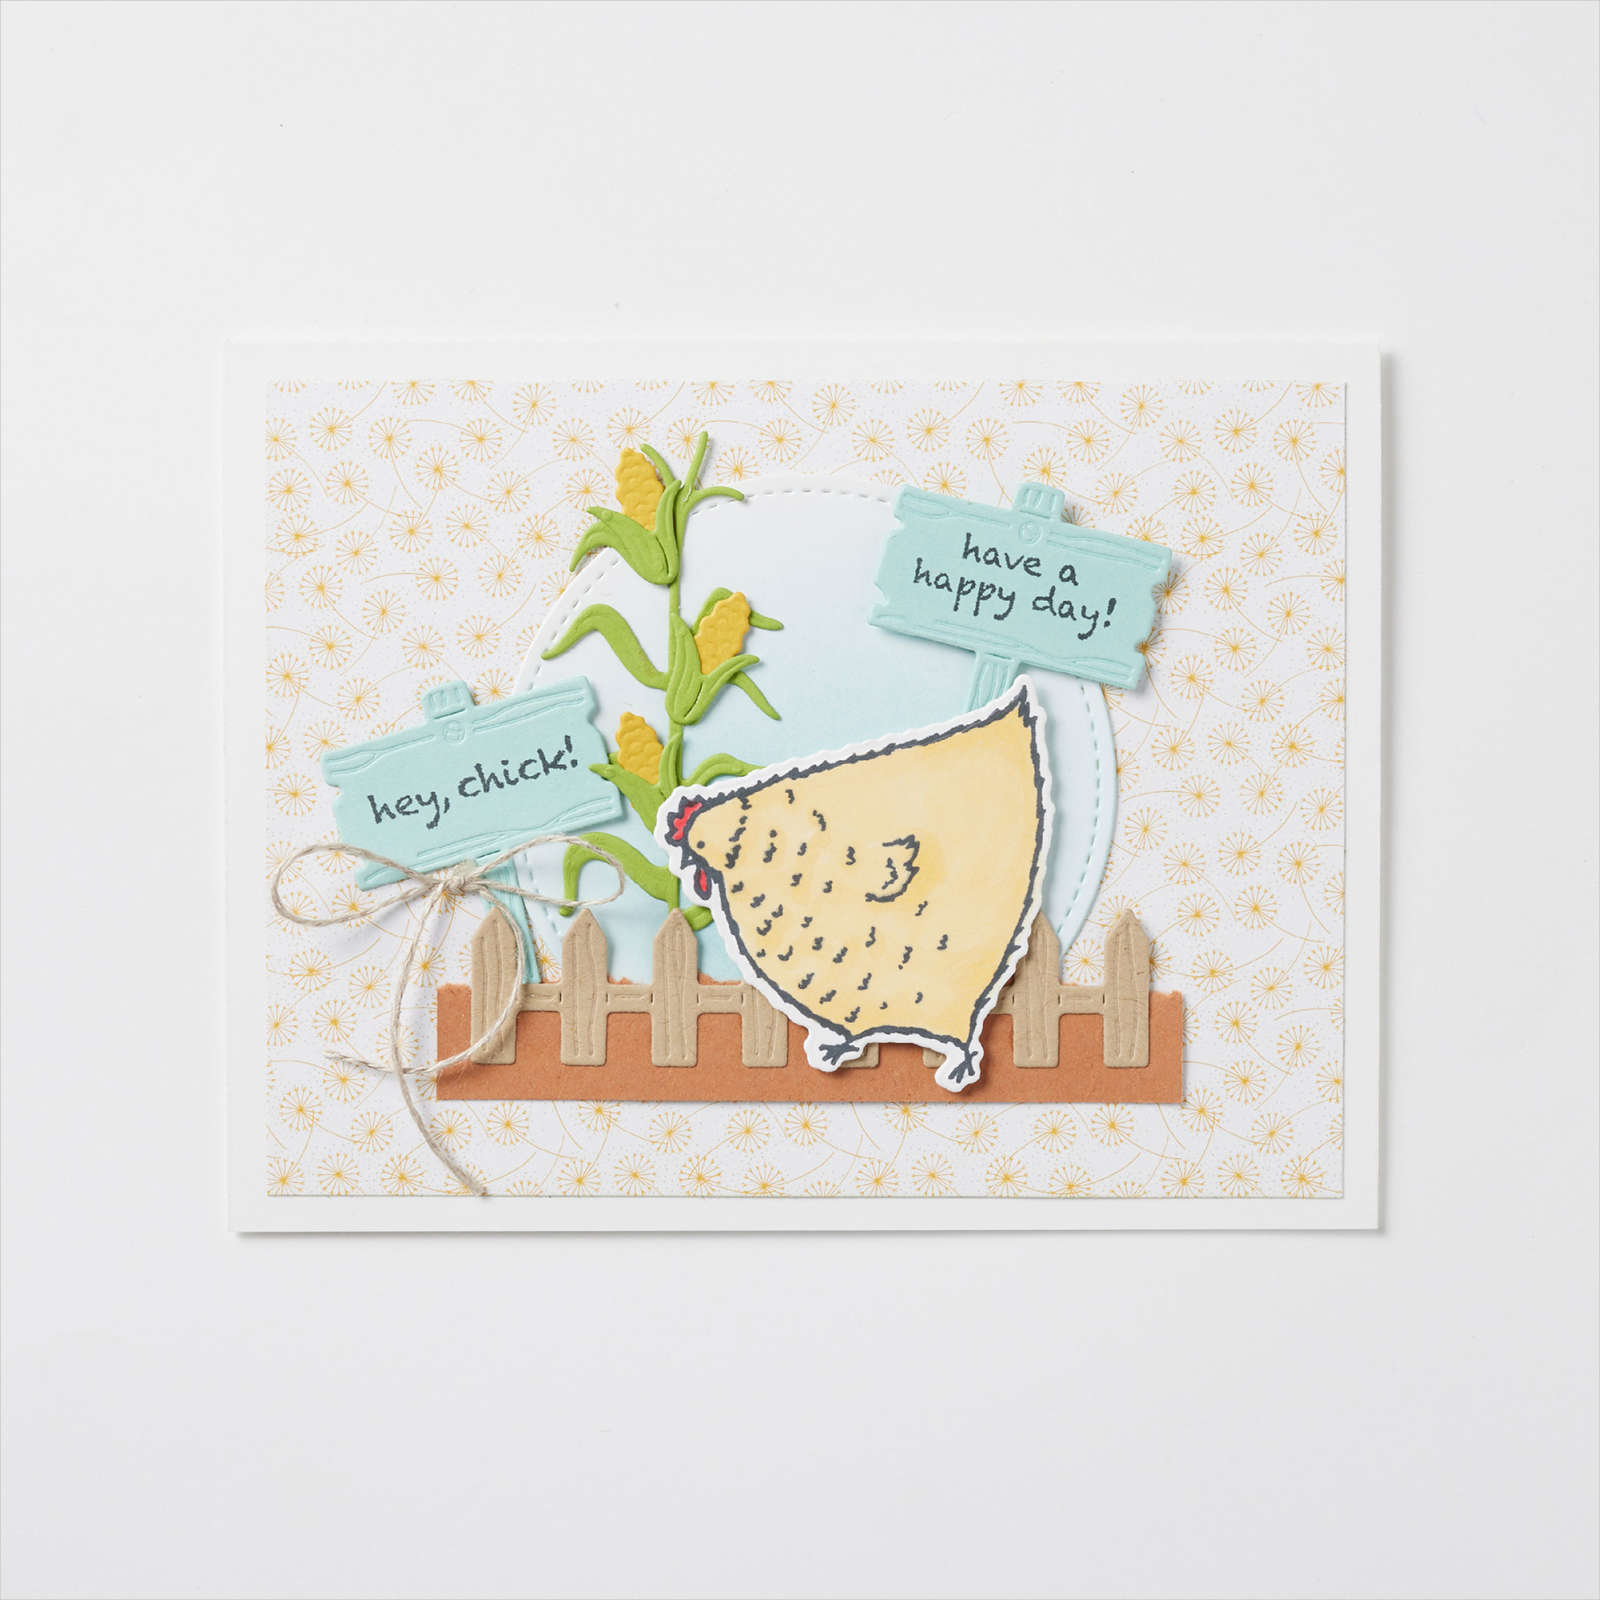
HEY CHICK BUNDLE


HEY CHICK BUNDLE


HEY CHICK BUNDLE

5 Minute Monochromatic Card


Art Gallery Monochromatic


Supplies:

·         Stamp SetsArt Gallery; Punch Party

·         Card Stock – Melon Mambo); Blushing Bride

·         Stamp Pads – Melon Mambo

·         Misc. Double Oval Punch; Oh So Ombre 6 X 6 DSP; 5/8” White Ribbon


Measurements:  

·         Melon Mambo:          8 1/2” x 5 1/2”                        5 ½” X 1 ¼”        scraps (punch)

·         DSP:                          8 1/2” x 5 1/2””                                             

·         Blushing Bride:         5 ½” X 1 1/8”                         scraps (punch)                    


Instructions:

1.     Fold card base and burnish edges.


2.     Ink Flower image from stamp set with Melon Mambo ink and stamp right side. Start stamp off the paper and continue stamping up the entire side.


3.     Adhere Rocco Rose DSP to card front.

4.     Layer white ribbon, Blushing Bride c/s and Melon Mambo c/s. Glue to left of stamped DSP.


5.     Stamp sentiment from Pretty Perennials on Blushing Bride c/s. Punch with smaller oval from  Double Oval Punch.

6.     Punch larger oval from Melon Mambo scrap. Layer with punched Blushing Bride.


7.     Glue to front of card overlapping ribbon edge.


 ** I posted a quick video creating this card on my Facebook page. **

 Click here to view:  Facebook


Product List