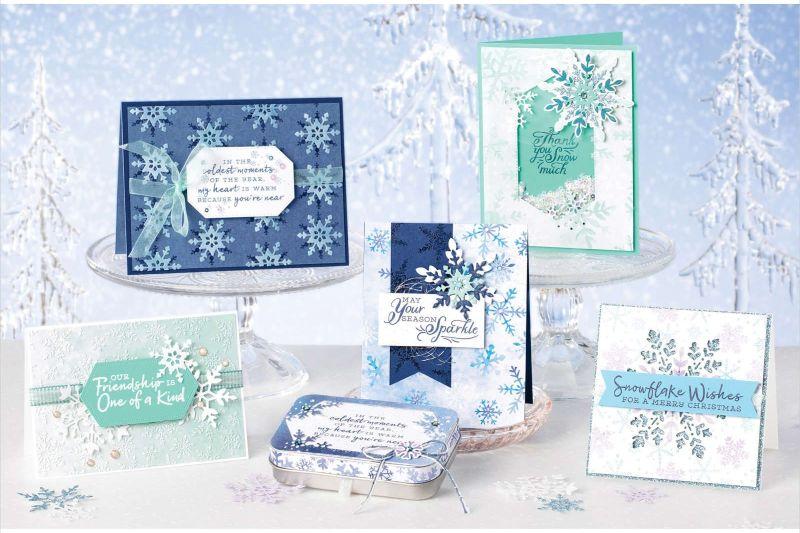
SNOWFLAKE SPLENDOR SUITE
You may want to grab a cup of cocoa and a cozy sweater before you sit down to create with the Snowflake Splendor Suite! This stamp and die bundle will help you create a blizzard of snowflakes for the perfect storm of winter crafting.
The Snowflake Splendor Designer Series Paper complements the stamps and dies with hand-painted, watercolor snowflakes in lots of icy purples and blues.
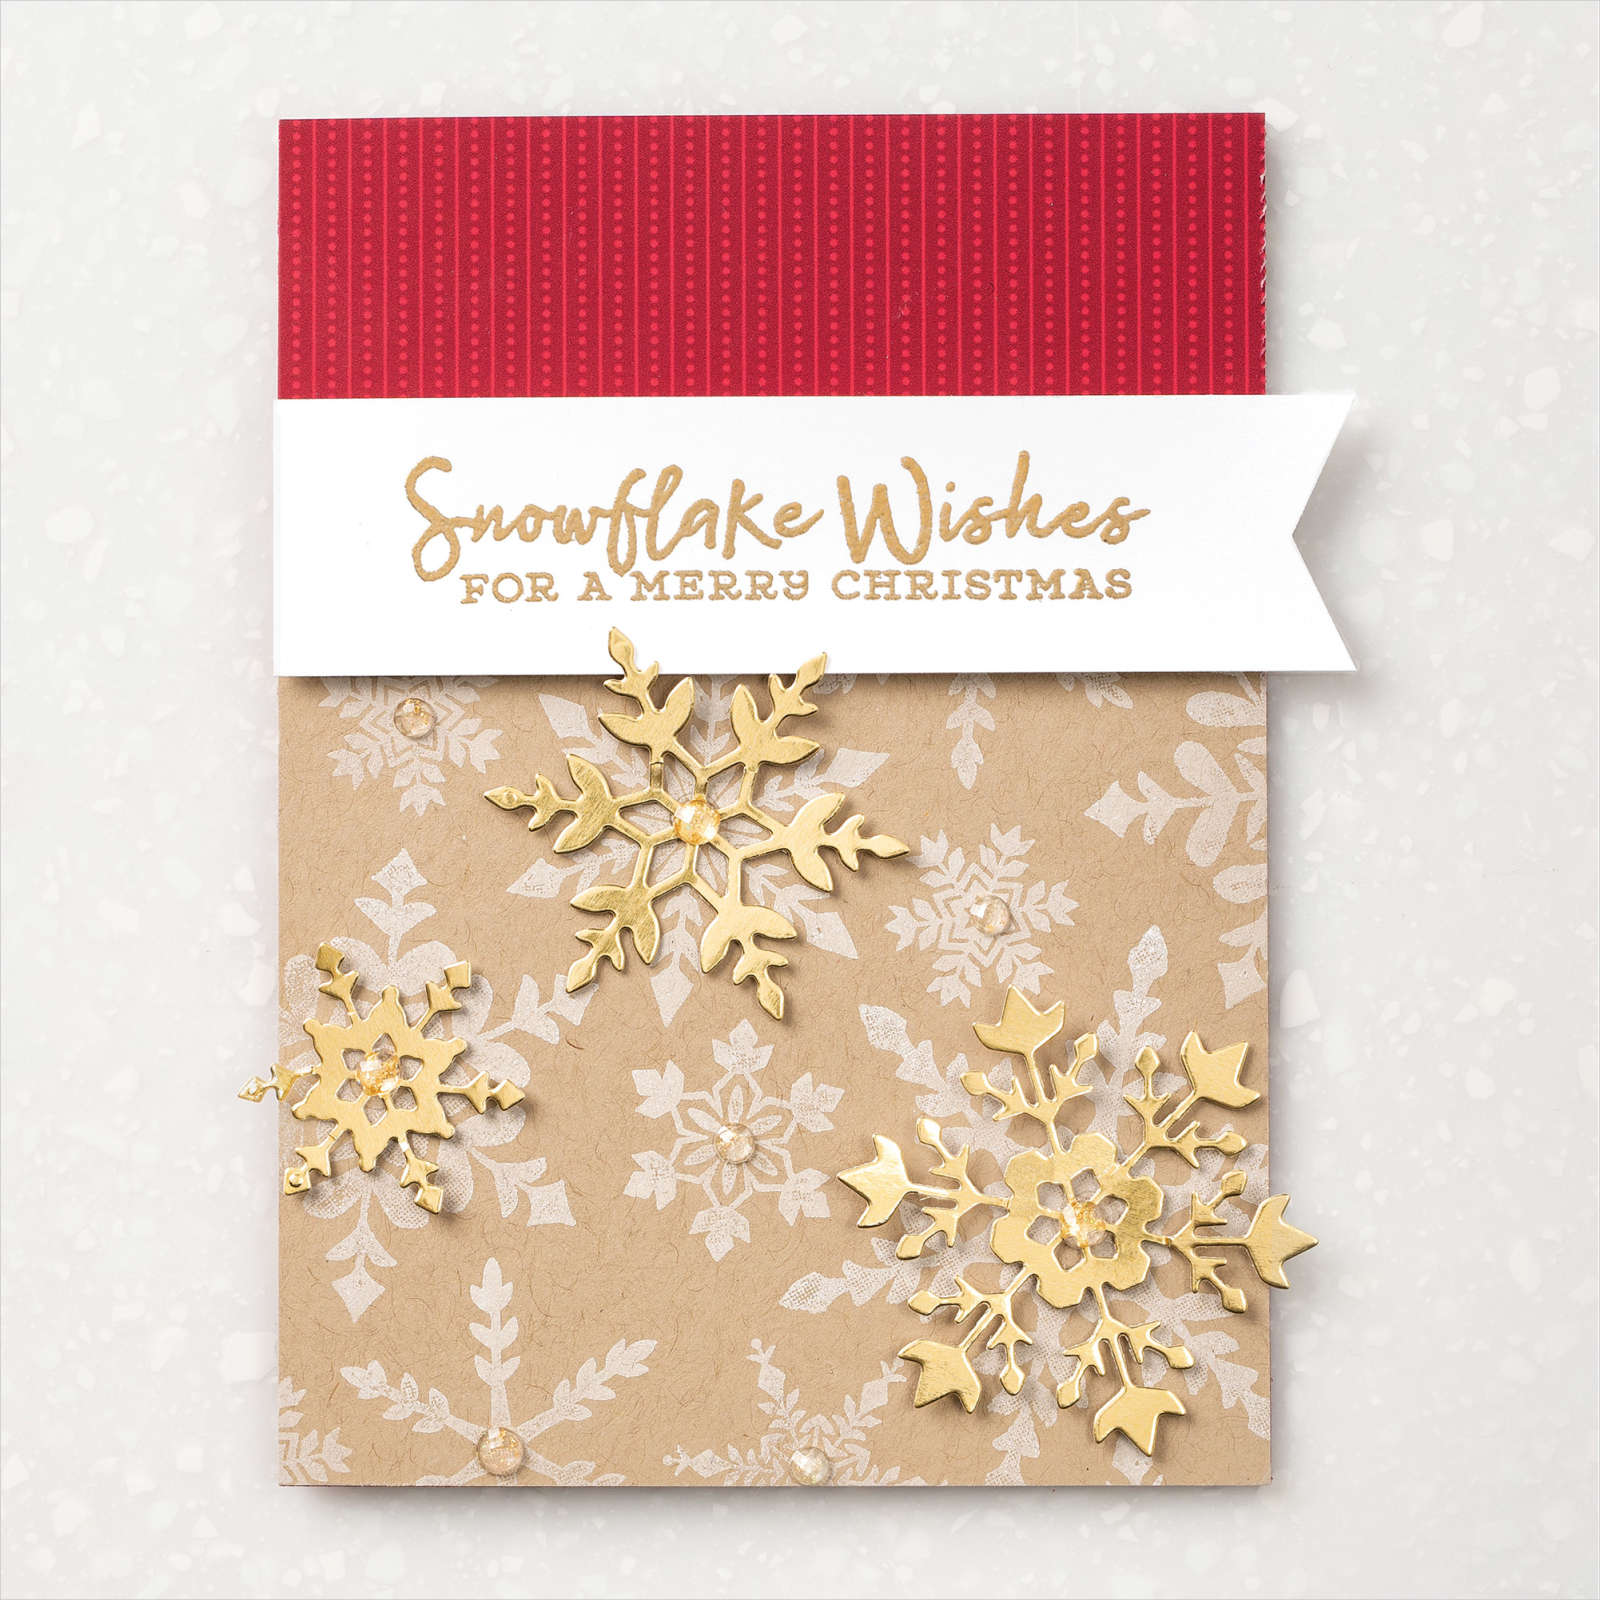
The tutorial I'm sharing changes up the colours and design for a bit of rustic glamour and a little tweak to the standard card size.
--------------------------------------------------
Rustic Glam Snowflake Wishes Card
Join my Email Newsletter List and receive my tutorials by email. With each mailing you will receive a picture of the finished project, a supply list, card layout, and a step-by-step tutorial.
Product List
TIPS: The putty tip of the Take Your Pick Tool (#144107) works great for picking up and placing small items like sequins.
")
")
>")


VIEW OUR SUITES ONLINE
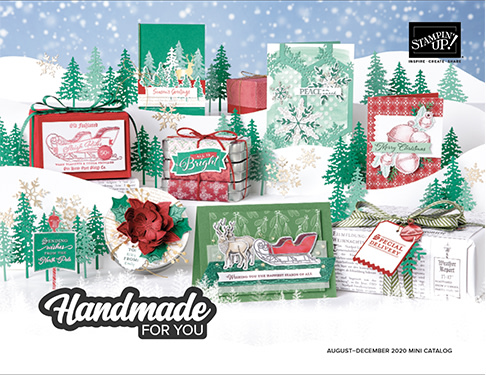
DOWNLOAD OUR LATEST CATALOGUE
")
 Designer Series Paper")


")


Coordinating Products
>
VIEW OUR SUITES ONLINE
DOWNLOAD OUR LATEST CATALOGUE


 Designer Series Paper")

 Shimmer Ribbon")


