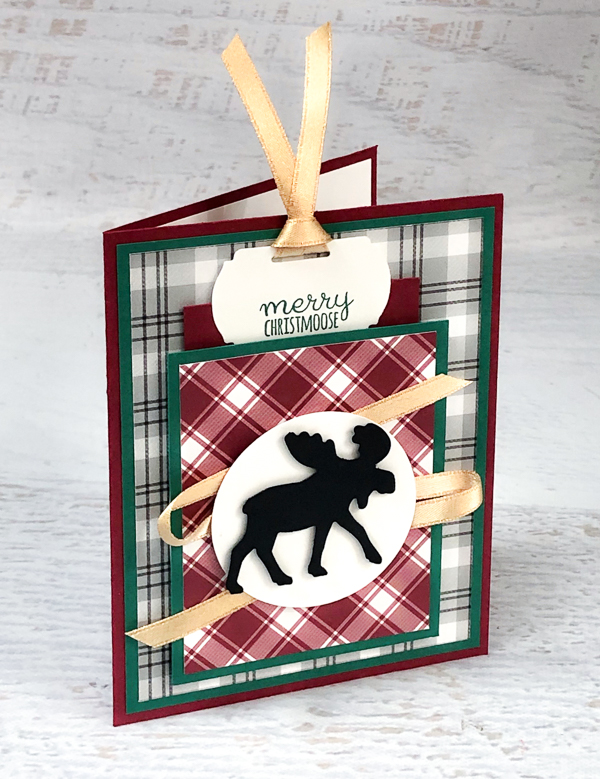
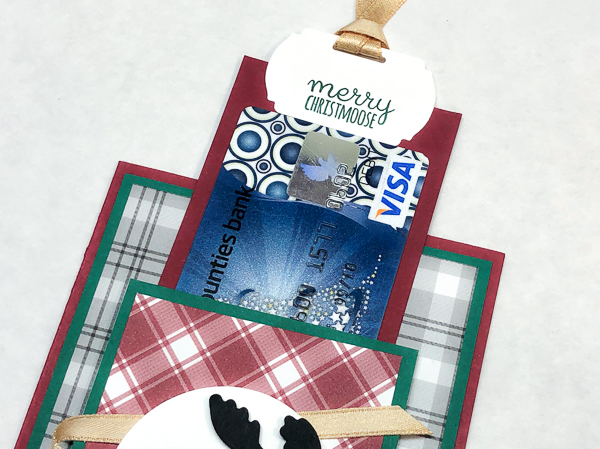
What's more fun than a moose on your card? A moose that brings gifts! Make this fun pocket card that is perfect for gifting a gift card or even adding a photo.
The Merry Moose Bundle features the popular Christmas Moose stamp set and coordinating punch. Both the Merry Moose Bundle and the Plaid Tidings Designer Series Paper are Christmas themed supplies that you'll find yourself reaching for year round since their images and colors make great masculine, nature themed, or all occasion cards! | |
|
|
1. Cut & Layer Card
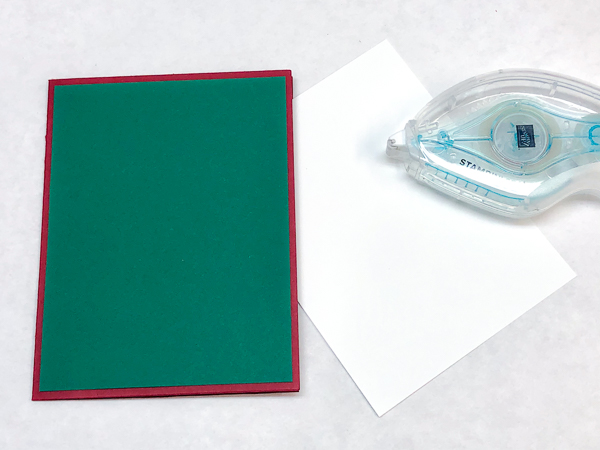
| Cut Cherry Cobbler cardstock to 5-1/2" x 8-1/2". Score along 8-1/2" side at 4-1/4". Layer 4" x 5-1/4" Whisper White cardstock inside for a writing area. Layer 4" X 5-1/4" Shaded Spruce cardstock on card front.
|
|
|
2. Add Plaid Tidings
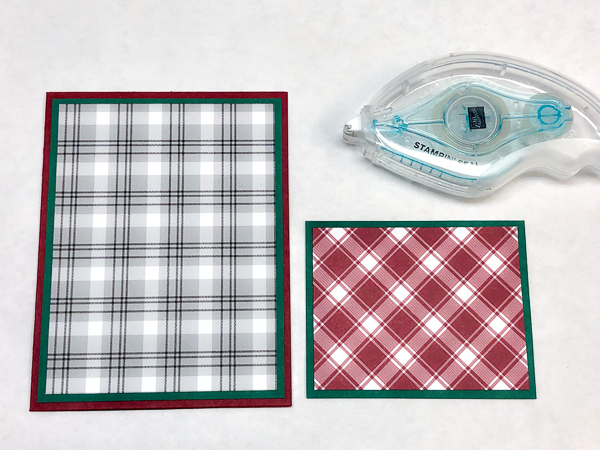
| Layer 3-3/4" x 5" Plaid Tidings Paper onto Shaded Spruce layer on card front. Layer 2-3/4" x 3-1/2" Plaid Tidings paper onto 3" x 3-3/4" Shaded Spruce cardstock.
|
|
|
3. Adhesive Strip Pocket
|
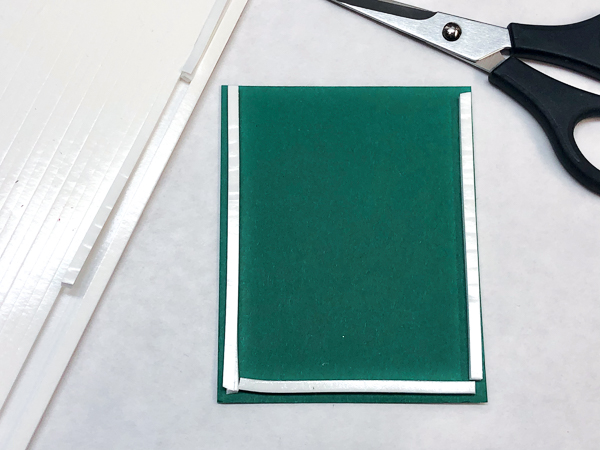
| Flip the 3" x 3-3/4" Shaded Spruce cardstock over and add Foam Adhesive Strips near the edges of the two longer sides and one short side to create a pocket. |
|
|
4. Punch & Stamp Greeting
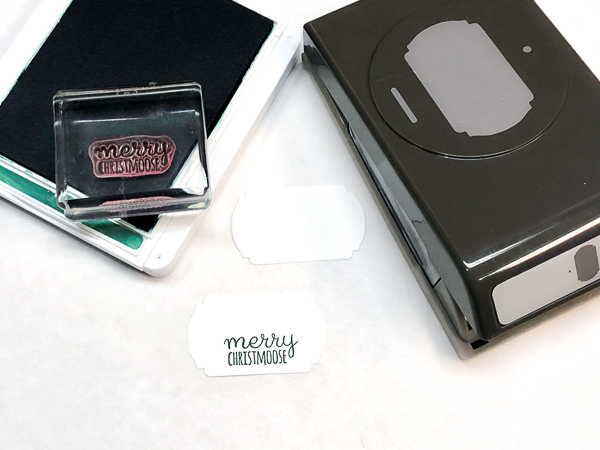
| Punch two labels using the Label Me Fancy Punch and Whisper White cardstock. Stamp "Merry Christmoose" greeting on the bottom half of one punch using Shaded Spruce ink.
|
|
|
5. Create Tag
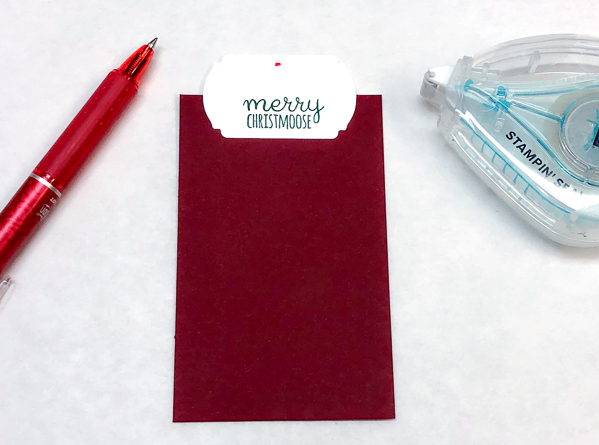
| Cut Cherry Cobbler cardstock to 2-1/2" x 4". Add the stamped label to the top, narrow edge of the Cherry Cobbler cardstock so that half is on the cardstock and half hangs off the top. Adhere the second label behind the other so that the Cherry Cobbler cardstock is sandwiched between the bottom of the two labels.
|
|
|
6. Mark & Punch
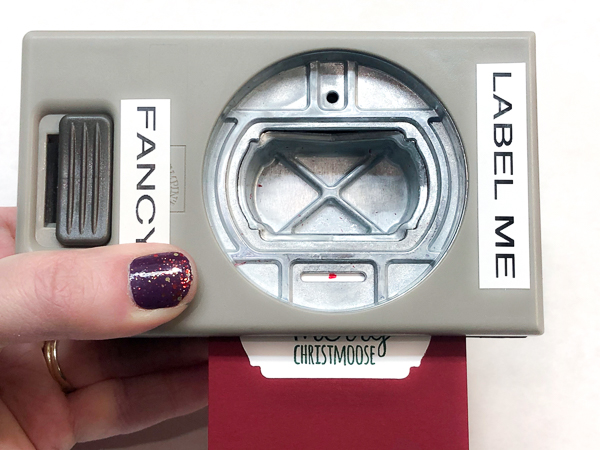
| Use a pencil or pen to make a dot near the top center of the layered Whisper White labels. This will be your guide for punching out the slit for the ribbon using the slit punch on the Label Me Fancy Punch. Hold the punch upside down, center the mark in the slit punch opening and punch.
|
|
|
7. Add Ribbon to Tag
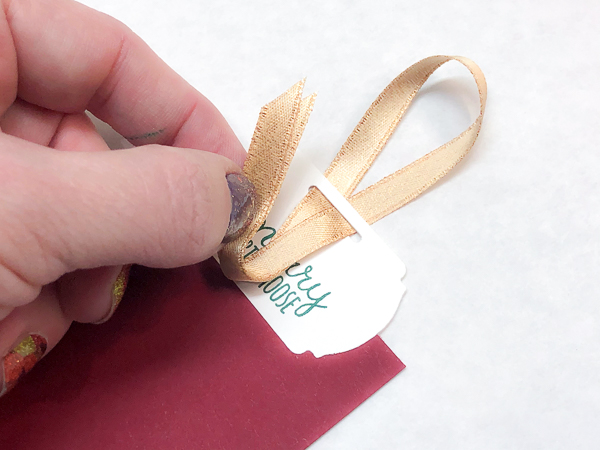
| Fold an 8" piece of Gold 1/4" Shimmer Ribbon (#152156) in half. Thread both ribbon ends up trough the punched slit and then thread through the ribbon loop. Pull the ribbon snug.
|
|
|
8. Ribbon Zig-Zag
|
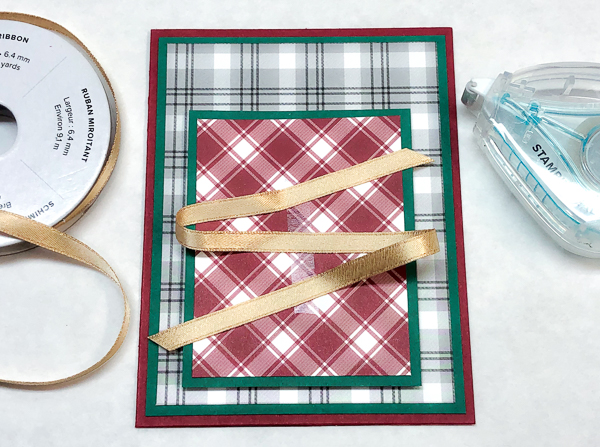
| Remove the Foam Adhesive Strip backing and adhere pocket, with the open side up, near the bottom of the card front. Add a 1-1/2"-2" long line of Stampin' Seal Adhesive vertically on the pocket. Starting at the top right, lay a 10" piece of Gold Shimmer Ribbon across the pocket in a back and forth zig-zag ending at the bottom left. |
|
|
9. Punch Circle & Moose |
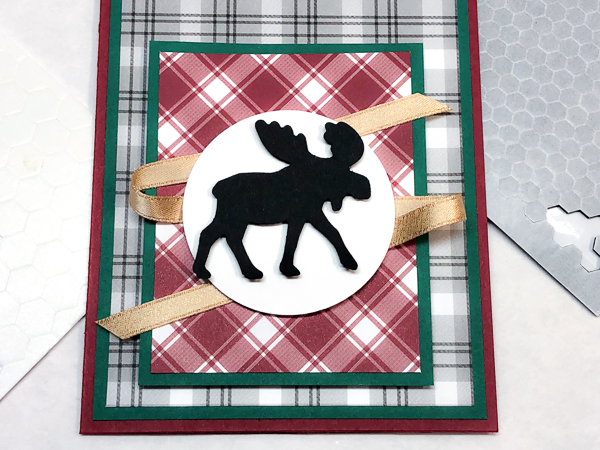
| Punch Whisper White cardstock with the 2-1/4" Circle Punch. Punch Basic Black cardstock with the Moose Punch. Adhere Moose to the circle with Stampin' Dimensionals or Glue Dots. Adhere circle to center of the pocket, over the ribbon with Stampin' Dimensionals. |
|
|
10. Add Tag to Pocket
|
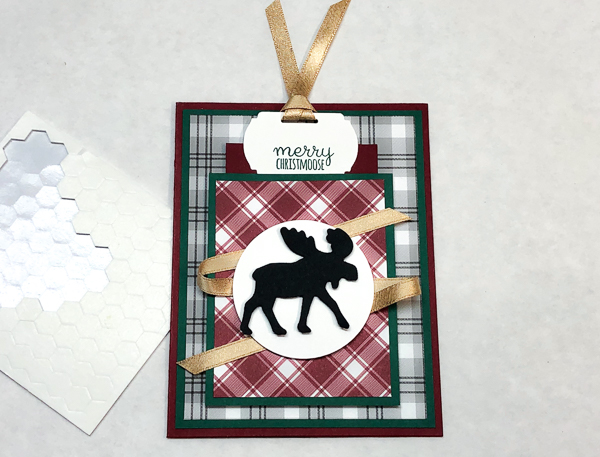
Slide the tag into the pocket on the card front. You can use the tag for a note, a picture, or a gift card! NOTE: This card may require additional postage, check with your post office to get the correct postage needed.
|
|
|
11. Add Gift Card
| Use Glue Dots or Stampin' SEAL to adhere a gift card to the tag.
|
| |


No comments