Well Suited Suite
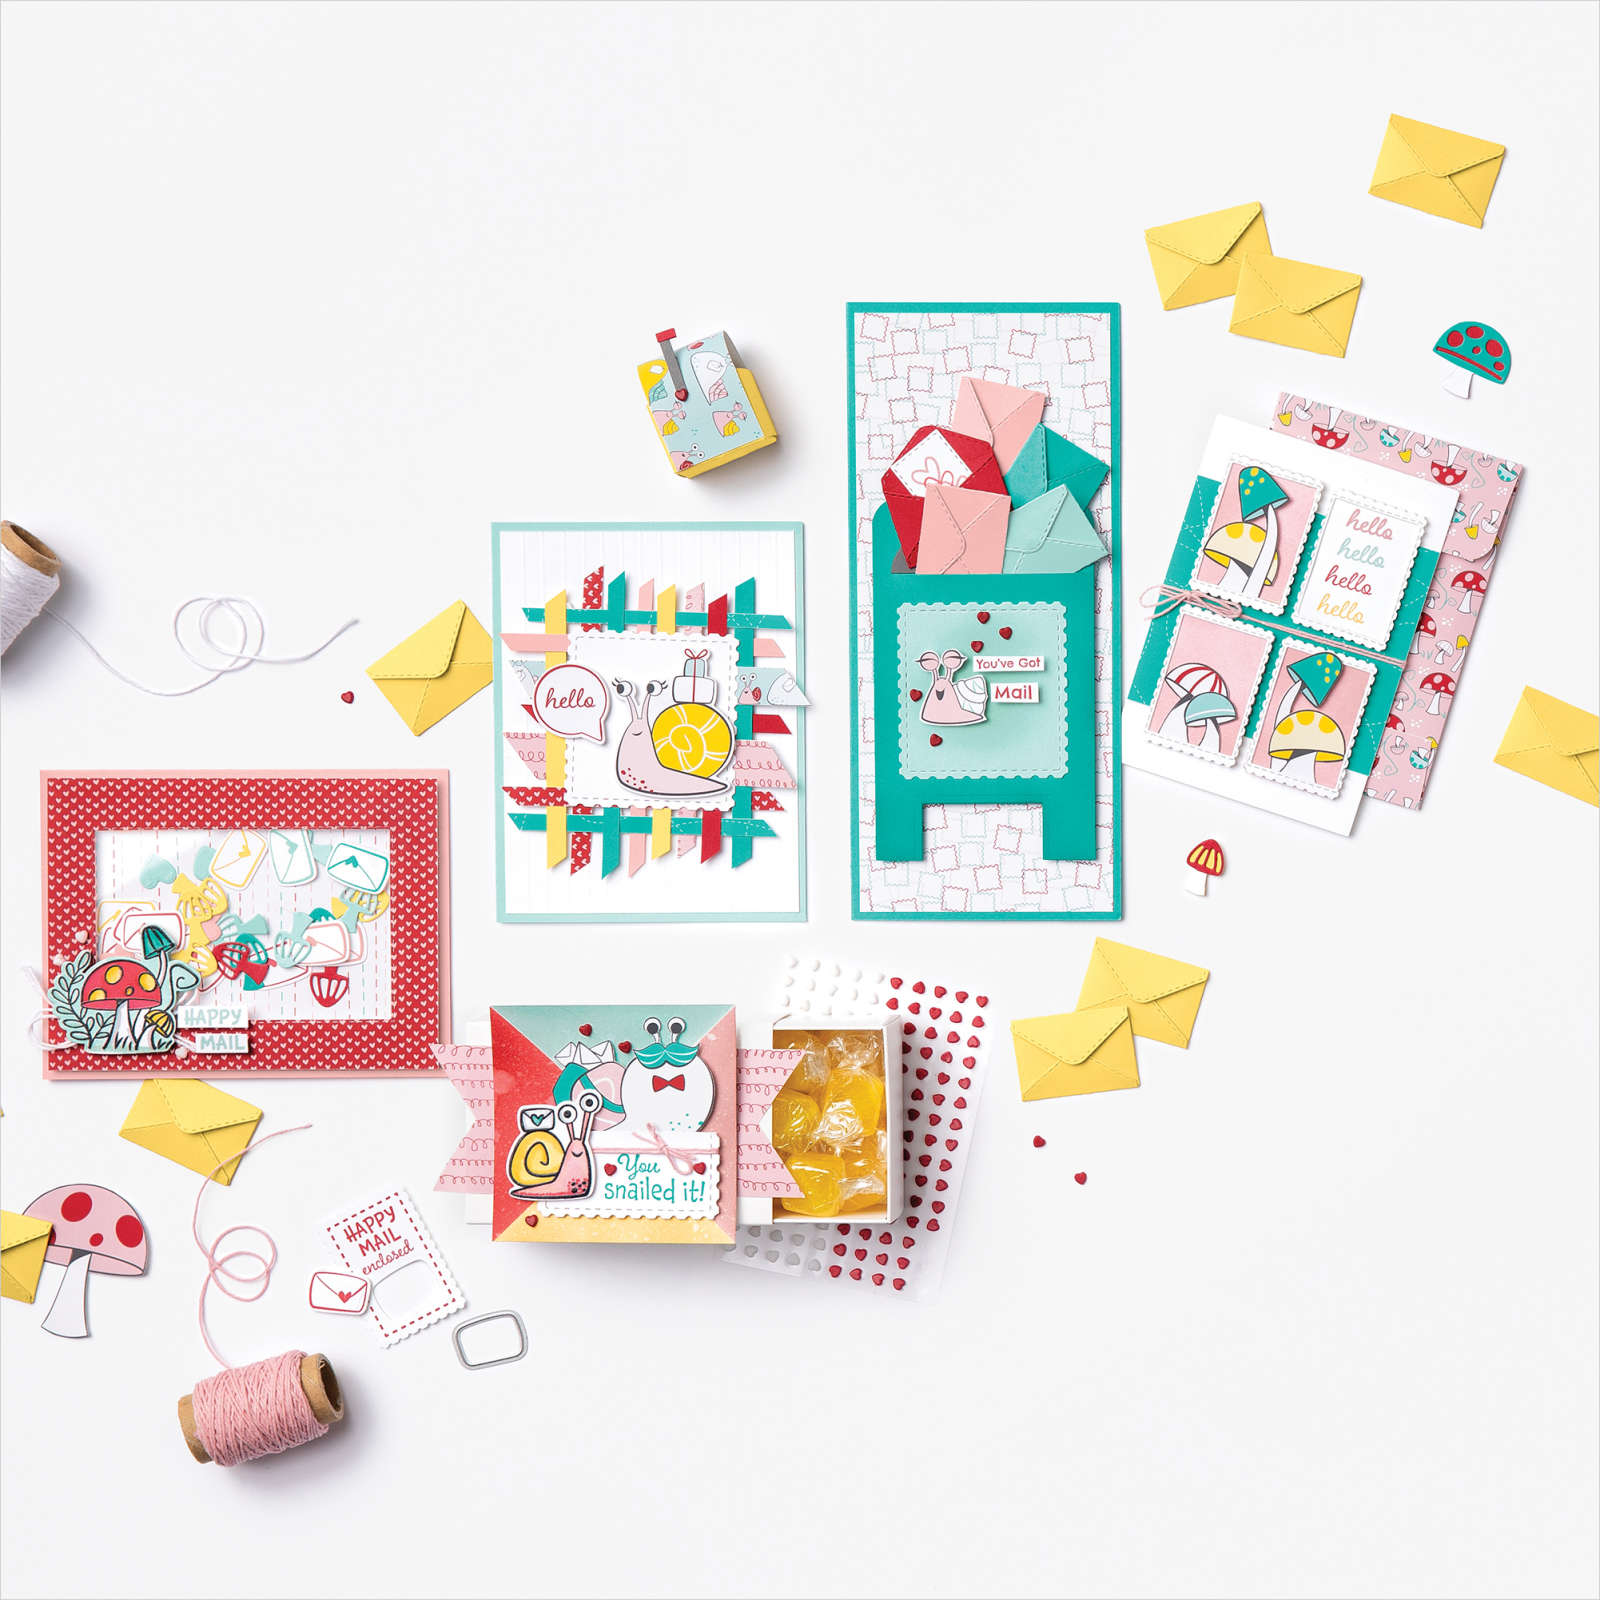
Fear not my creative friends! The Well Suited Suite is here, and it's the perfect solution we've been searching to find for those hard-to-create masculine cards. This suite is ideal for masculine birthdays, Father's day, and a few more unexpected uses, too.
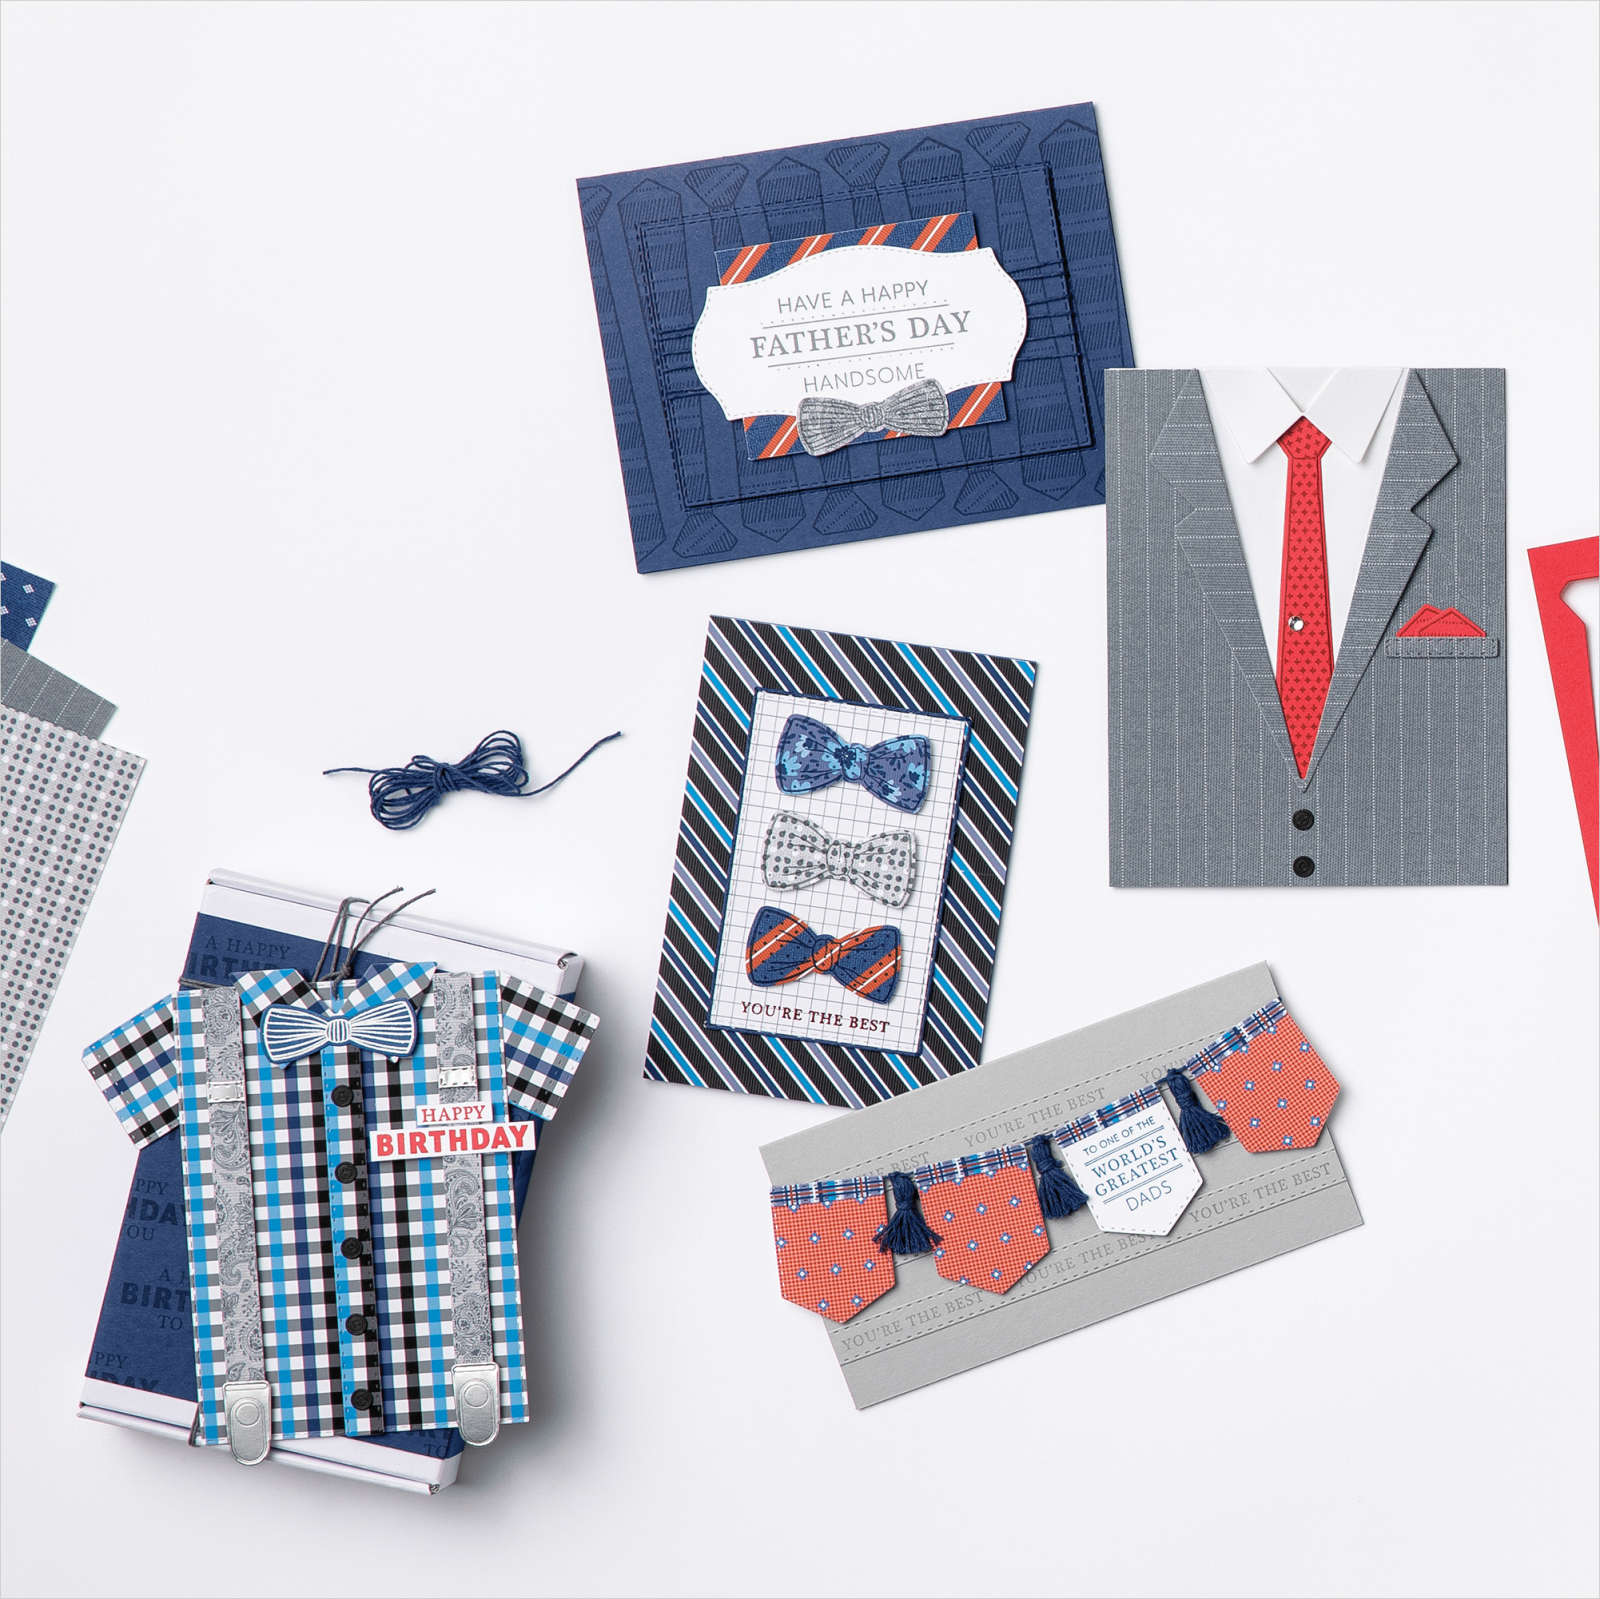
The Handsomely Suited stamp set has a combination greetings and images that are great as focal images, accents, or stamped backgrounds. The Suit & Tie Dies take this bundle over the top with dies that coordinate with the stamps and a whole set of pieces to mix n' match to create shirts, vests, or suit jackets. Pair the stamps and dies with the handsome patterns of the Well Suited Designer Series Paper and you have a top-notch combination.
Obviously, the shirts and suits you'll build with this set are going to be a hit, but what about using the suit dies with Basic White to create a lab coat, or with Mint Macaron to create scrubs as a thank you to nurses and doctors. Or in the colours of police, fire, or military uniforms? Or create wedding cards with black tuxedos and move the "V" of the jacket dies up to create a V-neck wedding dress with embossed Basic White cardstock and Pearl Jewel details.
The possibilities really are endless. I look forward to seeing what you create with this unique set!
The tutorial below creates layers of texture with stamped images, a popped-up frame technique, twine, and stamped Designer Series Paper.
--------------------------------------------------
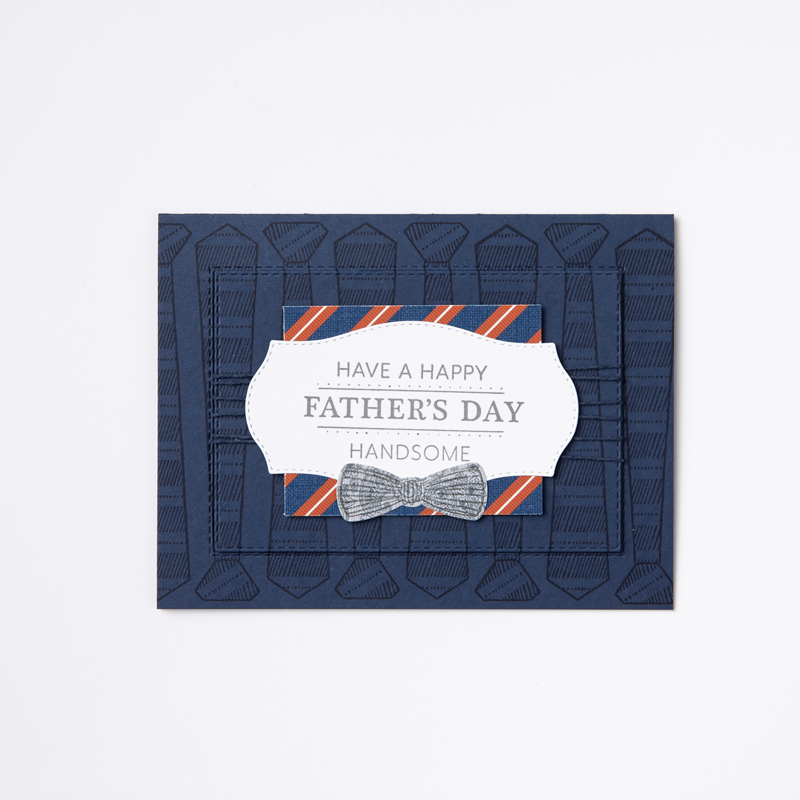
Well Suited Popped-Out Frame Card
Join my Email Newsletter List and receive my tutorials by email. With each mailing you will receive a picture of the finished project, a supply list, card layout, and a step-by-step tutorial.
| Well Suited Popped-Out Frame Card |
INSTRUCTIONS: 2) Stamp tie image from Handsomely Suited stamp set across the Night of Navy 5-1/2" x 4-1/4" cardstock with Night of Navy ink. Rotate the image 180 degrees each time. You can start in the center and work out or start at one edge and work your way across the card. 3) Use the 4-5/16" x 3" Stitched Rectangle die to die cut a rectangle from the center of the stamped cardstock. This die created stitching on either side of the die cut rectangle. 4) Adhere the outer die cut frame to the card front with Stampin' SEAL. Wrap about 30" of the Night of Navy twine from the Well Suited Twine Combo Pack around the die cut rectangle about 5-6 times. Adhere or knot the ends on the back of the cardstock. Adhere inside the coordinating frame, like a puzzle piece, but popped up with Stampin' Dimensionals. 5) Cut striped Well Suited Designer Series Paper to 2-3/4" x 2-1/4". Adhere centered on the card front with Stampin' SEAL or Stampin' Dimensionals. 6) Stamp greeting on scrap Basic White cardstock with Basic Gray ink. Die cut greeting with die from the Tasteful Labels Dies. Adhere to card front with Stampin' SEAL. 7) Stamp bow tie image on paisley Well Suited Designer Series Paper using Basic Gray ink. Die cut with coordinating die from the Suit & Tie Dies. Adhere to bottom of label with Stampin' SEAL or Stampin' Dimensionals. |
Product List


")
 Designer Series Paper")


 Scalloped Linen Ribbon")