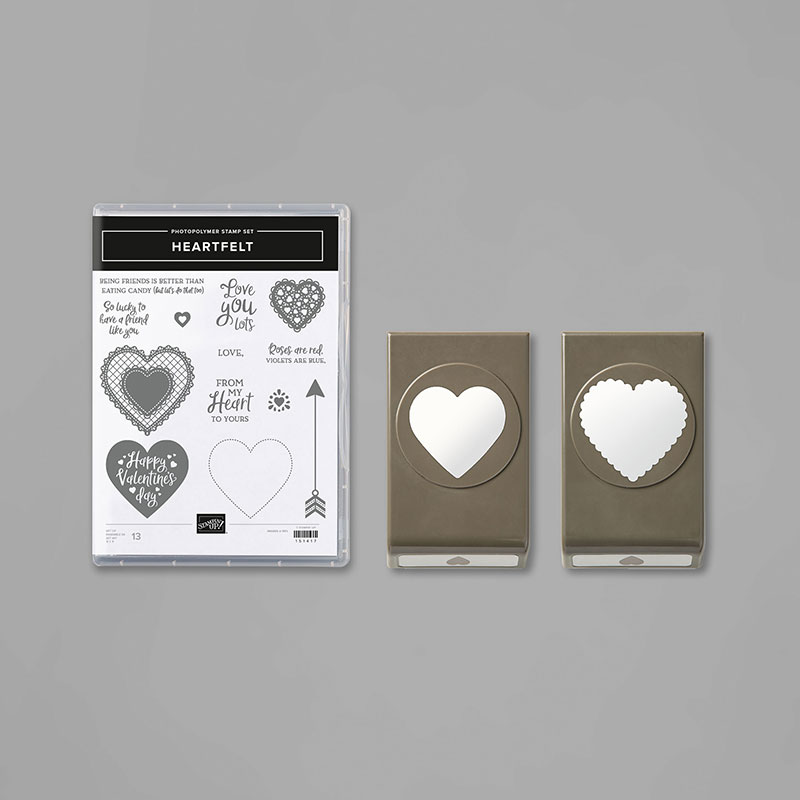
Do you love punches? I sure do! The Heart Punch Pack (#151292) includes two large heart punches that coordinate with the Heartfelt stamp set (#151417). Get them together in the Heartfelt Bundle (#153775) and save 10%! There's a lot to love about this bundle.
This tutorial uses the heart punches 3 ways - as layered shapes, negative space shapes, and to frame greetings. The banner inside the gate-fold card is a lovely surprise for someone you love. Enjoy! |
|
1. Score & Layer
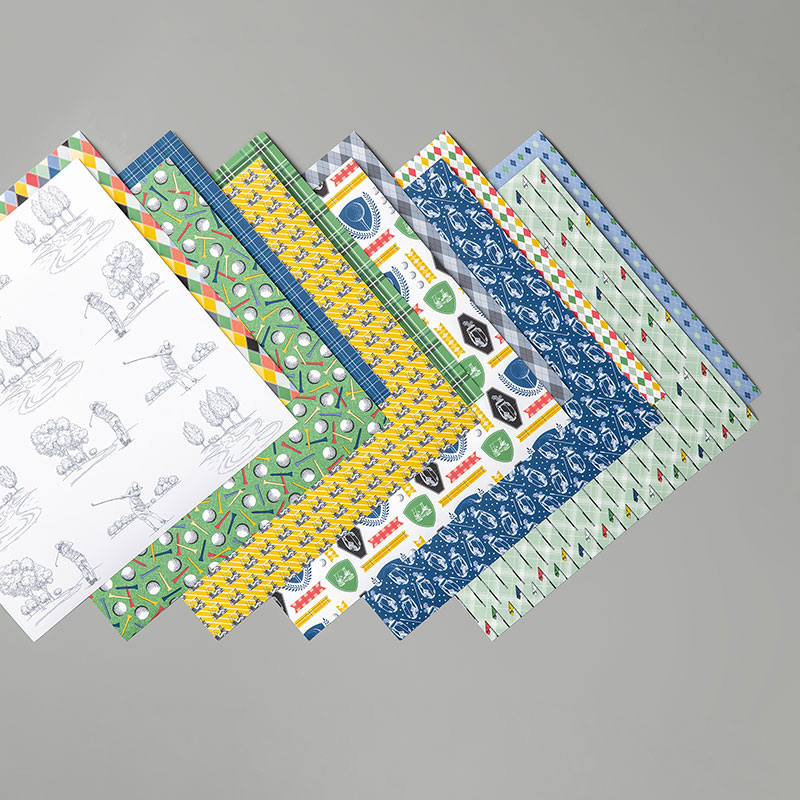
Score 4-1/4" x 11" Thick Whisper White cardstock at 2-3/4" and 8-1/4" along the 11" side. Cut two 2-1/4" x 3-3/4" pieces of Country Club Designer Series Paper onto two 2-1/2" x 4" Real Red cardstock pieces. Adhere to the two scored card front sections. |
|
|
2. Punch Hearts
Use the Heart Punch Pack to punch 3 Real Red and 1 Basic Gray scalloped hearts. Punch 2 non-scalloped hearts from the argyle pattern of the Country Club Designer Series Paper. |
|
|
3. Score Hearts
Use the Simply Scored Scoring Tool or scoring blade on the Paper Trimmer to score 2 of the Real Red scalloped hearts and 2 argyle patterned hearts down the center vertically. |
|
|
4. Negative Space Hearts
Create a thin, scalloped heart with a negative space opening in the center. Start with scrap Whisper White and Flirty Flamingo cardstock. Punch the cardstock with the smaller, straight edge heart first. Then center the punched cardstock in the scalloped heart punch and punch out the thin outer ring of the heart. |
|
|
5. Stamp & Punch
Stamp the "Happy Valentine's day" image from the Heartfelt stamp set on scrap Whisper White cardstock with Flirty Flamingo ink. Stamp the dotted heart outline with Real Red ink. Stamp the "Love you lots" greeting inside the dotted heart with Basic Gray ink. Punch out both stamped hearts with the non-scalloped heart punch. |
|
|
6. Layer Hearts
Cut two 2" Pieces of Real Red Stitched 3/8" Double-Stitched Satin Ribbon. Adhere in a "V" off the bottom right edges of the punched Real Red scalloped heart that you didn't score. Layer on the punched "Happy Valentine's day" heart with Stampin' Dimensionals. Add Tear n' Tape only to the back left side of the layered heart. |
|
|
7. Hearts on Card Front
Use the Fine-Tip Glue Pen to add very tiny dots of glue to the back of the Whisper White and Flirty Flamingo negative space heart outlines. Adhere on to each side of the card front at a bit of an angle. Use the Tear n' Tape added to the back of the layered greeting heart to adhere it to the left flap of the card. The half without adhesive will overlap halfway on the right flap. |
|
|
8. Add Tear n' Tape
Add Tear n' Tape to only the right half of one scored Real Red heart and only to the left half of the other scored Real Red heart. Add Tear n' Tape to the back of both scored argyle pattern hearts. Add Tear n' Tape to the un-scored Real Red scalloped heart and the back of the "Love you lots" stamped heart. Cut ribbon to 5-1/2". |
|
|
9. Add Heart Banner
Adhere the left edge of one scored, scalloped Real Red heart to the inside left flap of the card. Place so the scored line on the heart is lined up with the scored line on the card. Repeat with the other heart on the right inside flap of the card. The halves of the hearts on the main card section will not be glued down. Add Tear n' tape to the inside halves of the hearts and adhere one end of the ribbon to each side. |
|
|
10. Finish Heart Banner
Adhere argyle pattern hearts over Real Red scalloped hearts making sure the scored lines are lined up. Center the un-scored Real Red scalloped heart, with the Tear n' Tap side face up, under the ribbon between the two hearts. Adhere to stamped "Love you lots" heart to the Real Red heart sandwiching the ribbon between the hearts. Fold the card closed. Use a Bone Folder to burnish the folds. |
|
|
Real Red 3/8" Double-Stitched Satin Ribbon
#151155
|
Country Club Designer Series Paper
#151314
|
|
|
|


No comments