Showing posts with label Embossing Powder. Show all posts

Frosted Gingerbread & Peppermint!


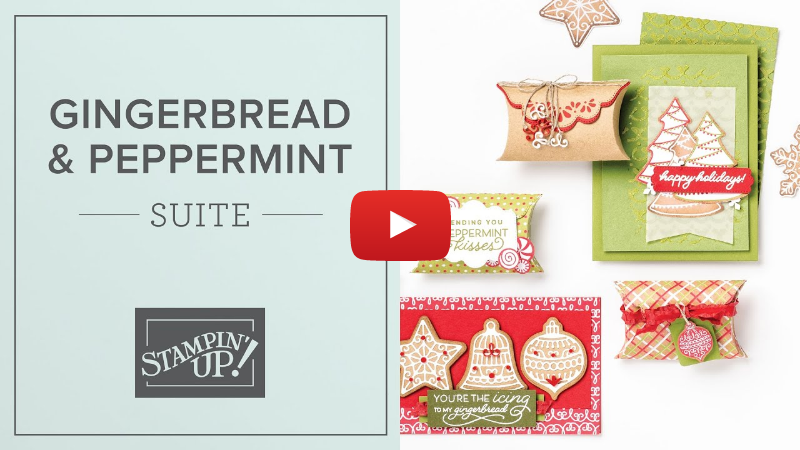
August-December 2021 Mini Catalogue - Gingerbread & Peppermint Suite

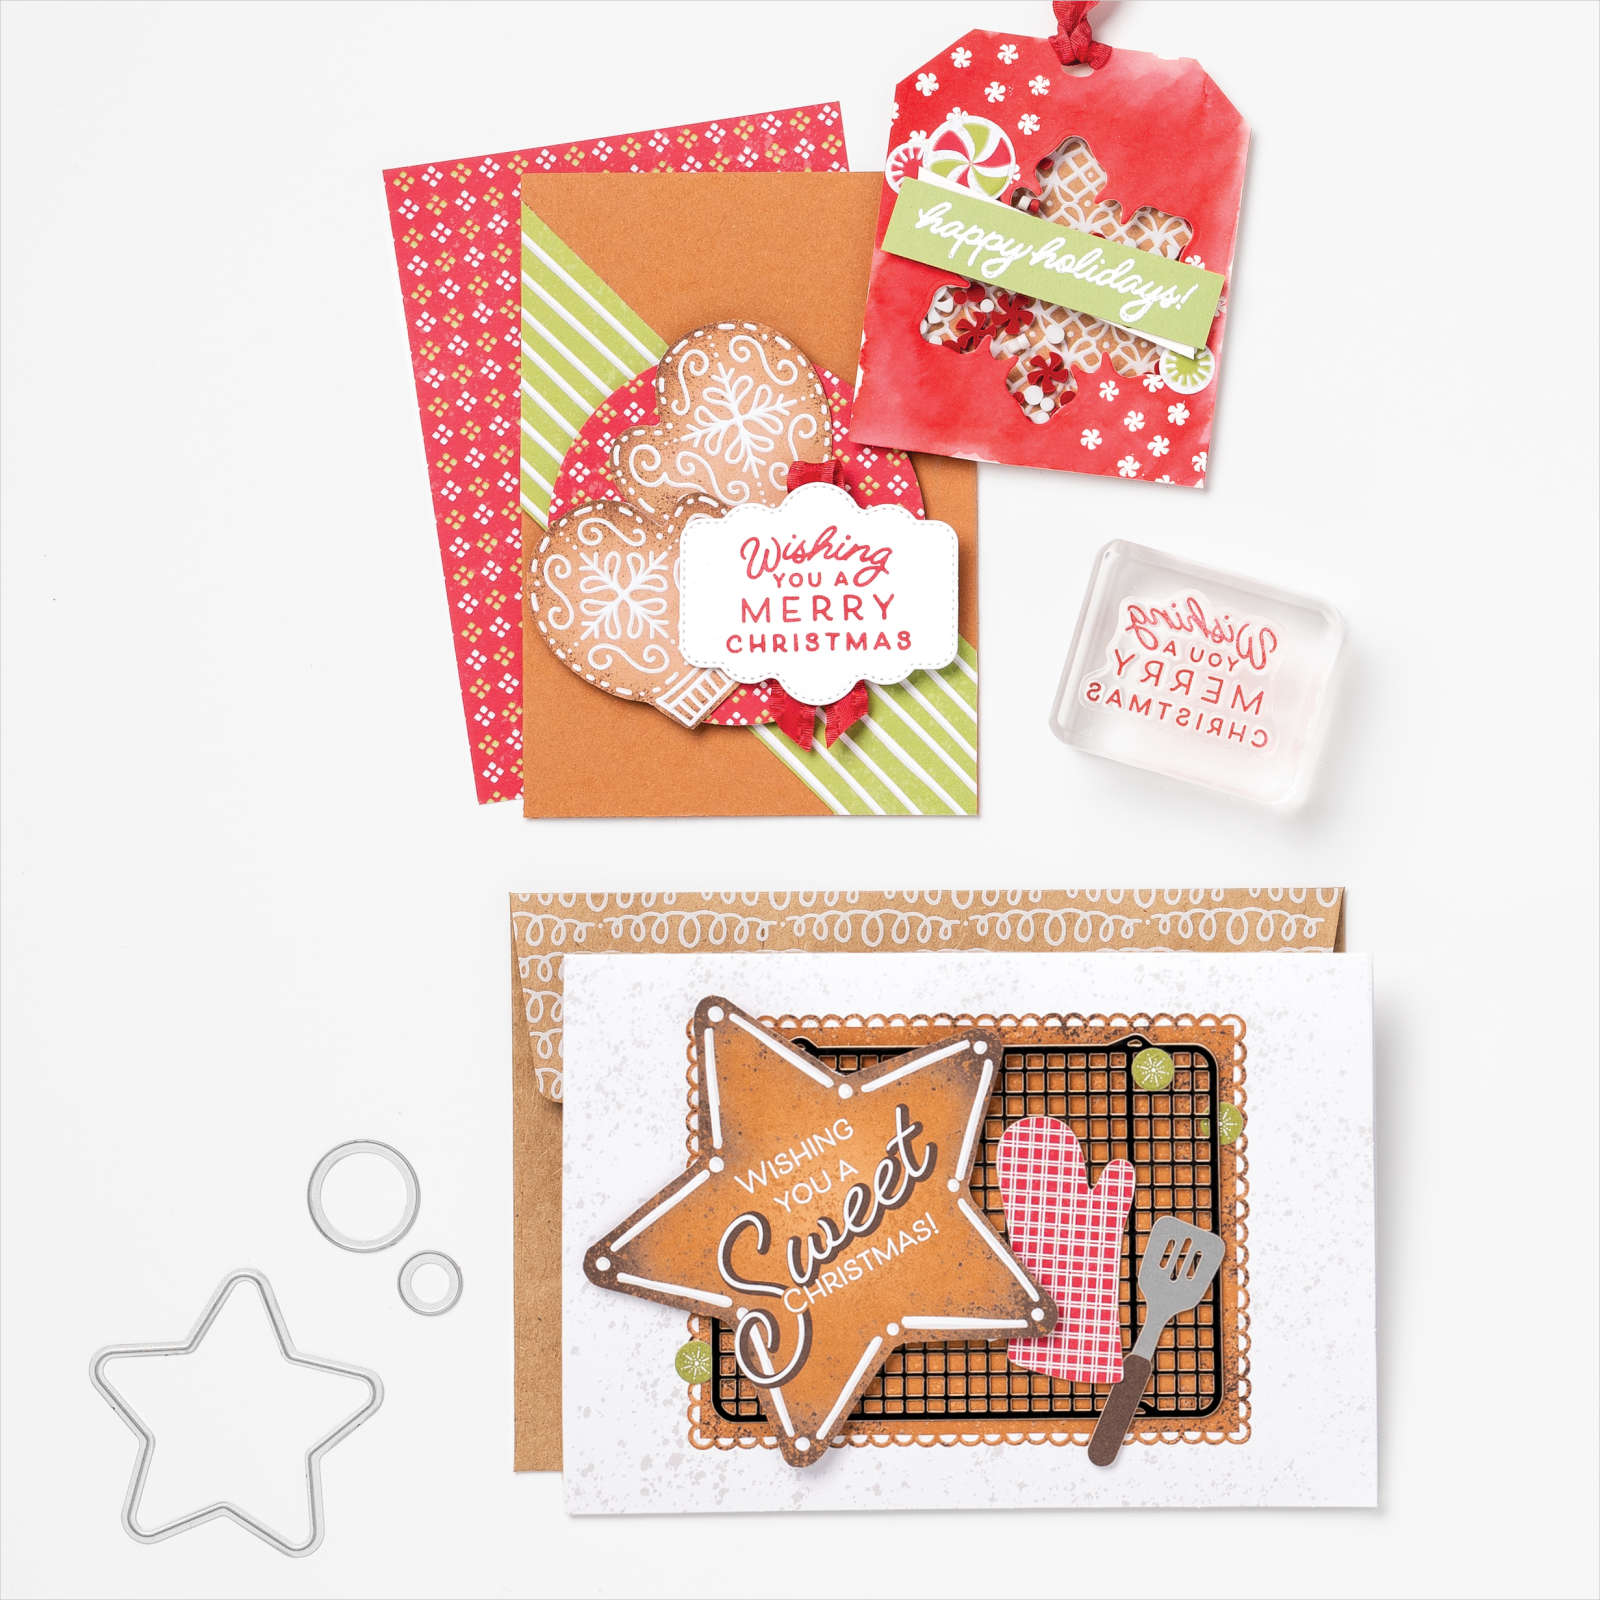
One of the things I always love about the holidays are the sweet smells that fill the house. Whether it's baking gingerbread or stirring a cup of hot chocolate with a peppermint candy cane, the smells of the holidays bring treasured memories to mind.

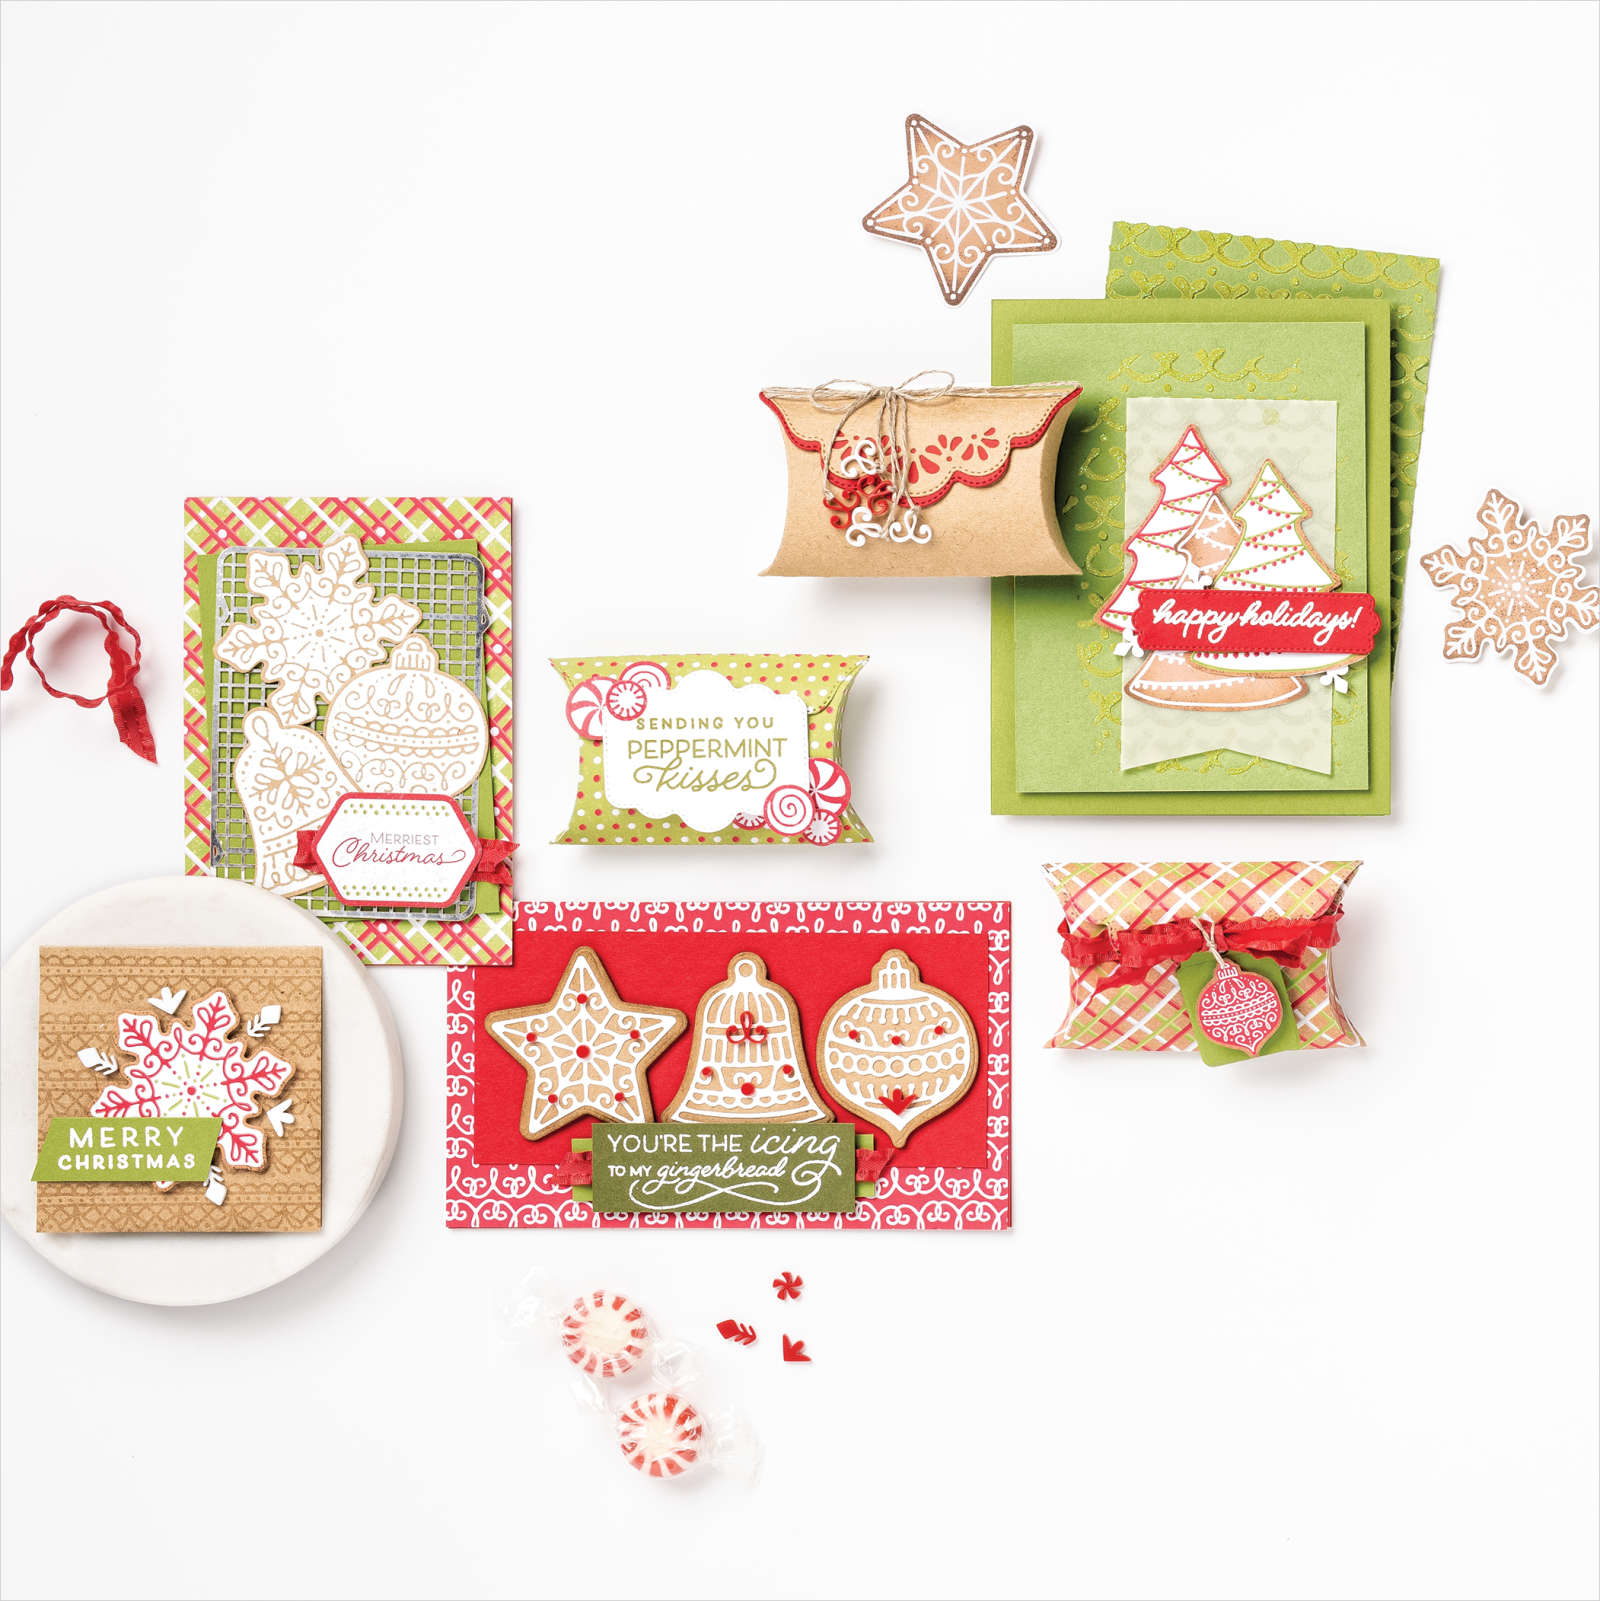
You can add a hint of nostalgia and many sweet moments to your holidays this year with the Gingerbread & Peppermint Suite. It's packed with everything you need to create cards, memory keeping, treats, and gifts that will make even more sweet memories!

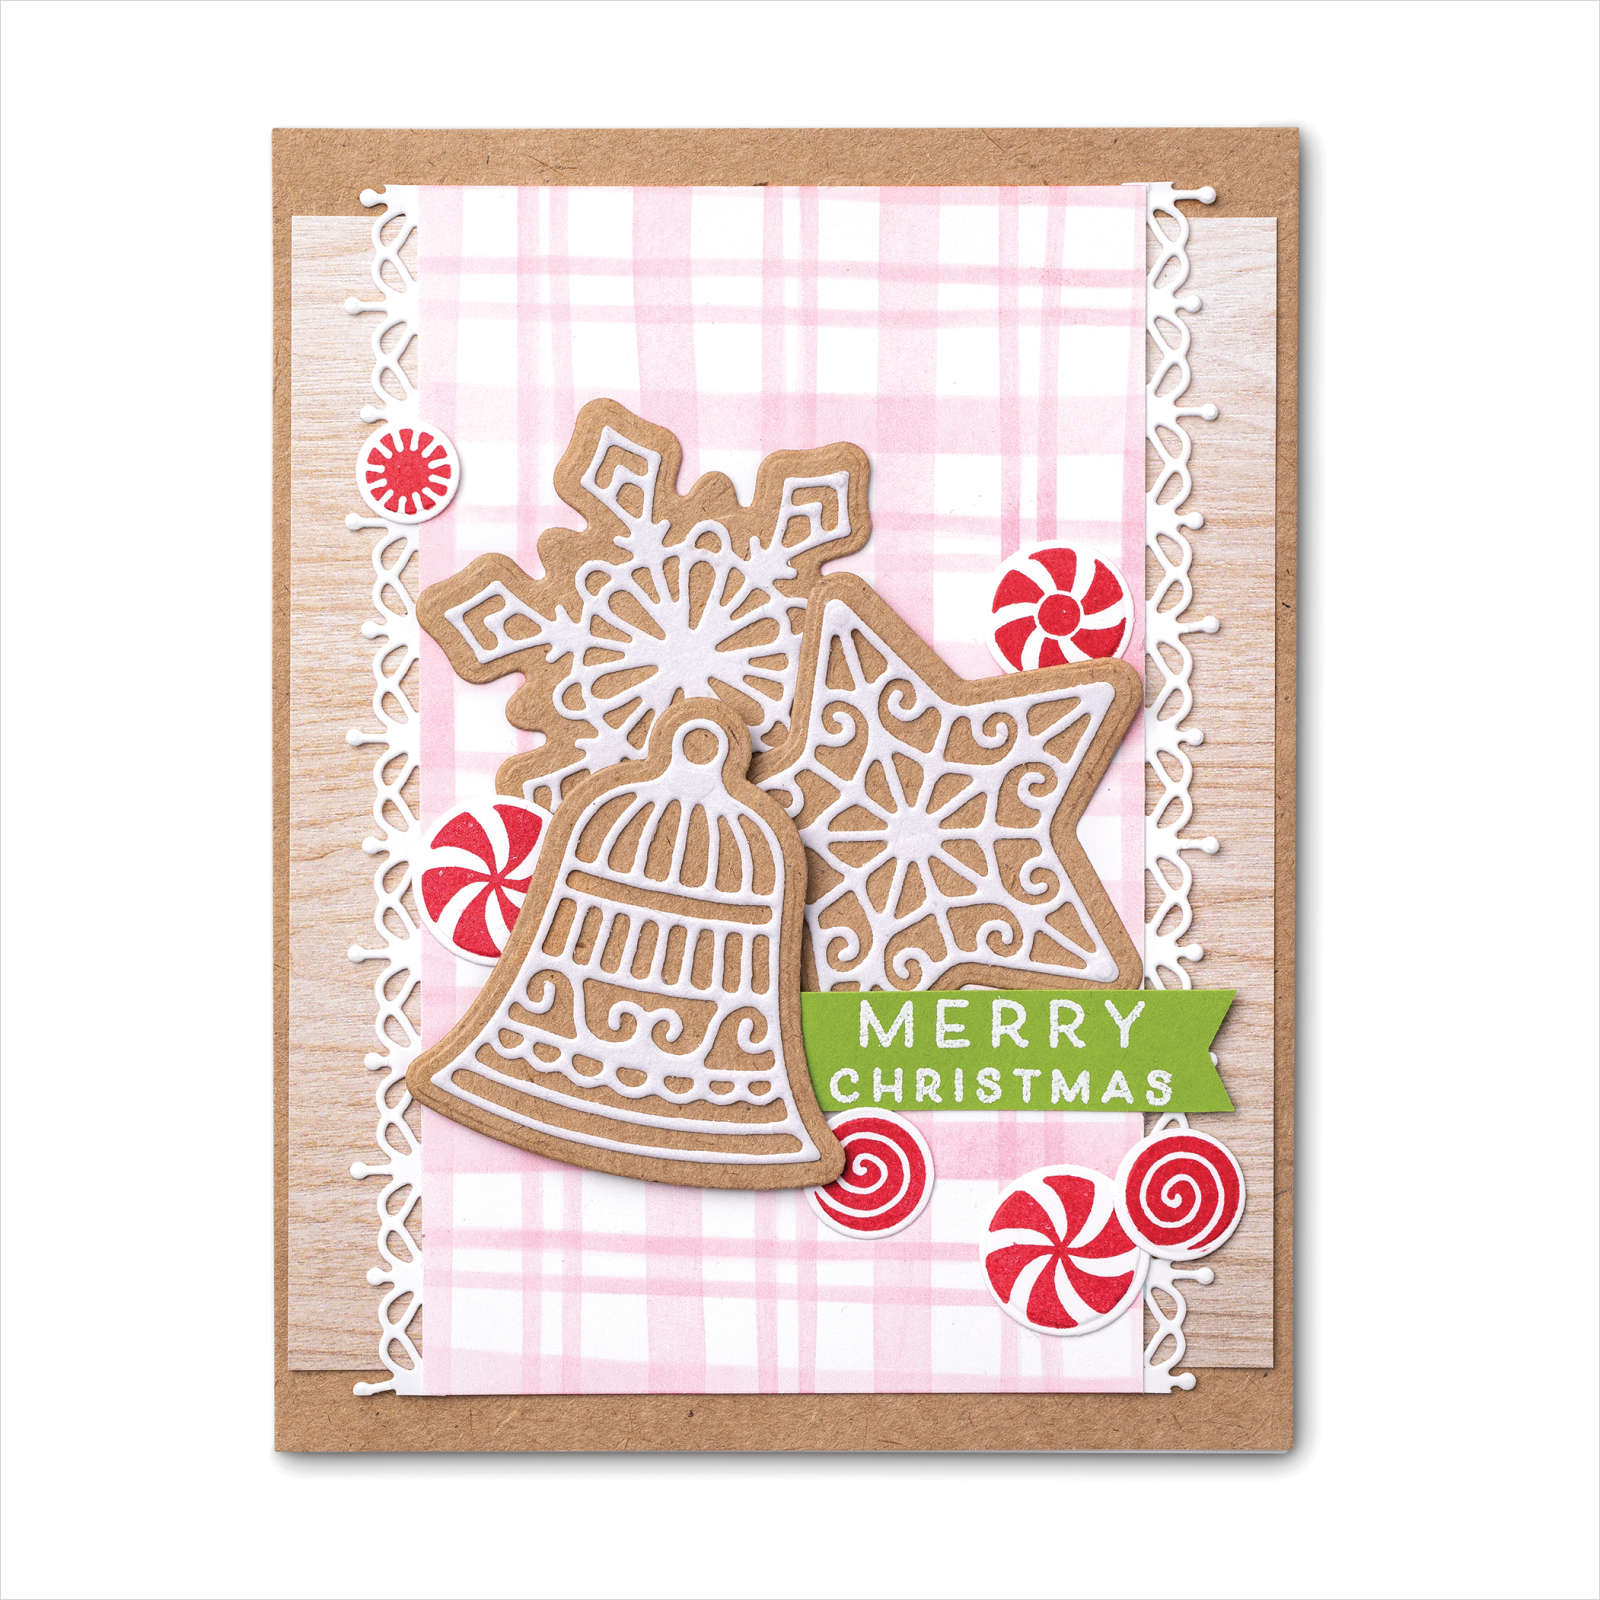
The tutorial below includes a masking technique to make your own patterned paper, heat embossing, and lots of intricate die cut details.

Sincerely,
Helen


--------------------------------------------------

VIEW ONLINE
August-December 2021 Mini Catalogue - Gingerbread & Peppermint Suite


Frosted Gingerbread & Peppermint Card

August-December 2021 Mini Catalogue - Frosted Gingerbread & Peppermint Card


Frosted Gingerbread &
Peppermint Card

INSTRUCTIONS:


1) Cut Thick Basic White cardstock to 5-1/2" x 8-1/2". Score at 4-1/4" along the 8-1/2" side. Fold card. Cover front of card with 4-1/4" x 5-1/2" piece of Kraft paper.


2) Cut wood patterned In Good Taste Designer Series Paper to 4-1/8" x 4-3/4". Adhere to card front.


3) Cut Snowy White Velvet Sheets to 3" x 5". Ink Blending Brush with Real Red ink. Rub most of the real red ink out of your brush on scrap paper until it's a light pink. Place striped pattern of Adorning Designs Decorative Masks over Snowy White Paper so the lines are vertical. Use the Blending Brush to blend ink through the mask. Rotate the mask 90 degrees and repeat to create the plaid design. Set aside to dry.


4) Die cut two lacy border strips from Thick Basic White cardstock with the Gingerbread dies. Add Stampin' SEAL+ behind each long edge of the plaid Snowy White Velvet Paper. Adhere a die cut strip behind each edge. Trim off excess with Paper Snips. Adhere to cared front.


5) Die cut snowflake, star, and bell shapes from Kraft paper. Die cut coordinating lacy "icing" designs from Snowy White Velvet Sheets. Adhere to Kraft shapes with Multipurpose Liquid Glue. Layer grouped on card front using Stampin' SEAL for the snowflake and star and Stampin' Dimensionals for the bell.


6) Cut Granny Apple Green cardstock to 2" x 1/2". Stamp greeting with VersaMark ink. Cover generously with white Stampin' Emboss Powder. Tap off excess powder. Heat emboss with the Heat Tool. Use Paper Snips to banner cut one end. Adhere to card front with left edge tucked under the bell.


7) Stamp six candy circles in 3 sizes on Thick Basic White cardstock using Real Red ink. Die cut with coordinating dies. Adhere to card front with Stampin' SEAL and Stampin' Dimensionals.


TIPS: When using the Adorning Designs Decorative Masks, or other masks, protect your work surface with a Silicone Sheet or Grid Paper. Using blue painter's tape or similar tape, helps keep the mask from moving. Clean masks with a soft Simply Shammy, soft damp cloth, or under running water.


Gingerbread & Peppermint Suite | By Stampin' Up!


Product List


Ice Cream Corner Card Tutorial


The Annual Catalogue Inspiration

Ice Cream Corner Suite

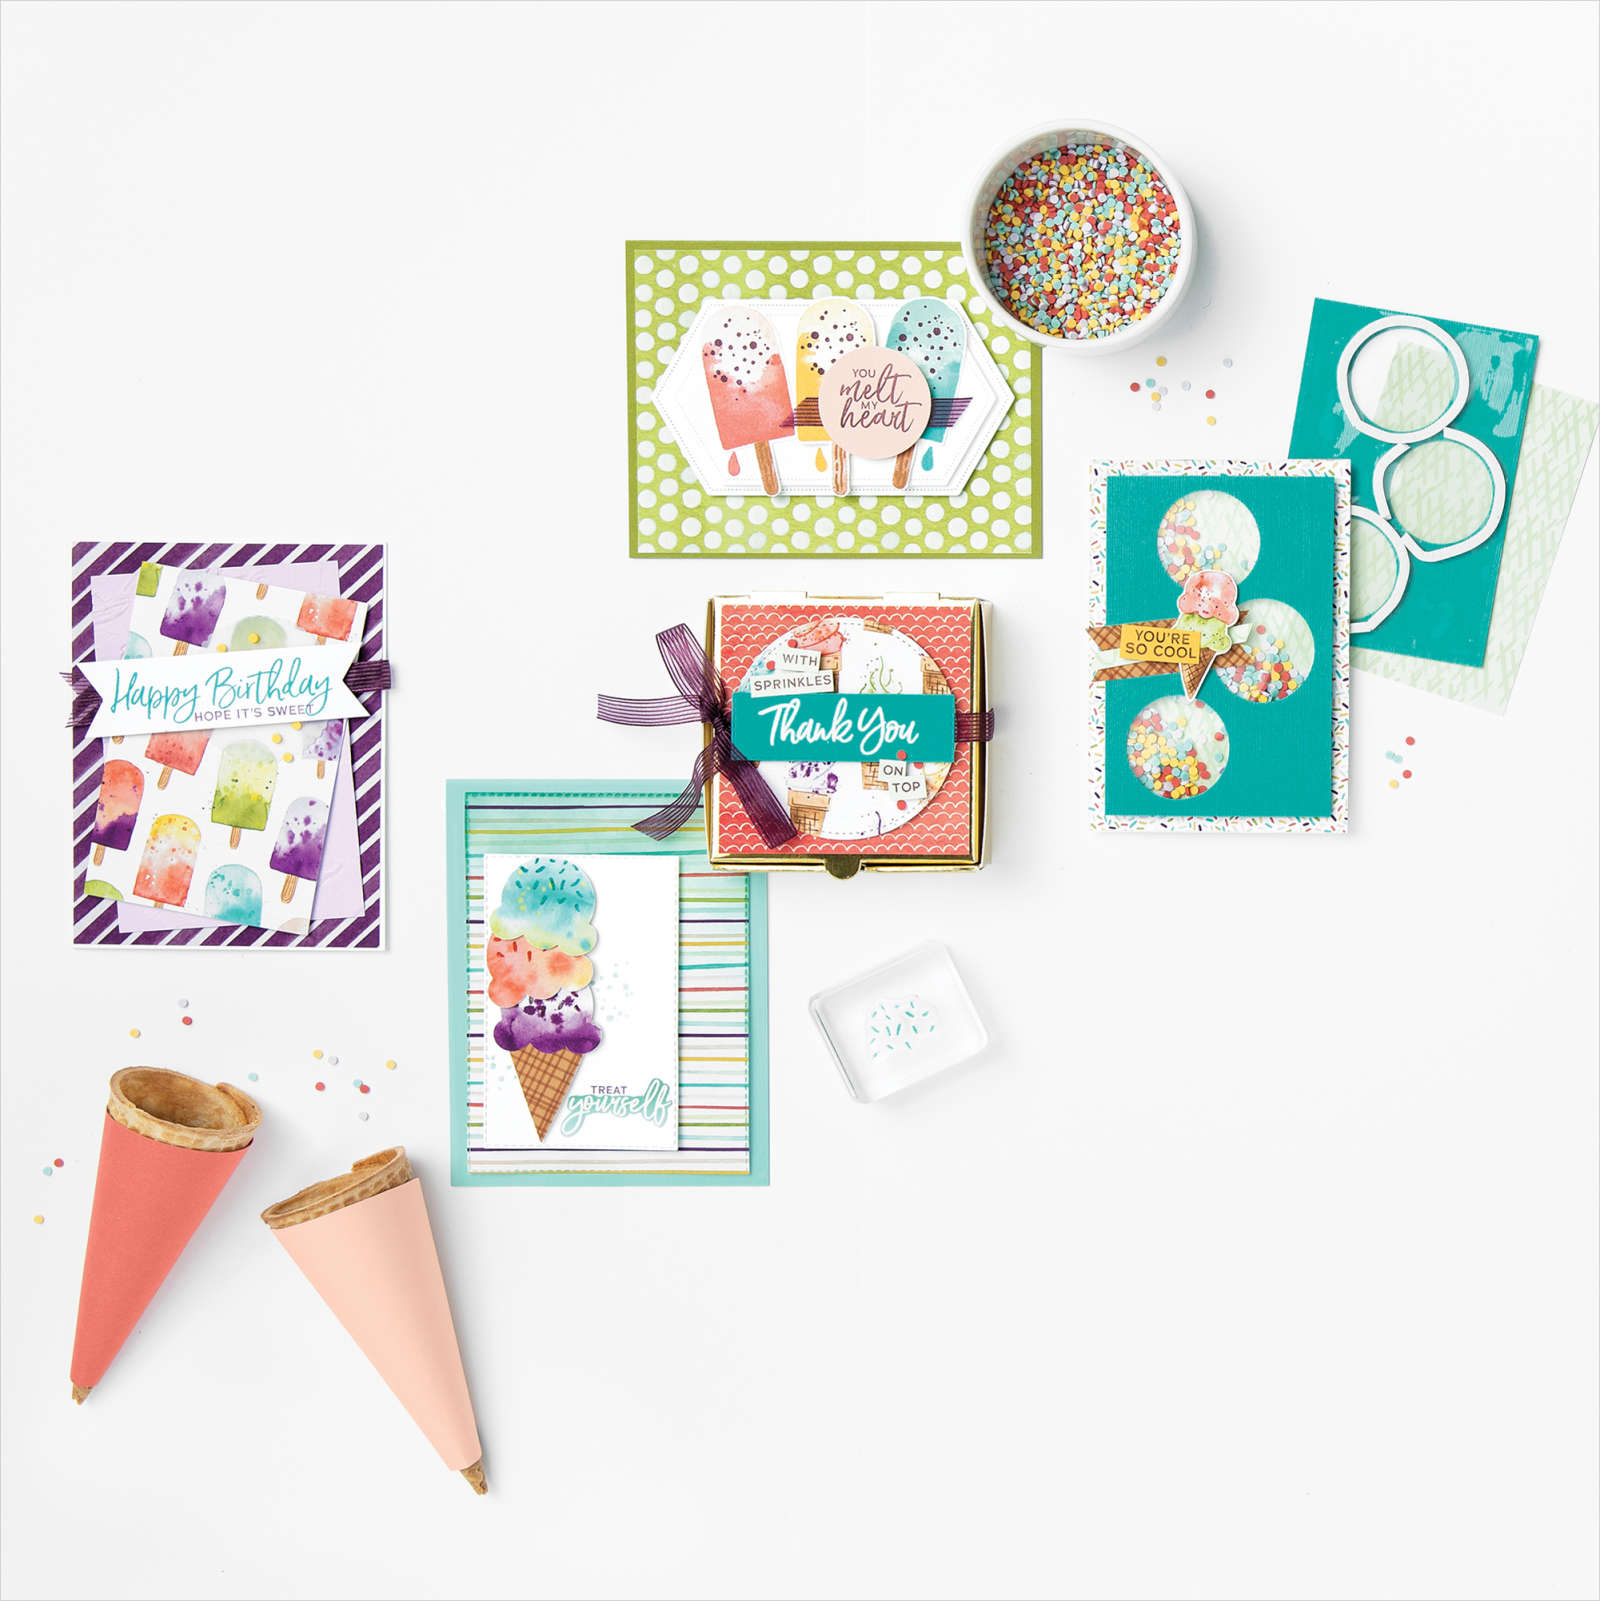
Sprinkle beautiful colours together with sweet images, add a hint of nostalgia, and you've created the perfect recipe for the Ice Cream Corner Suite!

Whether you are sending sweet thoughts and birthday wishes or creating cool summer memories, this coordinating two-step stamp set and punch bundle are a must-have combo. From kids to the young-at-heart you'll create smiles with every project you make.

The bright, fun Ice Cream Corner Designer Series Paper adds the perfect backdrop for the ice cream cones and popsicle images, but it also coordinates so you can punch swirly ice cream scoops and waffle cones with or without stamping.

Add in the Ice Cream Corner sprinkles as embellishments or for shaker cards, and a pinch of BlackBerry Bliss Striped Ribbon to top off you ice cream creations in style!

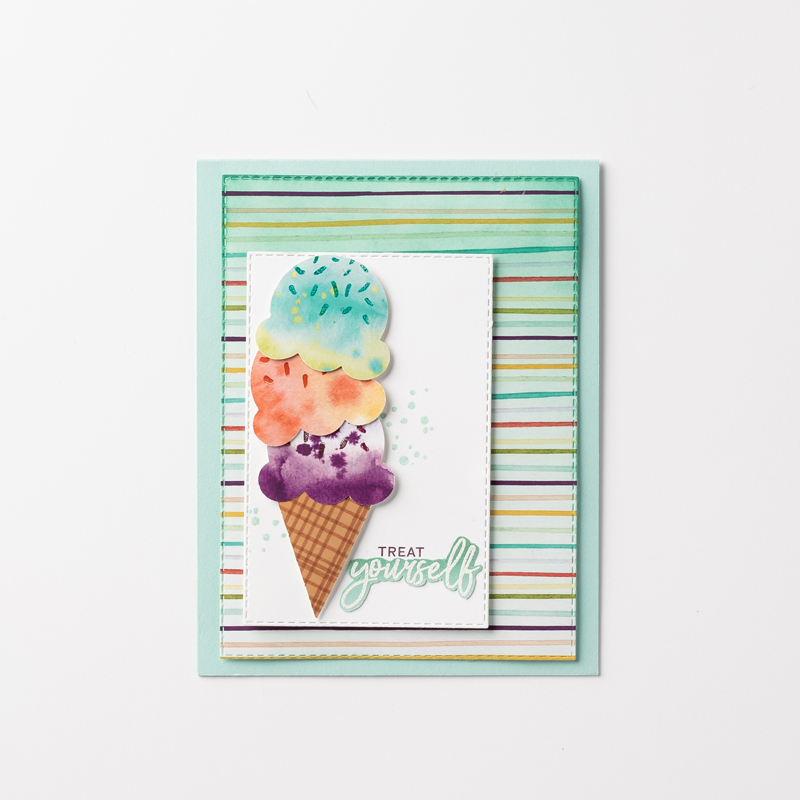
The tutorial below features the Ice Cream Corner Suite combined with an ombre background, sweet details, and scrumptious colours. This cool card will melt hearts, but won't melt in the mail!

--------------------------------------------------

Ice Cream Corner Ombre Card

Ice Cream Corner Ombre Card

Join my Email Newsletter List and receive my tutorials by email. With each mailing you will receive a picture of the finished project, a supply list, card layout, and a step-by-step tutorial.


INSTRUCTIONS:
1) Cut Pool Party cardstock to 8-1/2" x 5-1/2". Score at 4-1/4" along the 8-1/2" side. Fold on scored line and use a Bone Folder to burnish the fold flat.
2) The Ice Cream Corner Designer Series Paper has three patterns that are multi-coloured watercolor splotches. Punch one of each colour using the scoop part of the Ice Cream Cone Builder Punch. Punch the waffle patterned paper once with the cone part of the punch.
3) Stamp the sprinkle image on each ice cream scoop with the coordinating colour ink: Blackberry Bliss, Terracotta Tile, or Bermuda Bay.
4) Using the Stitched Rectangles dies, die cut the striped Ice Cream Corner Designer Series Paper with the die that measures about 3-3/4" x 5-1/8". Cut Basic White cardstock with the die that measures about 2-5/8" x 4".
5) Stamp the circular splatter design on the center left portion of the Basic White die cut rectangle with Pool Party ink. Stamp the "TREAT yourself" image at the bottom right corner with Blackberry Bliss ink. Stamp the whole greeting, you'll be covering up the "yourself" part later.
6) Build a triple scoop ice cream cone on the left side of the rectangle layer using Stampin' Dimensionals to adhere the ice cream cone and scoops.
7) Use the new Blending Brushes to create an ombre background on the striped paper with Pool Party ink. You can pick up ink directly from the ink pad or use ink refill. Place your striped paper on Grid Paper or a protected surface. Ink the Blending Brush by rubbing it across the ink pad (or ink refill), starting off the edge of the striped paper and then working onto the paper swirl the Blending Brush in circles from the top edge down towards the center. Reink the Blending Brush and repeat. Concentrate more ink at the top and fade it towards the center.
8) Repeat the same steps to create an ombre effect with Pool Party ink on a scrap of Basic White cardstock that is at least 4" x 2". Let the ink dry completely.
9) Stamp the "TREAT yourself" image on the Basic White ombre paper with VersaMark ink. Cover generously with White Stampin Emboss Powder. Tap off excess powder and heat emboss with the Heat Tool.
10) Once cool use Paper Snips to cut around "yourself" leaving a border around the word. Adhere the cut out word over the Blackberry Bliss stamped word with Stampin' Seal or Multipurpose Liquid Glue.
11) Adhere the striped ombre paper to the card front with Stampin' SEAL or Stampin' Dimensionals. Layer the Basic White rectangle onto the card front, offset to the left, with Stampin' Dimensionals. 
TIPS: When using Blending Brushes, start blending in swirling circles off your project and work onto the project. This prevents harsh lines and insures a smooth blended look. Rather than going heavy with the ink add it lightly in layers. This gives you more control and the best results.


Product List
DOWNLOAD OUR LATEST CATALOGUE

January - June Mini Catalogue

December Colour Inspiration


Nov 2020- Helen Piaskowski Colour Inspiration for December  ‌ ‌ ‌ ‌ ‌ ‌ ‌ ‌ ‌ ‌ ‌ ‌ ‌ ‌ ‌ ‌ ‌ ‌ ‌ ‌ ‌ ‌ ‌ ‌ ‌ ‌ ‌ ‌ ‌ ‌ ‌ ‌ ‌ ‌ ‌ ‌ ‌ ‌ ‌ ‌ ‌ ‌ ‌ ‌ ‌ ‌ ‌ ‌ ‌ ‌ ‌ ‌ ‌ ‌ ‌ ‌ ‌ ‌ ‌ ‌ ‌ ‌ ‌ ‌ ‌ ‌ ‌ ‌ ‌ ‌ ‌ ‌ ‌ ‌ ‌ ‌ ‌ ‌ ‌ ‌ ‌ ‌ ‌ ‌ ‌ ‌ ‌ ‌ ‌ ‌ ‌ ‌ ‌ ‌ ‌ ‌ ‌ ‌ ‌ ‌ ‌ ‌ ‌ ‌ ‌ ‌ ‌ ‌ ‌ ‌ ‌ ‌ ‌ ‌ ‌ ‌ ‌ ‌ ‌ ‌ ‌ ‌ ‌ ‌ ‌ ‌ ‌ ‌ ‌ ‌ ‌ ‌ ‌ ‌ ‌ ‌ ‌ ‌ ‌ ‌ ‌ ‌ ‌ ‌ ‌ ‌ ‌ ‌ ‌ ‌ ‌ ‌ ‌ ‌ ‌ ‌ ‌ ‌ ‌ ‌ ‌ ‌ ‌ ‌ ‌ ‌ ‌ ‌ ‌ ‌ ‌ ‌ ‌ ‌ ‌ ‌ ‌ ‌ ‌ ‌ ‌ ‌ ‌ ‌ ‌ ‌ ‌ ‌ ‌ ‌ ‌ ‌ ‌ ‌ ‌ ‌ ‌ ‌ ‌ ‌ ‌ ‌ ‌ ‌
NOWFLAKE WISHES BUNDLE - Helen Piaskowski


The holiday season is dashing along and before we know it we'll be ringing in a new (and hopefully less crazy) year! I love the holidays so I'm trying to slow down and enjoy as many of the traditions and moments as I can, plus get in lots of crafting, of course!

The Giant Year-End Closeout Sale that is currently going on is one of the best sales I can remember! Tons of great kits and supplies at up to 50% off! Top-picks are selling out, so be sure to shop for them if you haven't marked off all your wish list items yet. The August-December Mini Catalogue ends January 4th and retiring items are only available while supplies last.

You may have heard that Whisper White cardstock has been discontinued due the the manufacturer shutting down unexpectedly. It's a sad result of the times for us and the supplier. However, I am confident that the new Basic White cardstock that is coming soon will be great. If you want to order Whisper White you'll want to order quickly as it is selling out quickly and limits of 2 have been placed on all packs of Whisper White cardstock, Envelopes, Notecards, etc.

In the spirit of a bright and joyful season, this month's Colour Inspiration features the rich shimmer of metallic colours. They are beautiful now, for New Year's, and for happy occasions to come. I hope you enjoy the elegant metallic projects!


COLOUR INSPIRATION

Bronze

Copper

Gold

The rich, gleam and shimmer of metallic elements on a crisp white background creates a look of elegance and sophistication that is perfect for the holidays, weddings, and anniversaries. This Colour Inspiration features gold, bronze, and copper colours from the Brushed Metallic 12" x 12" Cardstock (#153524). This metallic paper is easy-to-use with dies and punches to add the perfect finishing touches or main accents to your projects.

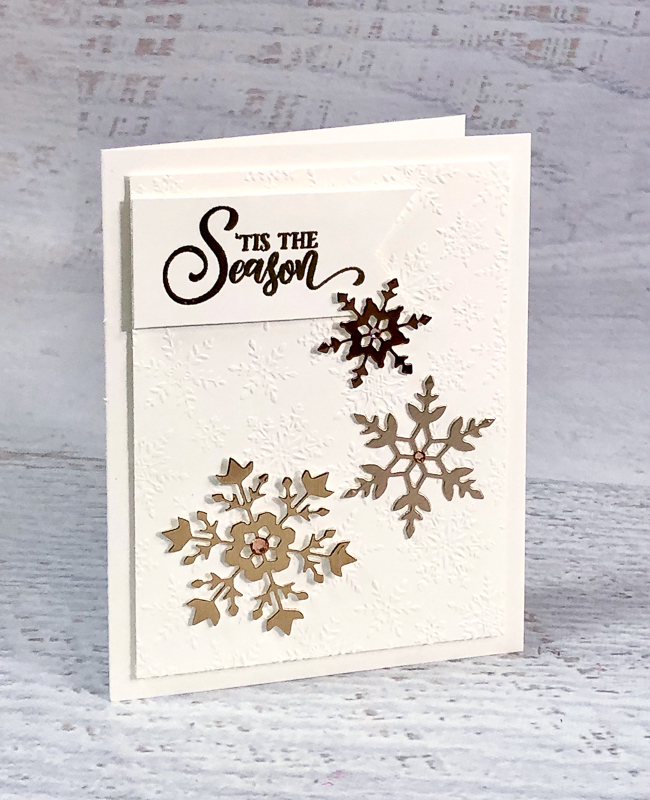
The first card features the So Many Snowflakes Dies (#153560) and Winter Snow Embossing Folder (#153577) from the Snowflake Splendor Suite. This card also features the Tag Buffet stamp set (#153612) heat embossed with Gold Stampin Emboss Powder (#109129) and punched with the Banner Triple Punch (#138292). Champagne Rhinestone Jewels (#151193) add the final touch of sparkle.
This month's Colour Inspiration Project

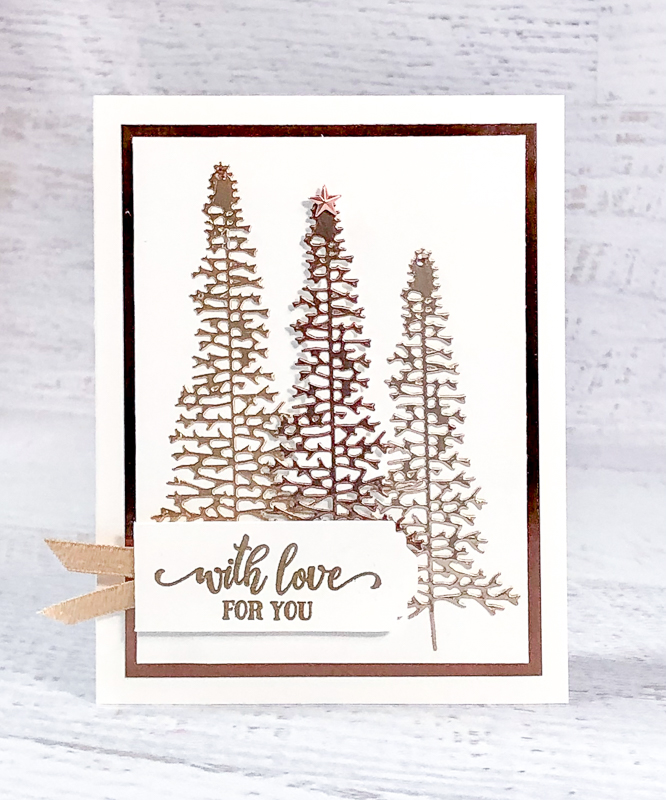
The second card features the Majestic Mountain Dies (#151608). This card also features the Tag Buffet stamp set (#153612) heat embossed with Gold Stampin Emboss Powder (#109129) and punched with the Lovely You Punch Bundle (#152883). The card if finished with a Copper Star Designer Elements (#150430), Champagne Rhinestone Jewels (#151193), and Gold 1/4" Shimmer Ribbon (#152156).

This month's Colour Inspiration Project

Product List