INSTRUCTIONS:
- Cut Thick Whisper White cardstock to 5-1/2" x 8-1/2". Score at 4-1/4" along the 8-1/2" side.
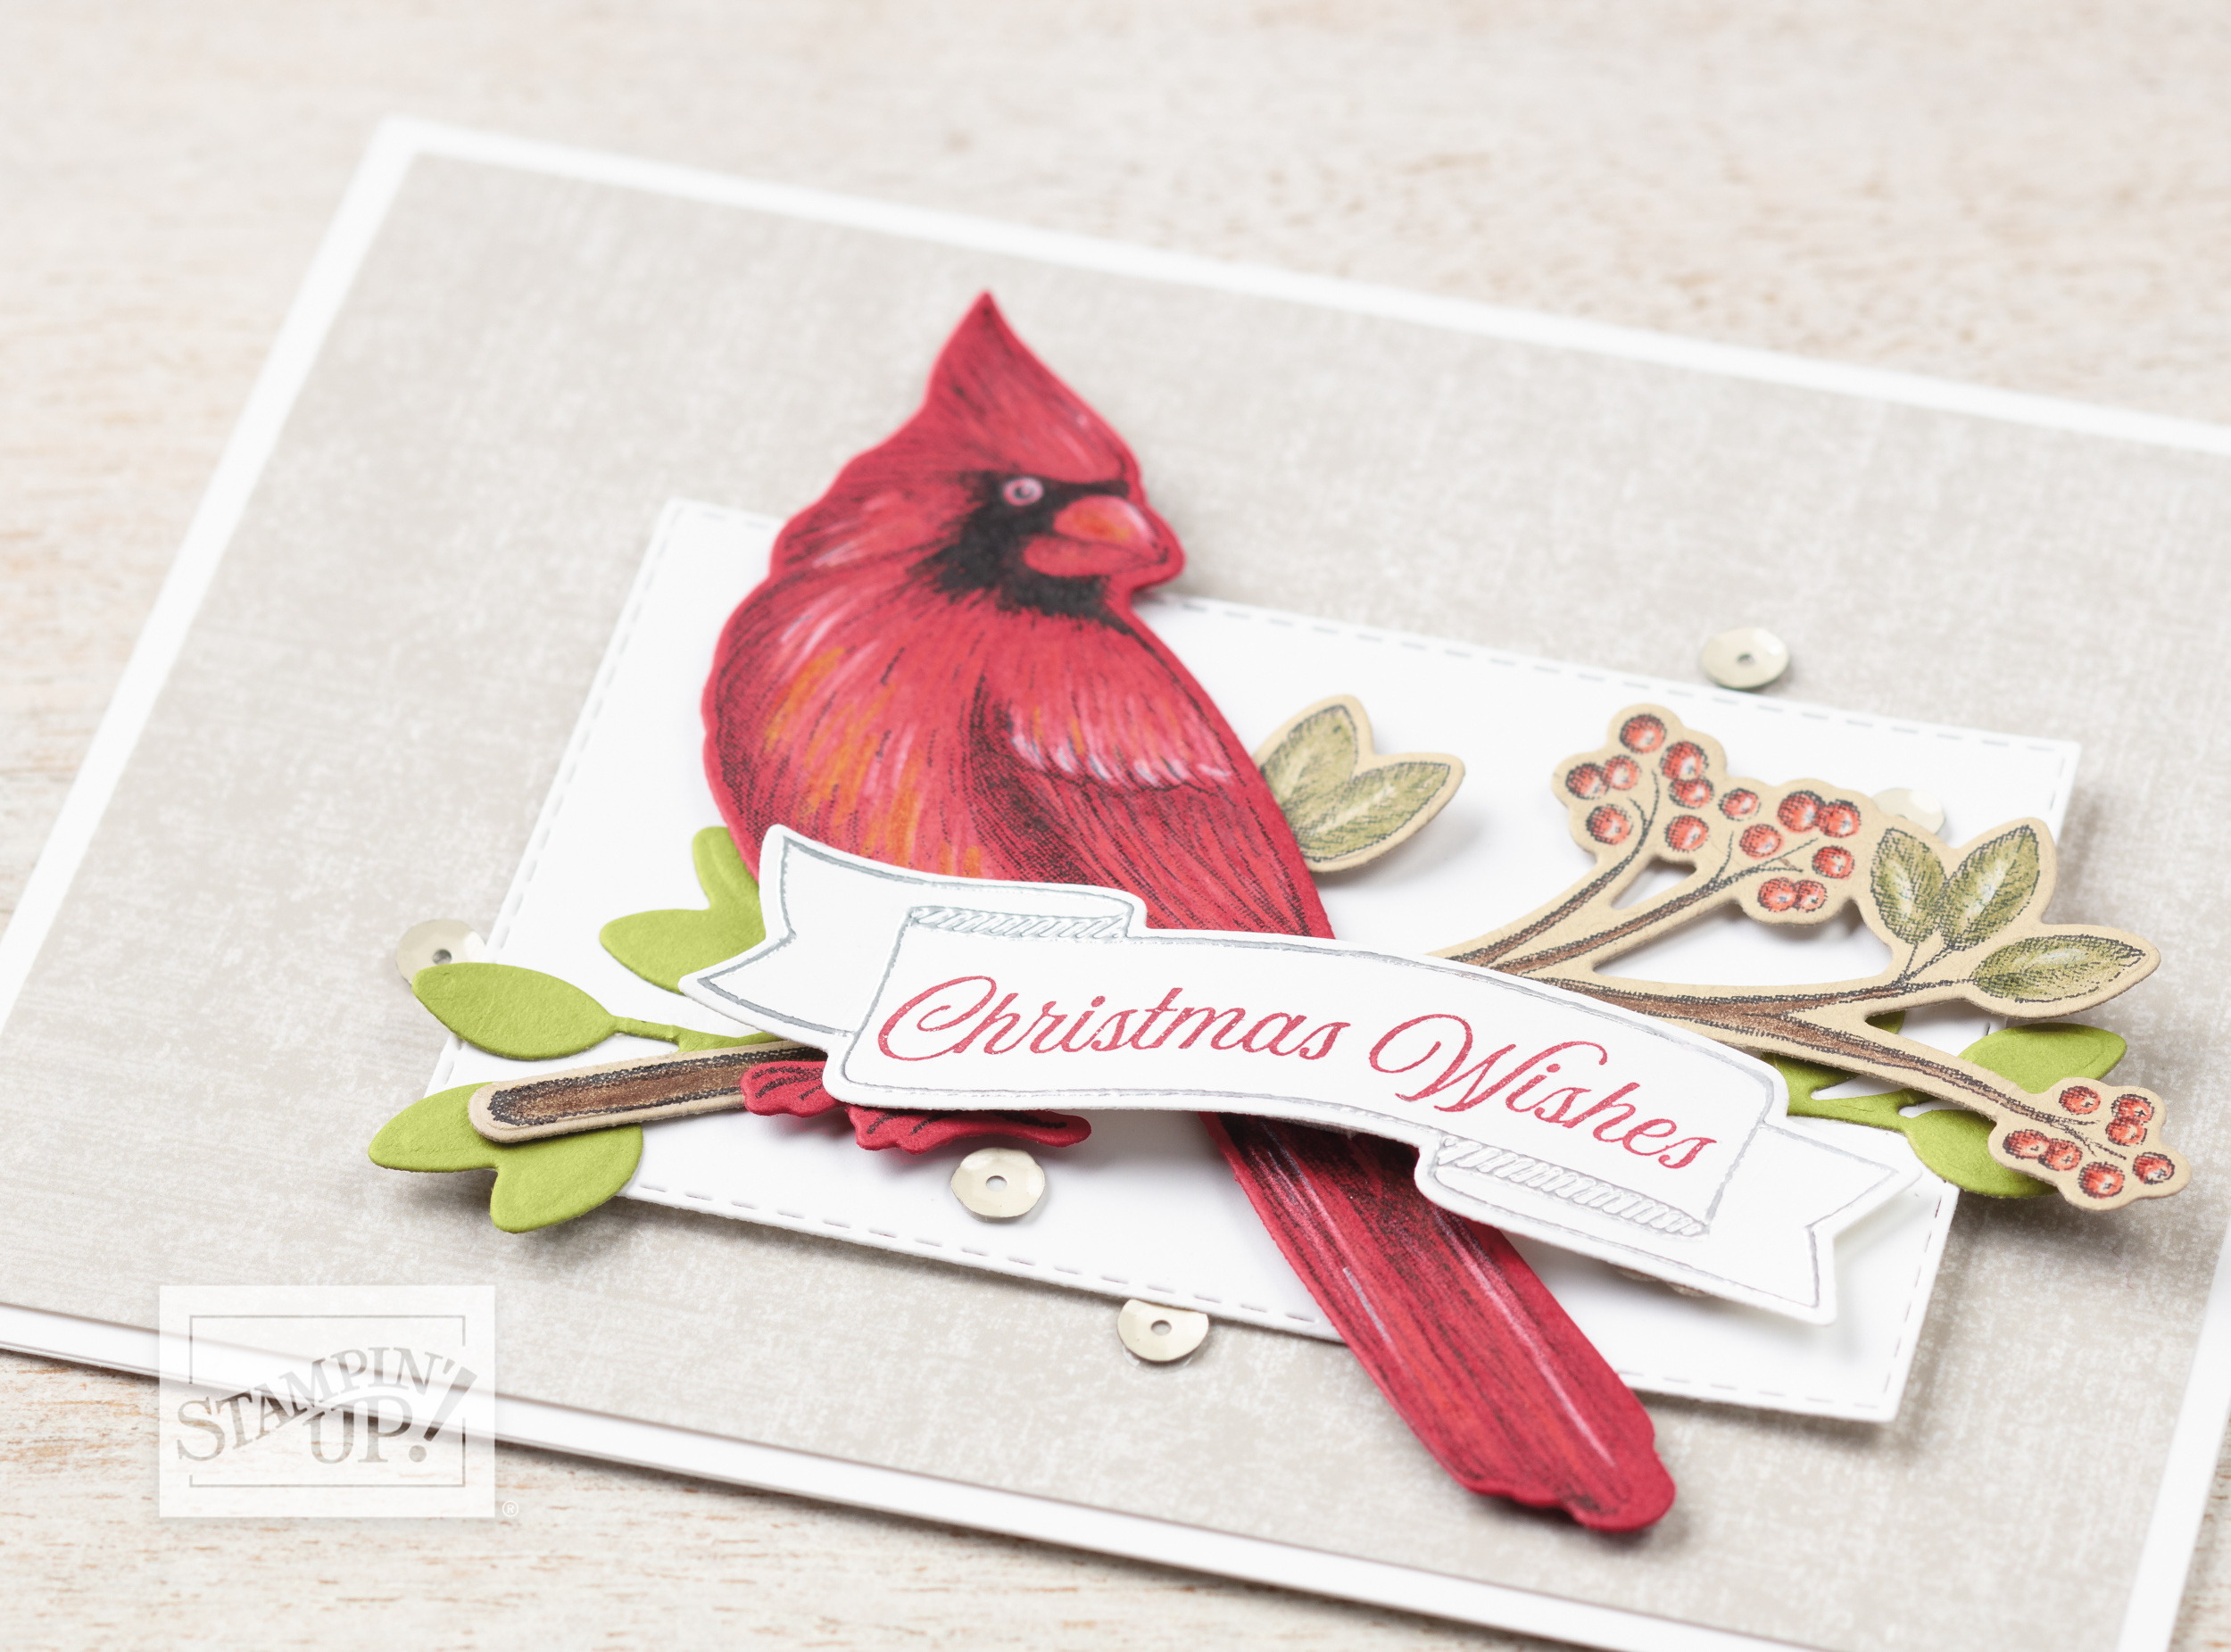
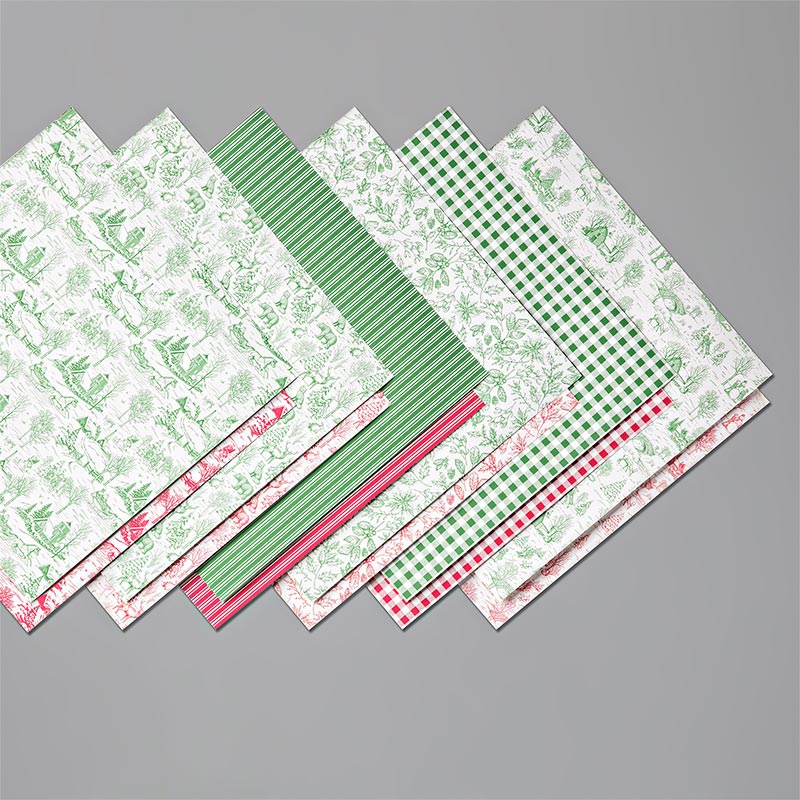
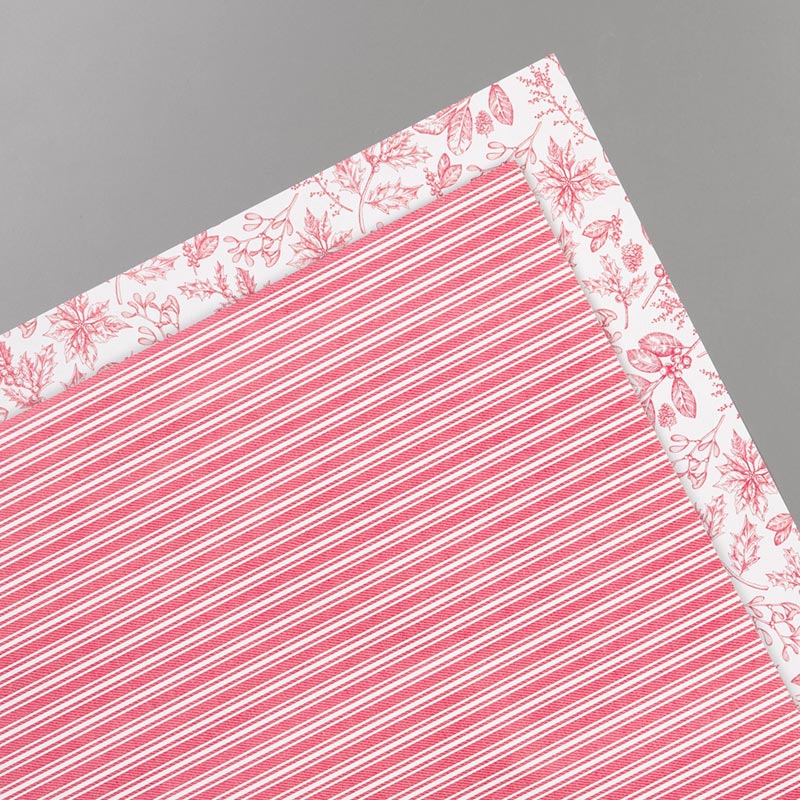
- Adhere 5-1/4" x 4" Sahara Sand linen design from Woven Threads Designer Series Paper to card front.
- Die cut scrap Whisper White cardstock with the 5th largest Stitched Rectangle die that measures about 2-1/4" x 3-5/8". Adhere about 1" from bottom and right edges with Stampin' Dimensionals.
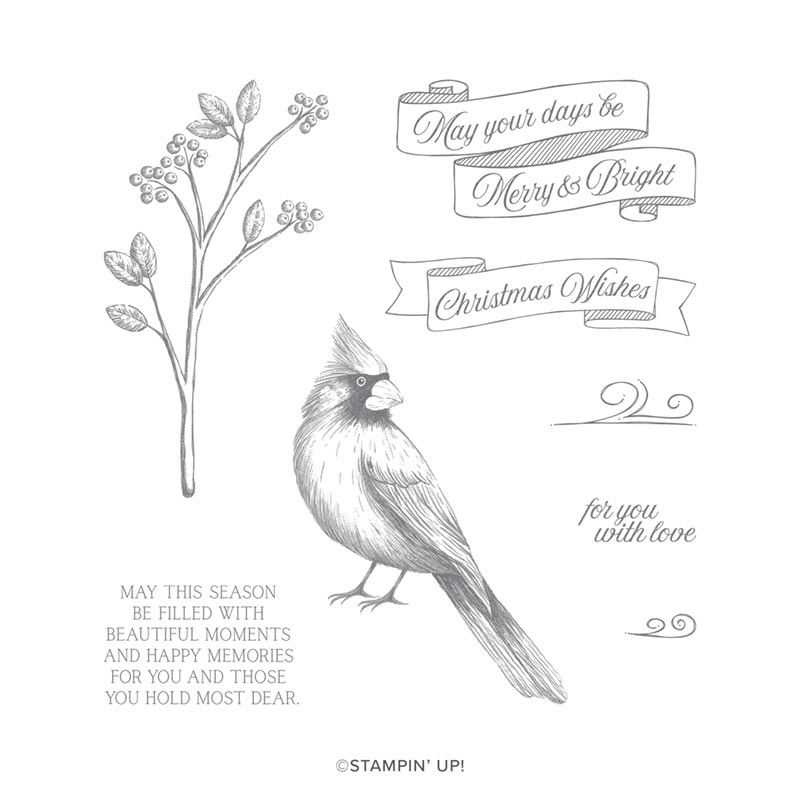
- Stamp cardinal image from Toile Christmas stamp set onto scrap Cherry Cobbler cardstock with Black StazOn ink. Stamp branch image onto scrap Crumb Cake cardstock with Black StazOn ink.
- Add texture and detail to the stamped cardinal image by colouring in a few highlights with Whisper White, Basic Black, and Daffodil Delight Watercolor Pencils.
- Colour in branch, berries, and leaves with Early Espresso, Real Red, and Old Olive Watercolor Pencils.
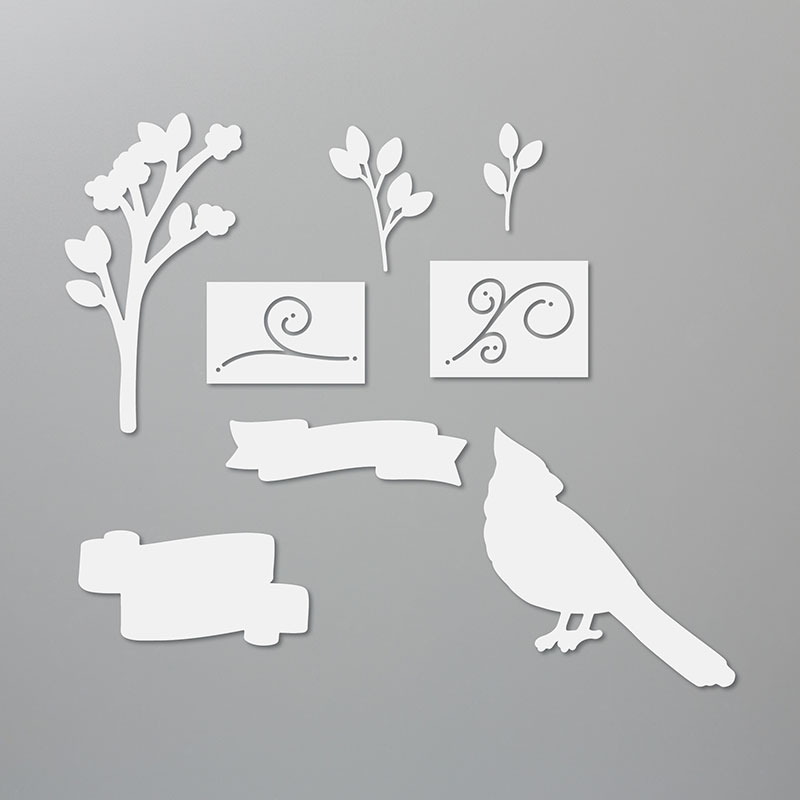
- Die cut stamped cardinal and branch with coordinating Christmas Cardinal dies. Die cut scrap Old Olive cardstock with leaf dies.
- Adhere die cut leaves to Whisper White die cut rectangle. Adhere branch and cardinal over leaves with Stampin' Dimensionals.
- Stamp "Christmas Wishes" banner onto the sticky portion of a sticky note or copy paper. Die cut with coordinating die. Use Paper Snips to cut out the center "Christmas Wishes" word portion of the image. You'll have created two mask pieces. One that covers up the words and one that covers up the banner outline.
- Use the same die to cut single banner from Christmas Cardinal dies from scrap Whisper White cardstock.
- Place the Whisper White cardstock "negative" that the banner was cut from onto the Stamparatus and hold in place with magnets. Fit the "Christmas Wishes" banner stamp into the opening of the cardstock. Close a Stamparatus plate and press down on the stamp so it sticks to the plate. Open the plate and place the Whisper White die cut banner back in the cardstock outline like a puzzle piece.
- Place the mask that covers the banner outline, but leaves the center section exposed, so it is lined up over the matching die cut banner. Ink stamp with Cherry Cobbler ink and stamp onto banner. Clean stamp with a Simply Shammy or cloth.
- Remove the outline mask. Replace the Whisper White die cut banner back into the frame if it comes out. Cover the center word section with the other mask piece.
- Ink stamp with VersaMark ink and stamp. Carefully remove die cut without touching the wet ink. Cover generously with Silver Stampin' Emboss Powder. Tap off excess. Heat emboss with Heat Tool.
- Adhere banner over cardinal and branch with Stampin' Dimensionals.
- Finish card with a few Sahara Sand Basic Adhesive-Backed Sequins.
TIP: Use the stylus or paper-piercing tip of the Take Your Pick tool to hold banner in place while heat embossing to avoid burning your fingers.
SUPPLIES:
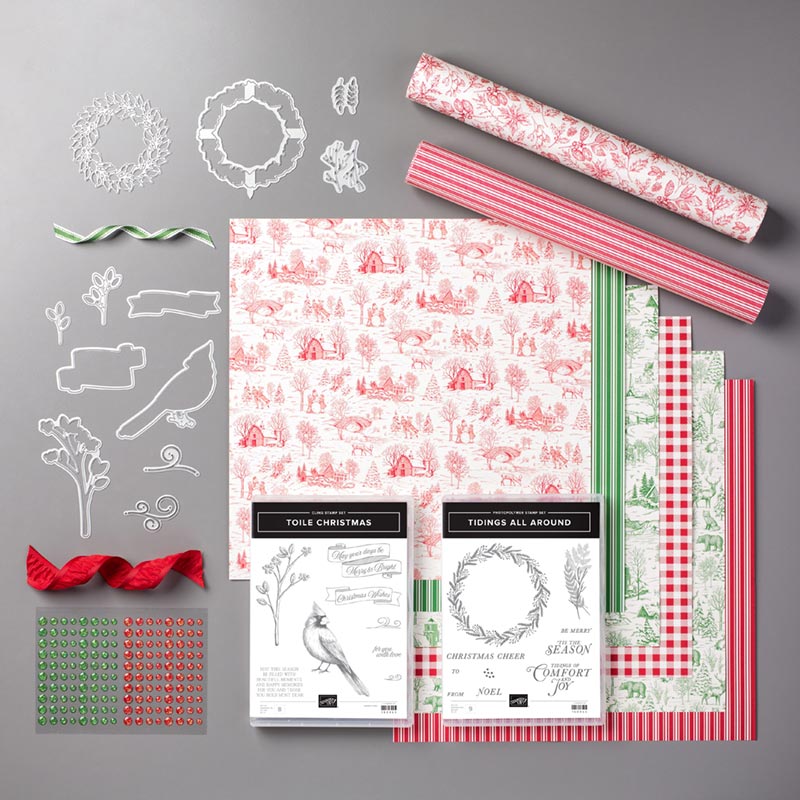
STAMPS: Toile Christmas (#150469)
CARDSTOCK: Thick Whisper White (#140272), Whisper White (#100730), Old Olive (#100702), Cherry Cobbler (#119685), Crumb Cake (#120953)
PAPER: Woven Threads (#149497)
INK: Black StazOn (#101406), Cherry Cobbler (#147083), VersaMark (#102283)
ACCESSORIES: Silver Stampin' Emboss Powder (#109131), Watercolor Pencils (#141709), Basic Adhesive-Backed Sequins (#146933)
ADHESIVES: SNAIL (#104331), Stampin' Dimensionals (#104430), Multipurpose Liquid Glue (#110755)
TOOLS: Stitched Rectangles dies (#148551), Christmas Cardinal dies (#150640), Stamparatus (recommended) (#146276), Heat Tool (#129053), Embossing Buddy (#103083)
Non-Stampin' Up!: sticky note or copy paper
| 



No comments