The 2019 Holiday Catalogue Inspiration
 
Night Before Christmas Suite Spotlight


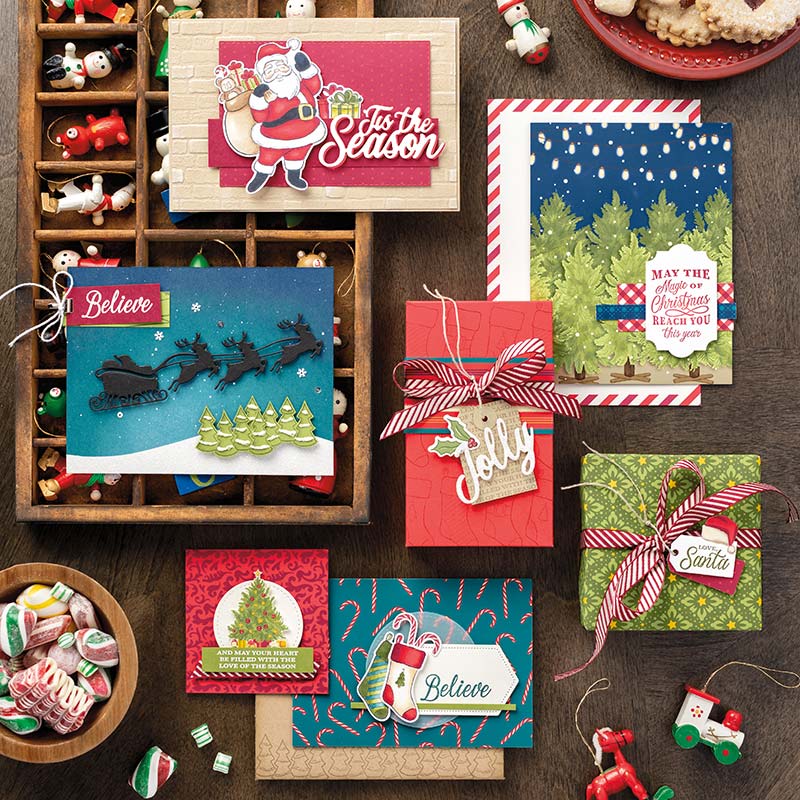
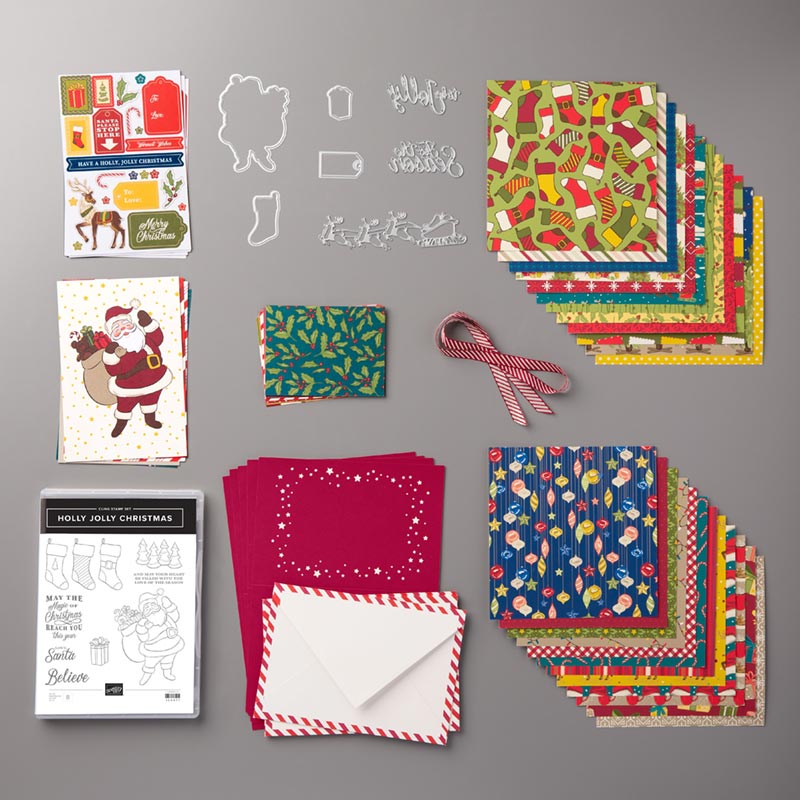
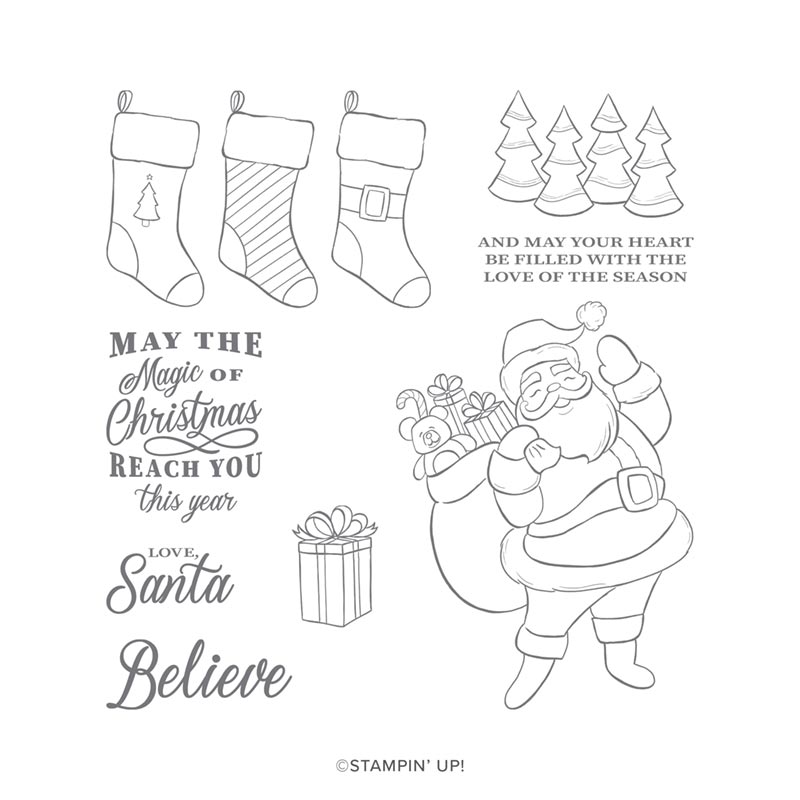
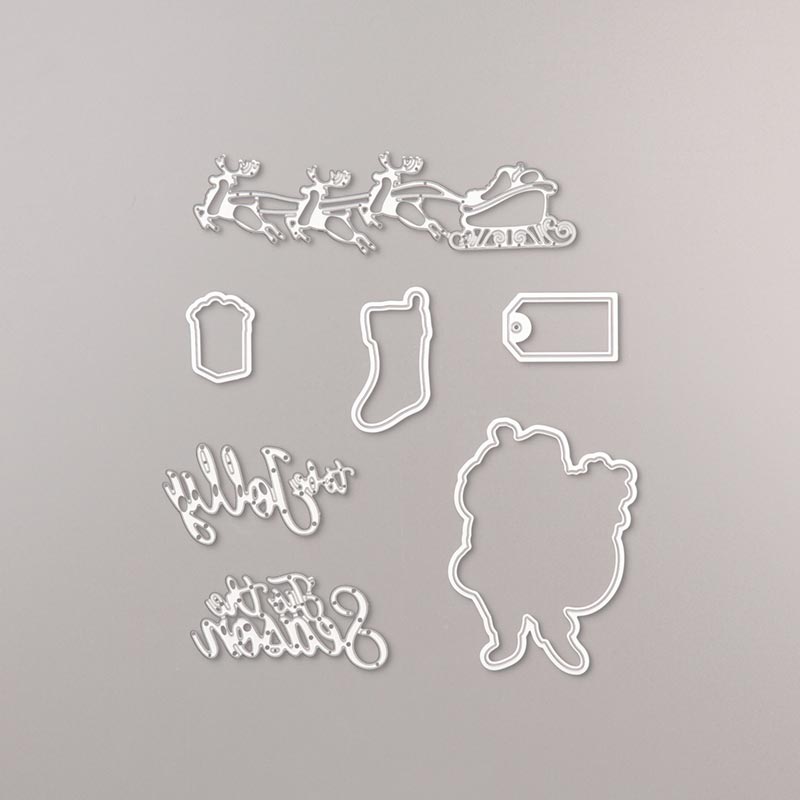
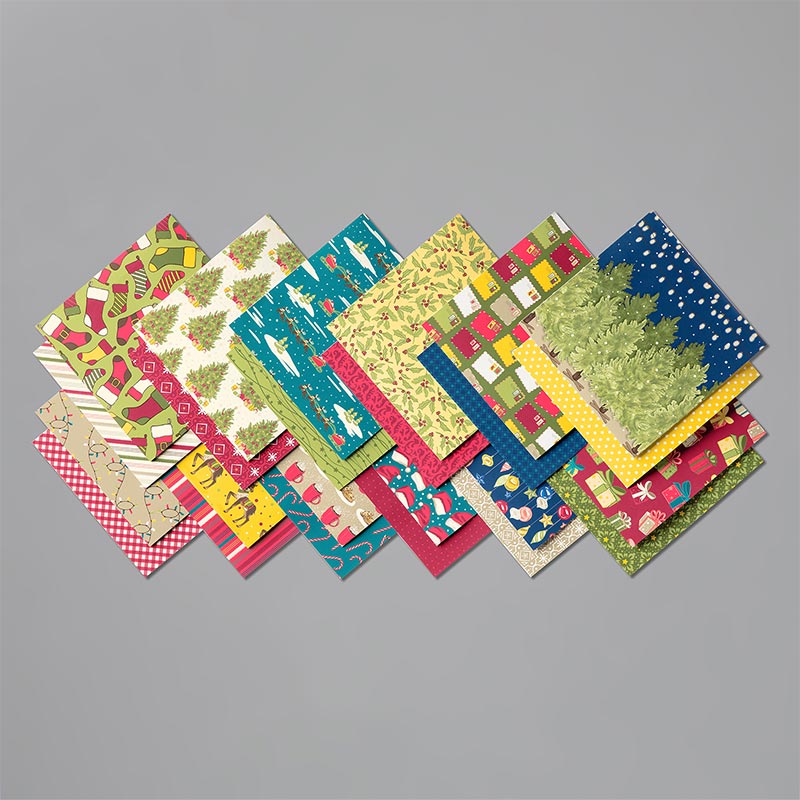
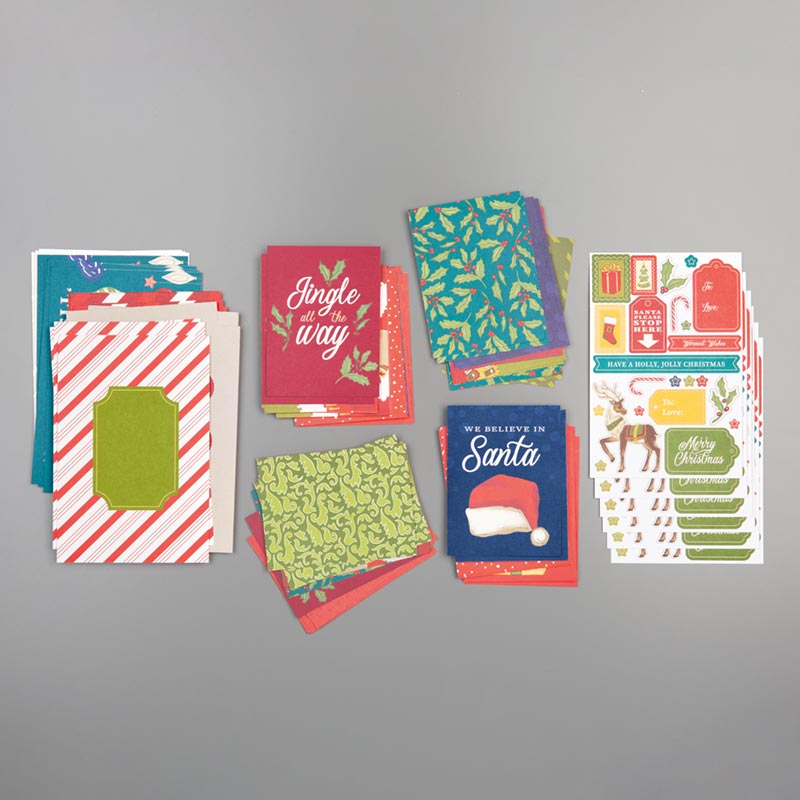
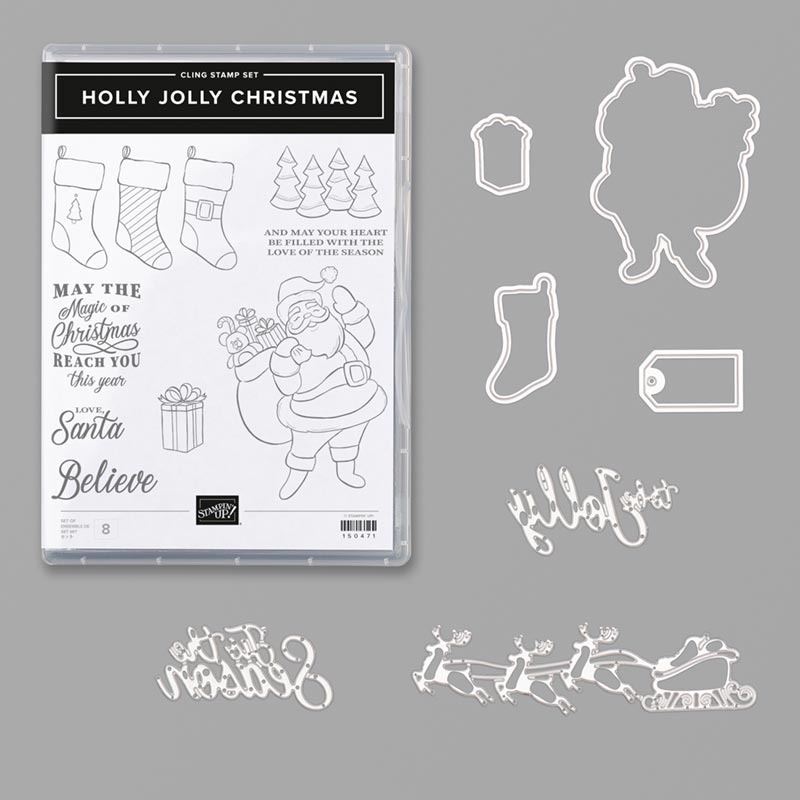
Check your list and you'll see that the Night Before Christmas Suite is just what Santa would give to all the good crafters! 

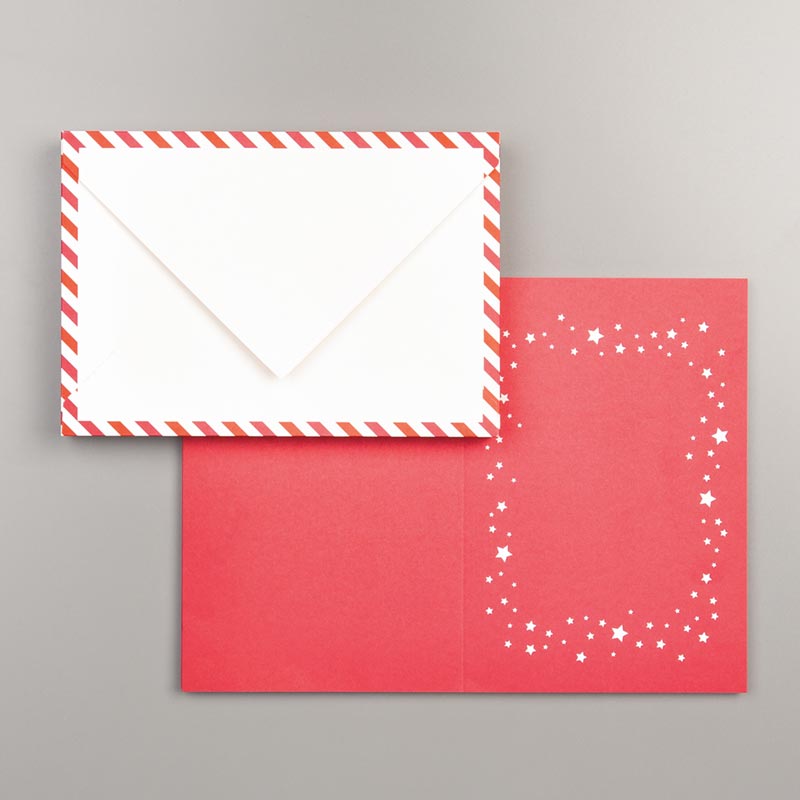
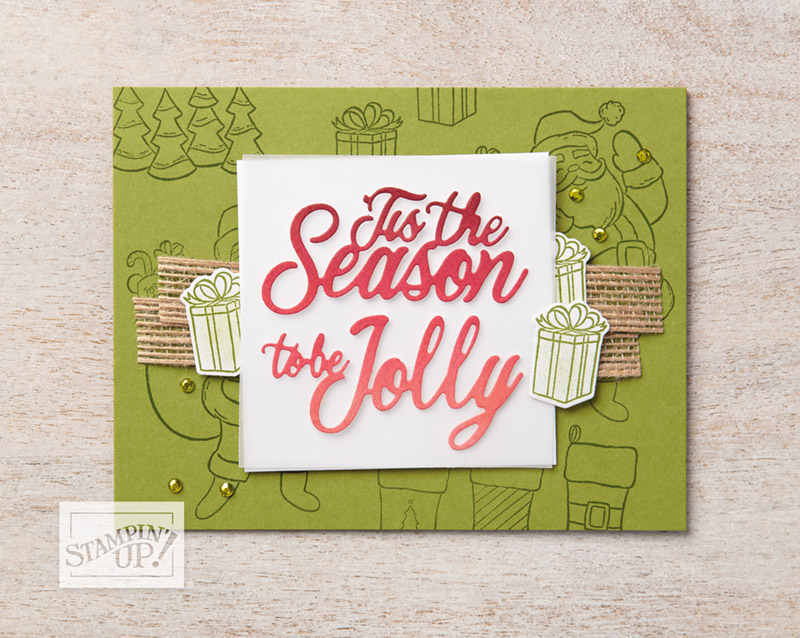
This simple card I'm sharing with you today below adds a bit of seasonal magic and sparkle with a subtle ombre effect on the greeting and bright rhinestone accents. 

This is a perfect card to make multiples of and send to all the good boys and girls on your Christmas list.

Sincerely,
Helen
 
VIEW ONLINE
 
 
Night Before Christmas Suite Spotlight
 
Coordinating Products
 
Night Before Christmas Suite Spotlight
 
Night Before Christmas Suite Spotlight
 
Night Before Christmas Suite Spotlight
 
Night Before Christmas Suite Spotlight
 
Night Before Christmas Suite Product
 
Night Before Christmas Suite Product
 
Night Before Christmas Suite Product
 
Night Before Christmas Suite Product
 
Tis' the Season Card
 
Tis' the Season Card
 

INSTRUCTIONS:

  1. Cut Old Olive cardstock to 5-1/2" x 8-1/2". Score at 4-1/4" along the 8-1/2" side.
  2. Randomly stamp Santa, stocking, tree, and gift images onto card front with Old Olive ink.
  3. Stamp three gift images on scrap Whisper White cardstock with Old Olive ink. Use a Sponge Dauber to sponge a bit of Old Olive ink onto each gift. Die cut with coordinating Jolly Season die.
  4. Adhere two 4-3/4" pieces of Burlap Ribbon across card front with Glue Dots.
  5. Use Stampin' Dimensionals to layer 3" x 3" Whisper White cardstock over ribbon tilted slightly left.
  6. Use a Sponge Brayer to create an ombre effect with Cherry Cobbler and Real Red ink. Start by braying Real Red ink onto the bottom of a 3" x 3" piece of scrap Whisper White cardstock. Add ink from the bottom to a bit past half making it darker as it goes up. Add Cherry Cobbler ink to the top edge with a Sponge Brayer. Add ink making it lighter as it goes away from the top edge to create a dark to light gradient effect.
  7. Place the "Tis the Season" die at the top of the brayered cardstock and the "to be Jolly" die below it. Die cut to create a multicoloured greeting.
  8. Adhere die cut greetings to 3" x 3" Vellum Cardstock with Glue Dots.
  9. Place Glue Dots on the back of the Vellum behind where the greeting is so that the Glue Dots don't show through. Adhere to the Whisper White square on the card at a slight tilt to the right.
  10. Add the three die cut gifts around the edge of the greeting . Tuck a couple under the edge of the greeting layers.
  11. Add Old Olive Rhinestones from the Noble Peacock Rhinestones grouped at the bottom left and top right of the card.
TIP: Sponge Brayers can be washed in the sink with water to remove ink. Allow to dry. While they may be stained, the Sponge Brayers can be used with another colour.


SUPPLIES:

STAMPS: Holly Jolly Christmas (#150471) 
CARDSTOCK: Whisper White (#100730), Old Olive (#100702), Vellum (#101856)
INK: Cherry Cobbler (#147083), Real Red (#147084), Old Olive (#147090) 
ACCESSORIES: Noble Peacock Rhinestones (#149494), 5/8" Burlap Ribbon (#141487)
ADHESIVES: SNAIL (#104331), Stampin' Dimensionals (#104430), Glue Dots (#103683)
TOOLS: Jolly Season Dies (#150648), Sponge Brayer (#141714), Sponge Dauber (#133773)
 
 
NIGHT BEFORE CHRISTMAS DESIGNER SERIES PAPER VIDEO
 
DOWNLOAD THE CATALOGUE
 
The 2019 Holiday Catalogue Inspiration

No comments