Creative Inspiration with a Sketch


Here's this month's sketch:

And here's the project it inspired:


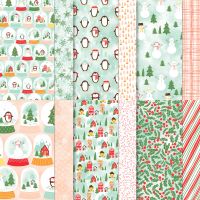
Create a fun and festive card with a pretty snow globe scene using products from the Snowy Scenes Suite Collection from the new September-December Mini Catalogue.
 

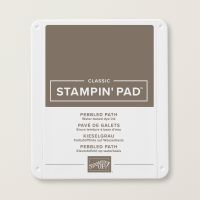
Three strips, each measuring 3¾" x 1½", were cut from the striped patterned paper from the Snowy Scenes 12" x 12" Designer Series Paper. These were adhered, spaced evenly, on a Pebbled Path folded card base.

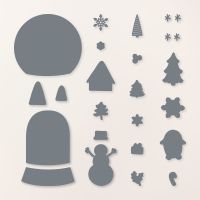
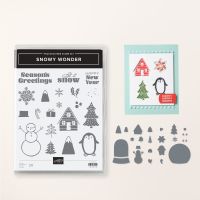
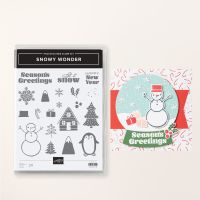
The house image from the Snowy Wonder Photopolymer Stamp Set was stamped on Basic White Cardstock using Pebbled Path Classic Stampin' Ink, and the spruce tree image stamped on Basic White using Shaded Spruce ink. Both were die cut using dies from the coordinating Snowy Wonder Dies. An additional small tree was die cut from Granny Apple Green Cardstock. The snow globe dome was cut from Basic White Cardstock using the circular dome die from the same die set. The die cut trees were adhered directly to the white dome die cut, and the house element added using Stampin' Dimensionals™. The snowflake images, again from the Snowy Wonder set, were stamped using Pool Party ink to fill in some of the white space.

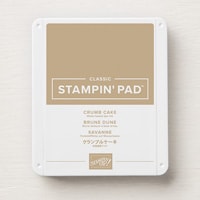
The snow globe base was cut from Crumb Cake Cardstock using the die from the same Snowy Wonder Dies. The "Let it Snow" image, again from the Snowy Wonder set, was stamped on the middle of the die cut base using Crumb Cake ink. The dome and base were both adhered to the card front using Stampin' Dimensionals.
 

Shop my top product picks for this project:

Product List

Don't forget you can bundle and save! Purchase the Snowy Wonder Bundle and save 10%.
Creative Inspiration with a Colour Combination


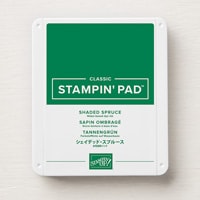
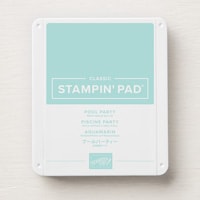
Here's this month's colour combination:


And here's the project it inspired:


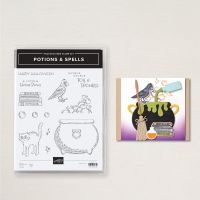
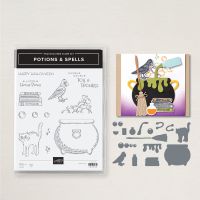
Create a spooky scene with the Potions & Spells Bundle and share a little hocus pocus with your friends.
 

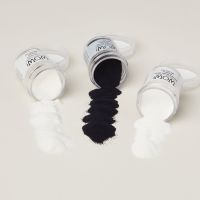
The cauldron image from the Potions & Spells Photopolymer Stamp Set was stamped on Basic Black Cardstock using VersaMark™ Ink and embossed with Opaque Bright White powder from the Basics WOW! Embossing Powder 3-pack. The image was then cut out using the coordinating die from the Potions & Spells Dies.

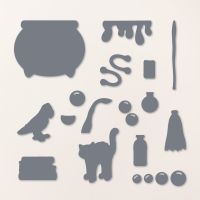
The rest of the scene's elements were cut using dies from the same set. The cauldron sludge and bubbles were die cut from Lemon Lime Twist Cardstock. The broom handle was cut from Pecan Pie Cardstock, and the brush head from Crushed Curry Cardstock. The potion bottle was cut from Basic White Cardstock, and the bottle filler and potion pour were cut from Berry Burst Cardstock.

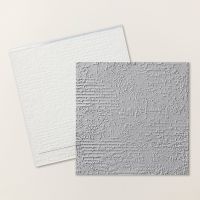
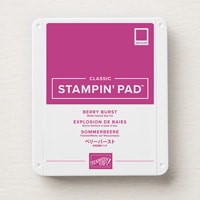
A layer of Basic Gray Cardstock was embossed using the Exposed Brick 3D Embossing Folder. The die cut elements were arranged as shown to create the scene, with the cauldron and potion bottle adhered using Stampin' Dimensionals and the other elements all adhered using Multipurpose Liquid Glue. The sentiment was stamped using Berry Burst Classic Stampin' Ink on a thin strip of Basic White Cardstock. The left-hand side was cut to a flag shape using Paper Snips, and the sentiment banner added to the top right corner of the embossed layer using Stampin' Dimensionals. The completed panel was adhered to a Basic Gray folded card base, again using Stampin' Dimensionals.
 

Shop my top product picks for this project:

Product List

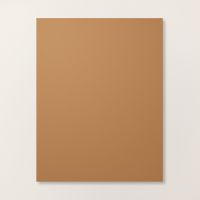
Creative Inspiration with a Colour Combination


Here's this month's colour combination:

And here's the project it inspired:


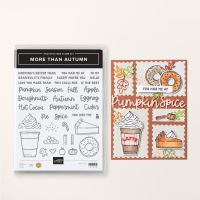
This card is for the pumpkin spice fans out there and is perfect to send to a friend and fellow fan!

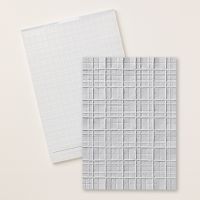
A wide strip of Crushed Curry Cardstock was embossed using the Forever Plaid 3D Embossing Folder. The embossed strip was adhered to a Pumpkin Pie Cardstock mat, which was then added to a Pecan Pie folded card base.

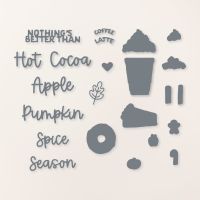
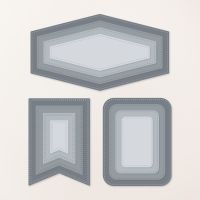
The stitched label element was cut from Basic Beige Cardstock using the largest label die from the Nested Essentials Dies, and the "nothing's better than" saying from the More than Autumn Photopolymer Stamp Set stamped as shown with Tuxedo Black Memento™ Ink. "Pumpkin" and "Spice" were die cut from Pecan Pie Cardstock using the dies from the More than Autumn Dies, and adhered underneath the stamped saying using Multipurpose Liquid Glue. The label element was added to the card front, and the overhang on the left and right sides trimmed.

The takeout cup image, also from the More than Autumn set, was stamped on Pecan Pie and Basic White Cardstock and the images die cut using the coordinating dies. The cup label was cut from the white die cut using Paper Snips and adhered to the Pecan Pie die cut. The whipped cream image was stamped on Basic White Cardstock using Crumb Cake Classic Stampin' Ink, and the small pumpkin image stamped on Pumpkin Pie Cardstock using Pebbled Path ink. Both elements were die cut using the coordinating dies, and used to complete the takeout cup element. The finished cup was added to the card front using Stampin' Dimensionals™.
 

Shop my top product picks for this project:

Product List

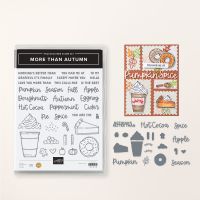
Don't forget you can bundle and save! Purchase the More than Autumn Bundle and save 10%.