Dinosaur Days


 My four year old grandson is experiencing his very first non-family birthday party this weekend and it reminded me I had no child themed birthday cards ready in my box.  I had previously purchased the Dino Days Bundle specifically for my grandson who loves dinosaurs (who doesn't)!  I knew it was time to pull it off the shelf and ink it up.

I have been following a fellow demonstrator Su Mohr at Aromas and Art for several years now.  Every card she creates I fall in love with and this one was no different.  As soon as I saw it I knew I had to CASE (copy and share everything) the card.  Here is mine:

                                                                     If you look closely, you will notice that I pasted the DSP on the cardfront upside down. Ugh! 
                                                                                                                              I have fixed that!
 
Supplies:

Dino Days Stamp Set, Dino Dies, Stitched So Sweetly Dies, Stitched Nested Labels Dies, Hammered Metal 3D Embossing Folder
Tuxedo Black Memento Ink, Bermuda Bay Ink 

Measurements:  

·         Whisper White Thick:          8 ½”    x 5 ½”            

·         Whisper White Smooth:      4” x 5 ¼” and 3 ¾” x 4 ¾”                            

·         Bermuda Bay:                      3 7/8” x 4 ¾”                                    

·         Birthday Bonanza DSP:      2” x 3 ½”                                                        
      
Instructions:

1.    Fold Thick Whisper white to form your card base.

2.    Run Whisper White through die-cutting machine with Mosaic Embossing folder and adhere to card front.

3.    Run DSP through die-cutting machine with Nested Label Die

4.    Stamp the sentiment (“You’re RAWRsome!”) with Memento Ink and run through die-cutting machine using Stitched So Sweetly die.

5.    Stamp dinosaur image with Bermuda Bay ink and run through die-cutting machine with appropriate die or hand cut.

6.    Adhere the cut DSP onto card front.

7.    Adhere the dinosaur and sentiment with dimensionals.

8.    Layer 3 ¾ x 4 ¾ Whisper White on Bermuda Bay cardstock and adhere to inside of card


I stamped the inside of the card and the envelope as well.  

Product List

Peaceful Poppies Elements Tutorial


Stampin' Up! Inspiration Project
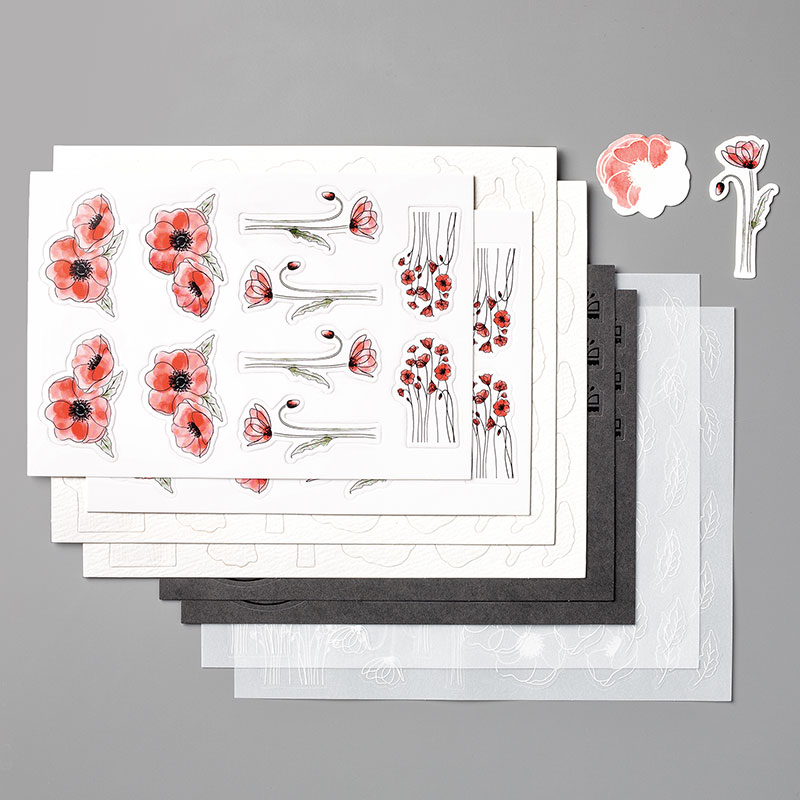
Even a Mini Catalogue can have hidden gems tucked away in it's pages! The Peaceful Poppies Elements are a crafting treasure just waiting to be discovered. This little kit packs a big punch at a small price. It includes 8 sheets of die-cut printed accents that coordinate with the Peaceful Poppies suite.

These aren't your run-of-the-mill die-cuts either. You get a whole selection of die cut images, shapes, and labels with embossing, foil accents, coloured images, and printed vellum that make it quick and simple to step-up the style on your projects.

Plus, if you are wanting to up the artistry, these elements are great for techniques like coloring, embossing, emboss resist, and more.

This tutorial shares how to create 3 note cards that showcase 5 fantastic ways to use the Peaceful Poppies Elements!

Peaceful Poppies Elements: 8 sheets total
* 2 sheets black die-cut elements with black foil prints: labels, banners, borders
* 2 sheets white thick cardstock die cuts with colored prints: poppies
* 2 sheets vellum die cuts with white prints: poppies and leaves
* 2 sheets watercolor paper die cuts with clear UV prints for watercoloring: poppies and leaves


Stampin' Up! Inspiration Project

1. Heat Emboss

Pop out a black foiled cardstock circle from the Peaceful Poppies Elements kit. Rub with the Embossing Buddy. Stamp greeting from the Sale-A-Bration Sending You Thoughts stamp set with VersaMark ink. Cover with White Stampin' Emboss Powder. Tap off excess and heat emboss using the Heat Tool.


Stampin' Up! Inspiration Project

2. Embellish Note Card 1

Start with a pre-cut and pre-scored Whisper White Note Card. Cut a 1-1/2" x 5" strip of Peaceful Poppies Designer Series Paper. Adhere 1/8" from left edge of card. Adhere embossed black circle to card front with Stampin' Dimensionals. Pop out a pre-coloured poppies from an elements sheet and adhere as a coordinating accent using Stampin' Dimensionals.

Stampin' Up! Inspiration Project

3. Watercolor a Poppy

Pop out a watercolor paper poppy from the elements sheet. Brush water inside the embossed outline. Use Pumpkin Pie and Mango Melody inks and an Aqua Painter to watercolor the flower. Allow to dry.


Stampin' Up! Inspiration Project

4. Stamp & Diagonal Accents

Cut a 1" x 4" piece of Peaceful Poppies Designer Series Paper. Stamp greeting with Tuxedo Black Memento ink. Adhere strip at a diagonal across a pre-cut note card. Pop out a black foiled scallop strip. Adhere alongside paper strip. Trim off excess at edges of card with Paper Snips.

Stampin' Up! Inspiration Project

5. Embellish Note Card 2

Adhere watercolored poppy to top right of diagonal strip with Stampin' Dimensionals. Tie a bow with Whisper White 1/4" Crinkled Seam Binding Ribbon. Adhere below poppy with a Glue Dot.


Stampin' Up! Inspiration Project

6. Colour Vellum Poppy

Pop out a vellum poppy from the elements sheet. Flip it over so the white embossing is face down. Color the poppy with Light and Dark Poppy Parade Stampin' Blends. Color the center with the dark and blend out to the edge with the light.


Stampin' Up! Inspiration Project

7. Stamp & Layer

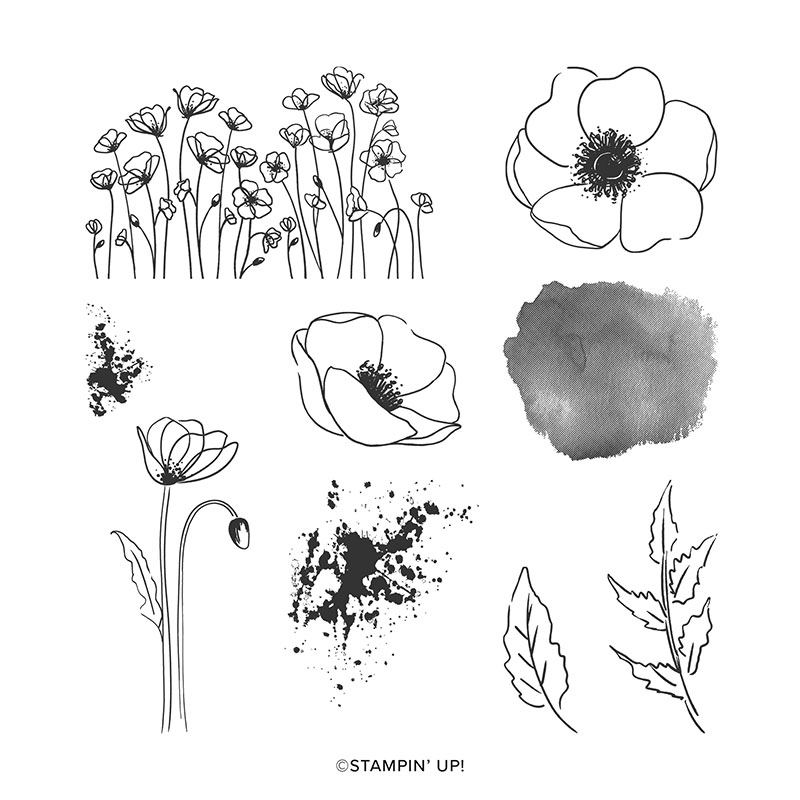
Ink the splatter stamp with Smoky Slate ink. Stamp off once and stamp onto the corner of a pre-cut note card. Repeat for all four corners. Layer 2" x 5" stripped Peaceful Poppies Designer Series Paper onto 2-1/4" x 5" Poppy Parade cardstock. Adhere to card front.


Stampin' Up! Inspiration Project

8. Embellish Note Card 3

Stamp greeting on Whisper White cardstock with Tuxedo Black Memento ink. Punch out with Label Me Fancy Punch. Punch scrap Smoky Slate with Label Me Lovely Punch. Layer punched greeting off center to the left of the larger punch. Add a "V" of Whisper White 1/4" Crinkled Seam Binding Ribbon behind labels. Add label to card with Stampin' Dimensionals. Add the coloured vellum poppy with a single Stampin' Dimensional hidden behind the embossing in the center.

SUPPLIES


Peaceful Poppies Elements  
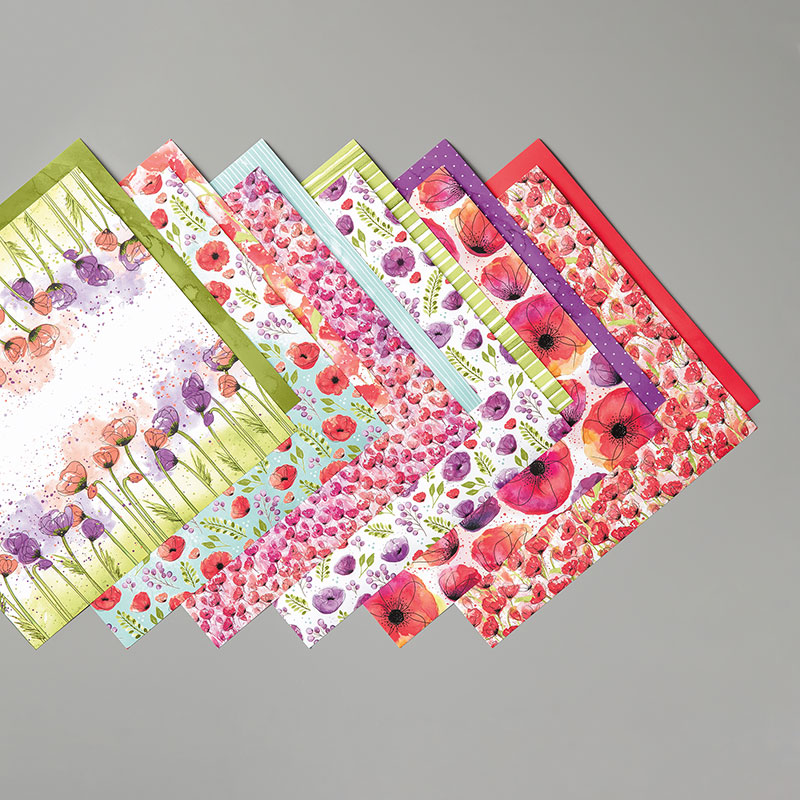
Peaceful Poppies Designer Series Paper
Country Club Designer Series Paper


Peaceful Poppies Elements

#151327
 

Peaceful Poppies Designer Series Paper

#151324                 

Country Club Designer Series Paper
#151599


LIMITED RELEASE!  Six NEW Stampin’ Up! products that coordinate with products from the 2020 Mini and Sale-a-Bration Catalogs will be available for purchase February 4  through March 31 or WHILE SUPPLIES LAST!  
TIP:  If you love them, get them NOW!


I've been playing with the Power of Hope Bundle the last few days.  This is a FREE SAB bundle available with a $120. purchase. It includes a stamp set and embossing folder.  To be honest I wasn't that excited about the stamp set but wanted the embossing folder and then I saw all the beautiful cards fellow demonstrators were creating.  These cards are all CASE'd from Pinterest.  A special thank you to  Wendy Lee, Mary Deatherage and Susan Campfield for your beautiful work.  I apologize to the 2 I missed but couldn't find the original creator.  If I CASE'd your card please comment below to take your bow. You are all so talented.


Here is the bundle from the Sale-A-Bration catalogue.
  
Contact me if you want to learn more about earning this or other free Stampin' Up! products.
CONTACT ME HERE                   or                            MY STORE